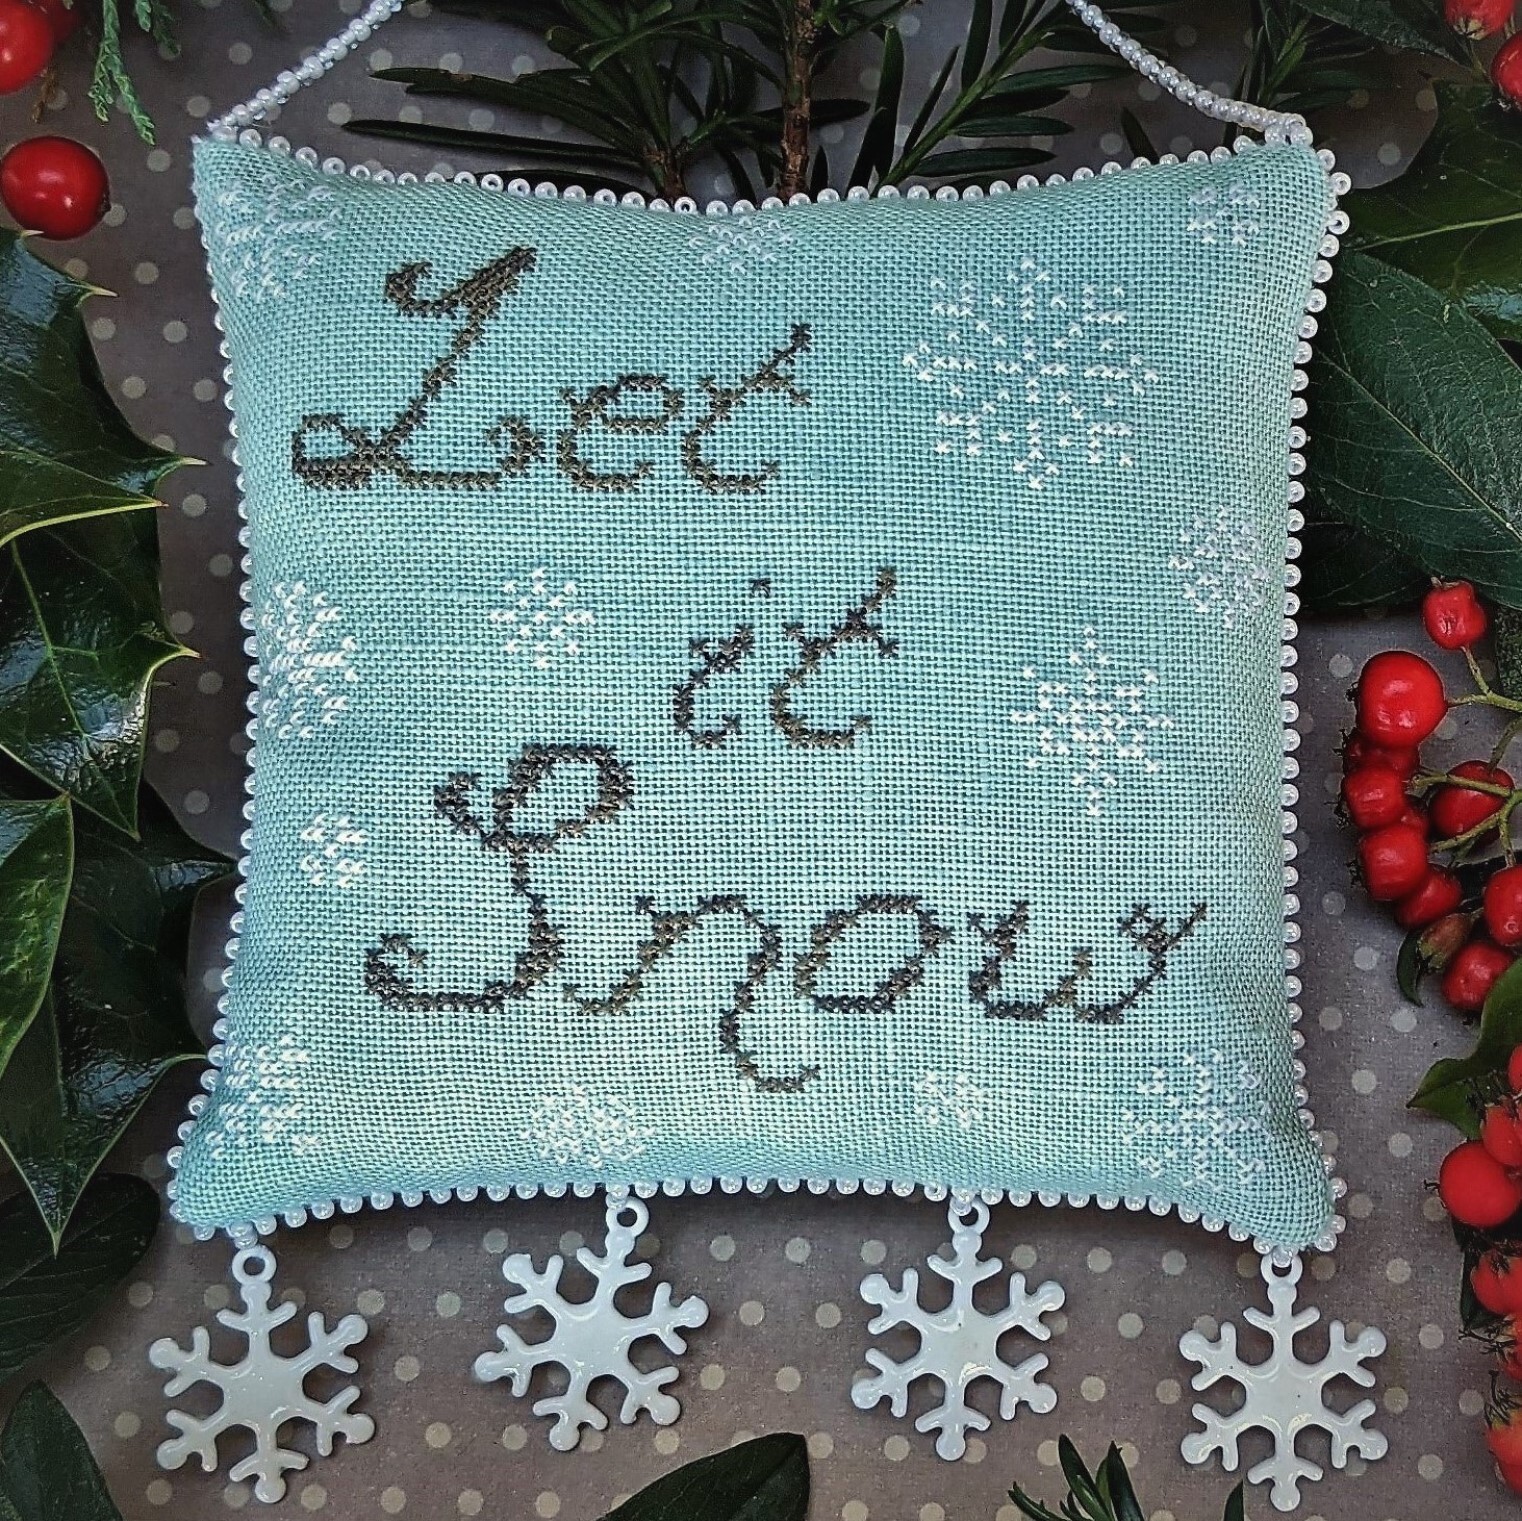
Stitched Ornament with Beaded Edge
Step 1
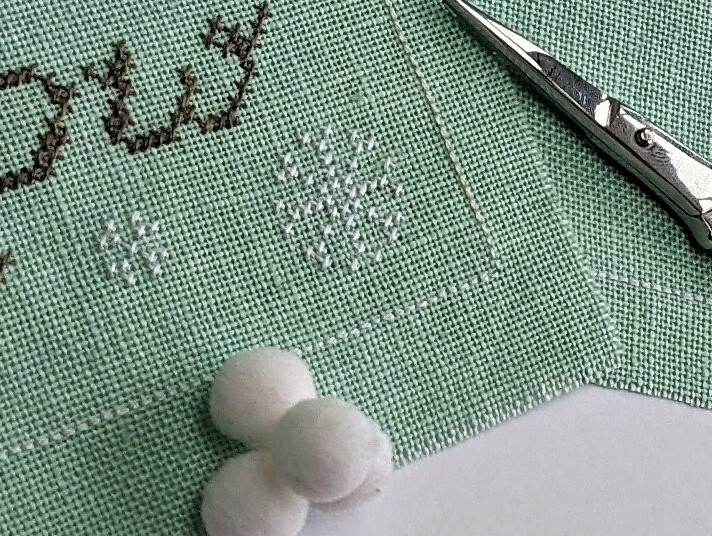
I backstitched a line (over 2 threads) around the edge of both the ‘Let it Snow’ and ‘2021’ designs. I positioned the line 3 stitches away from the outer edge of the ‘Let it Snow’ design, which gave an overall border size of 81 by 80 stitches. I made the border around the ‘2021’ design exactly the same dimensions, so it would marry up perfectly when stitching both sides together.
Step 2
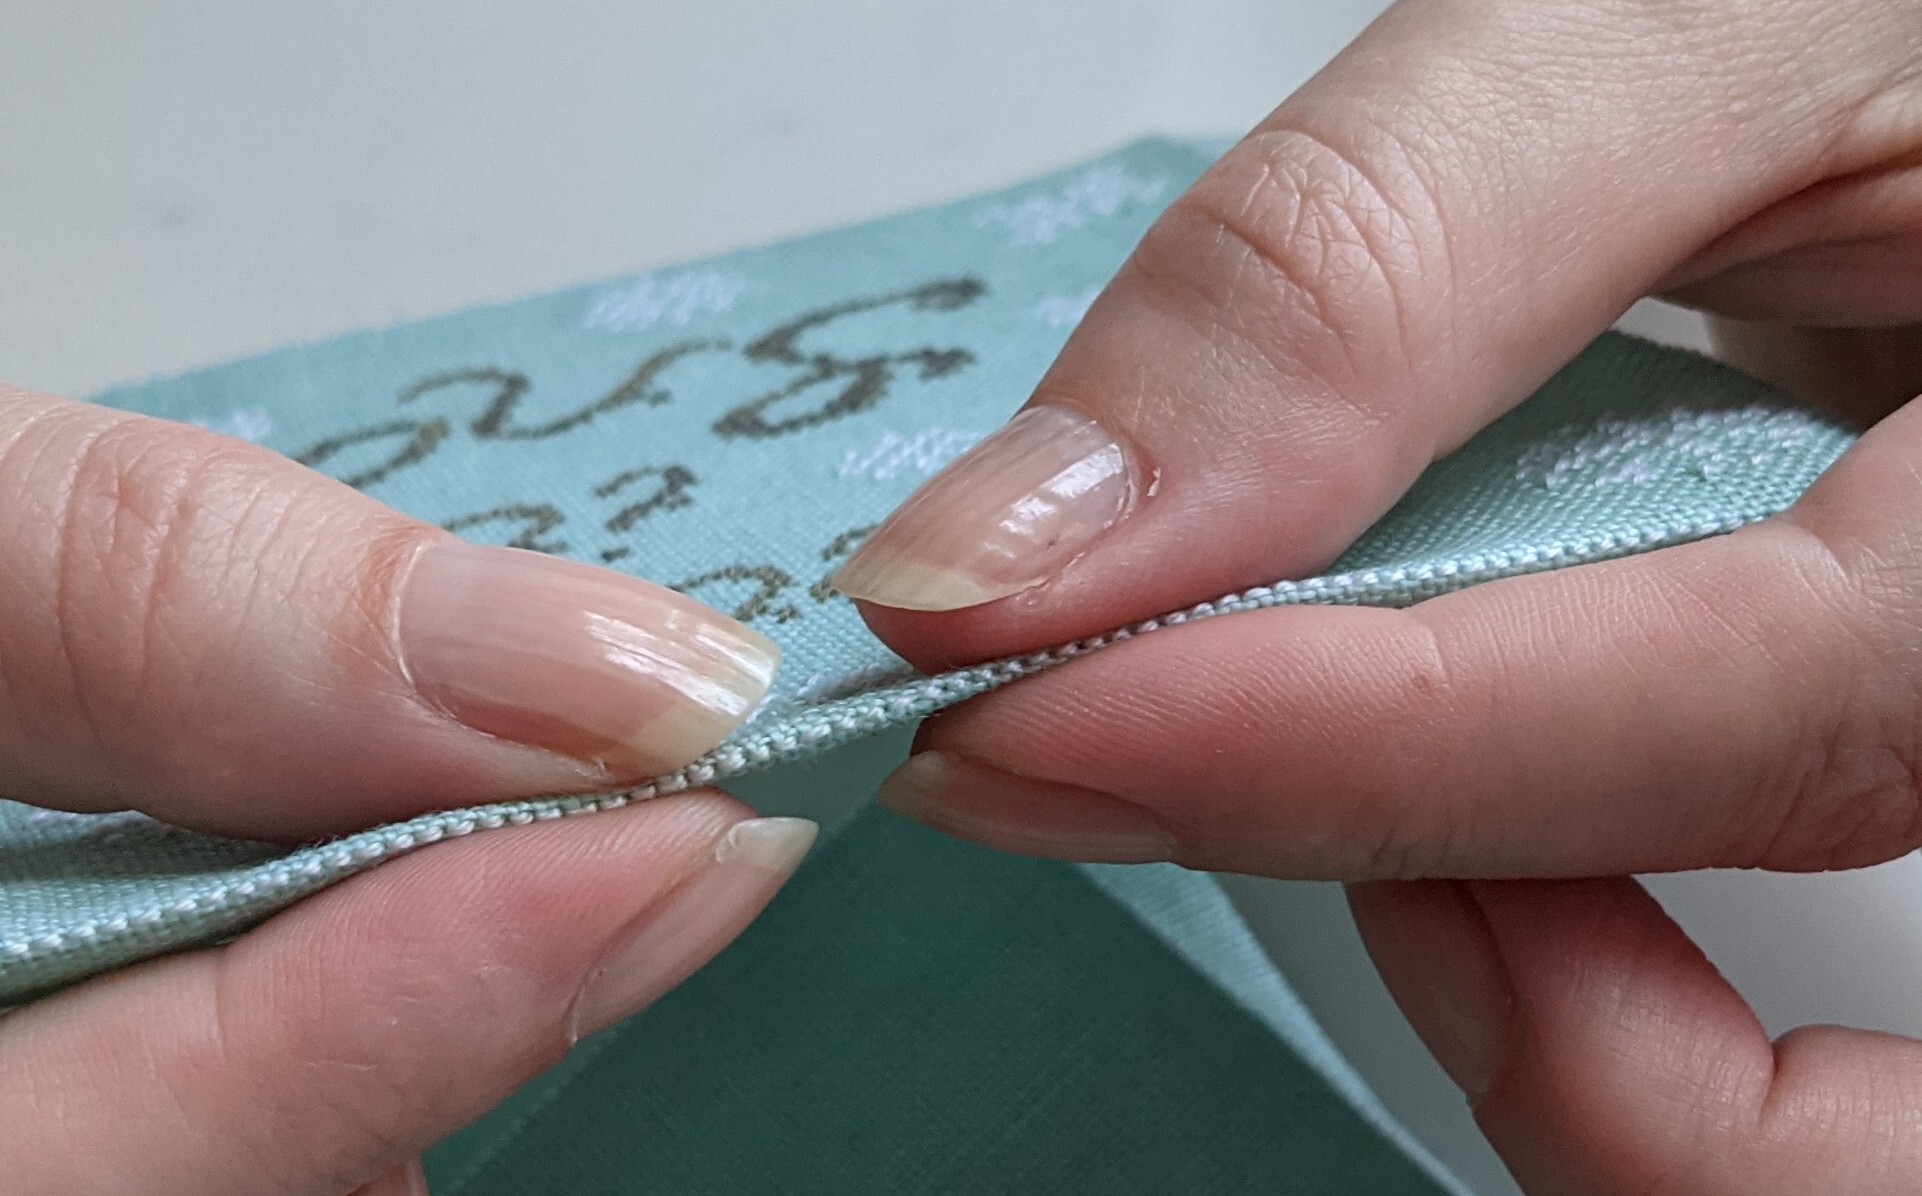
I added lightweight fusible interfacing to the reverse of each design, then folded along the lines of the backstitched borders, and finger pressed to give a crisp edge.
Step 3
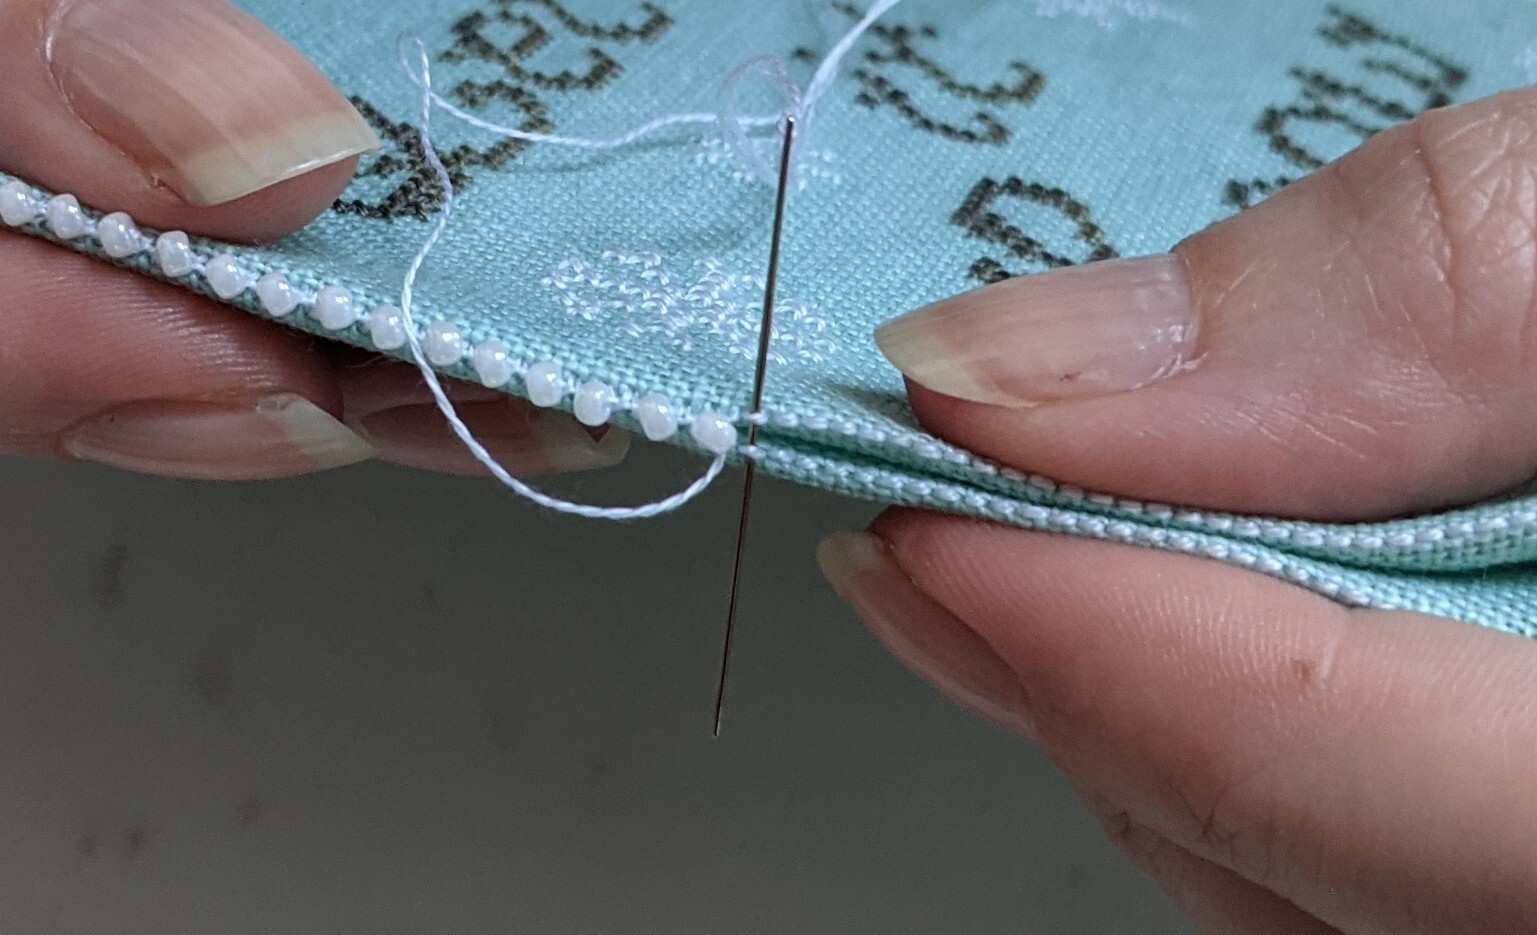
I placed the back and front of the ornament together. Beginning in one of the top corners, I whipstitched the edges (stitching through the backstitched border - not the fabric!), adding a bead to every other stitch.
Step 4
After I had beaded around each corner, I turned the ornament inside out and trimmed away some of the excess fabric to prevent it becoming ‘bulky’.
Step 5
Once beading along the bottom edge was complete, I added the snowflake charms. To secure the charms, I made a Lark’s Head knot through the charm link, and then added a bead onto the thread. I then threaded this through one of the beads already attached to the border, and secured inside the seam with another knot (making sure the charms were equally spaced).
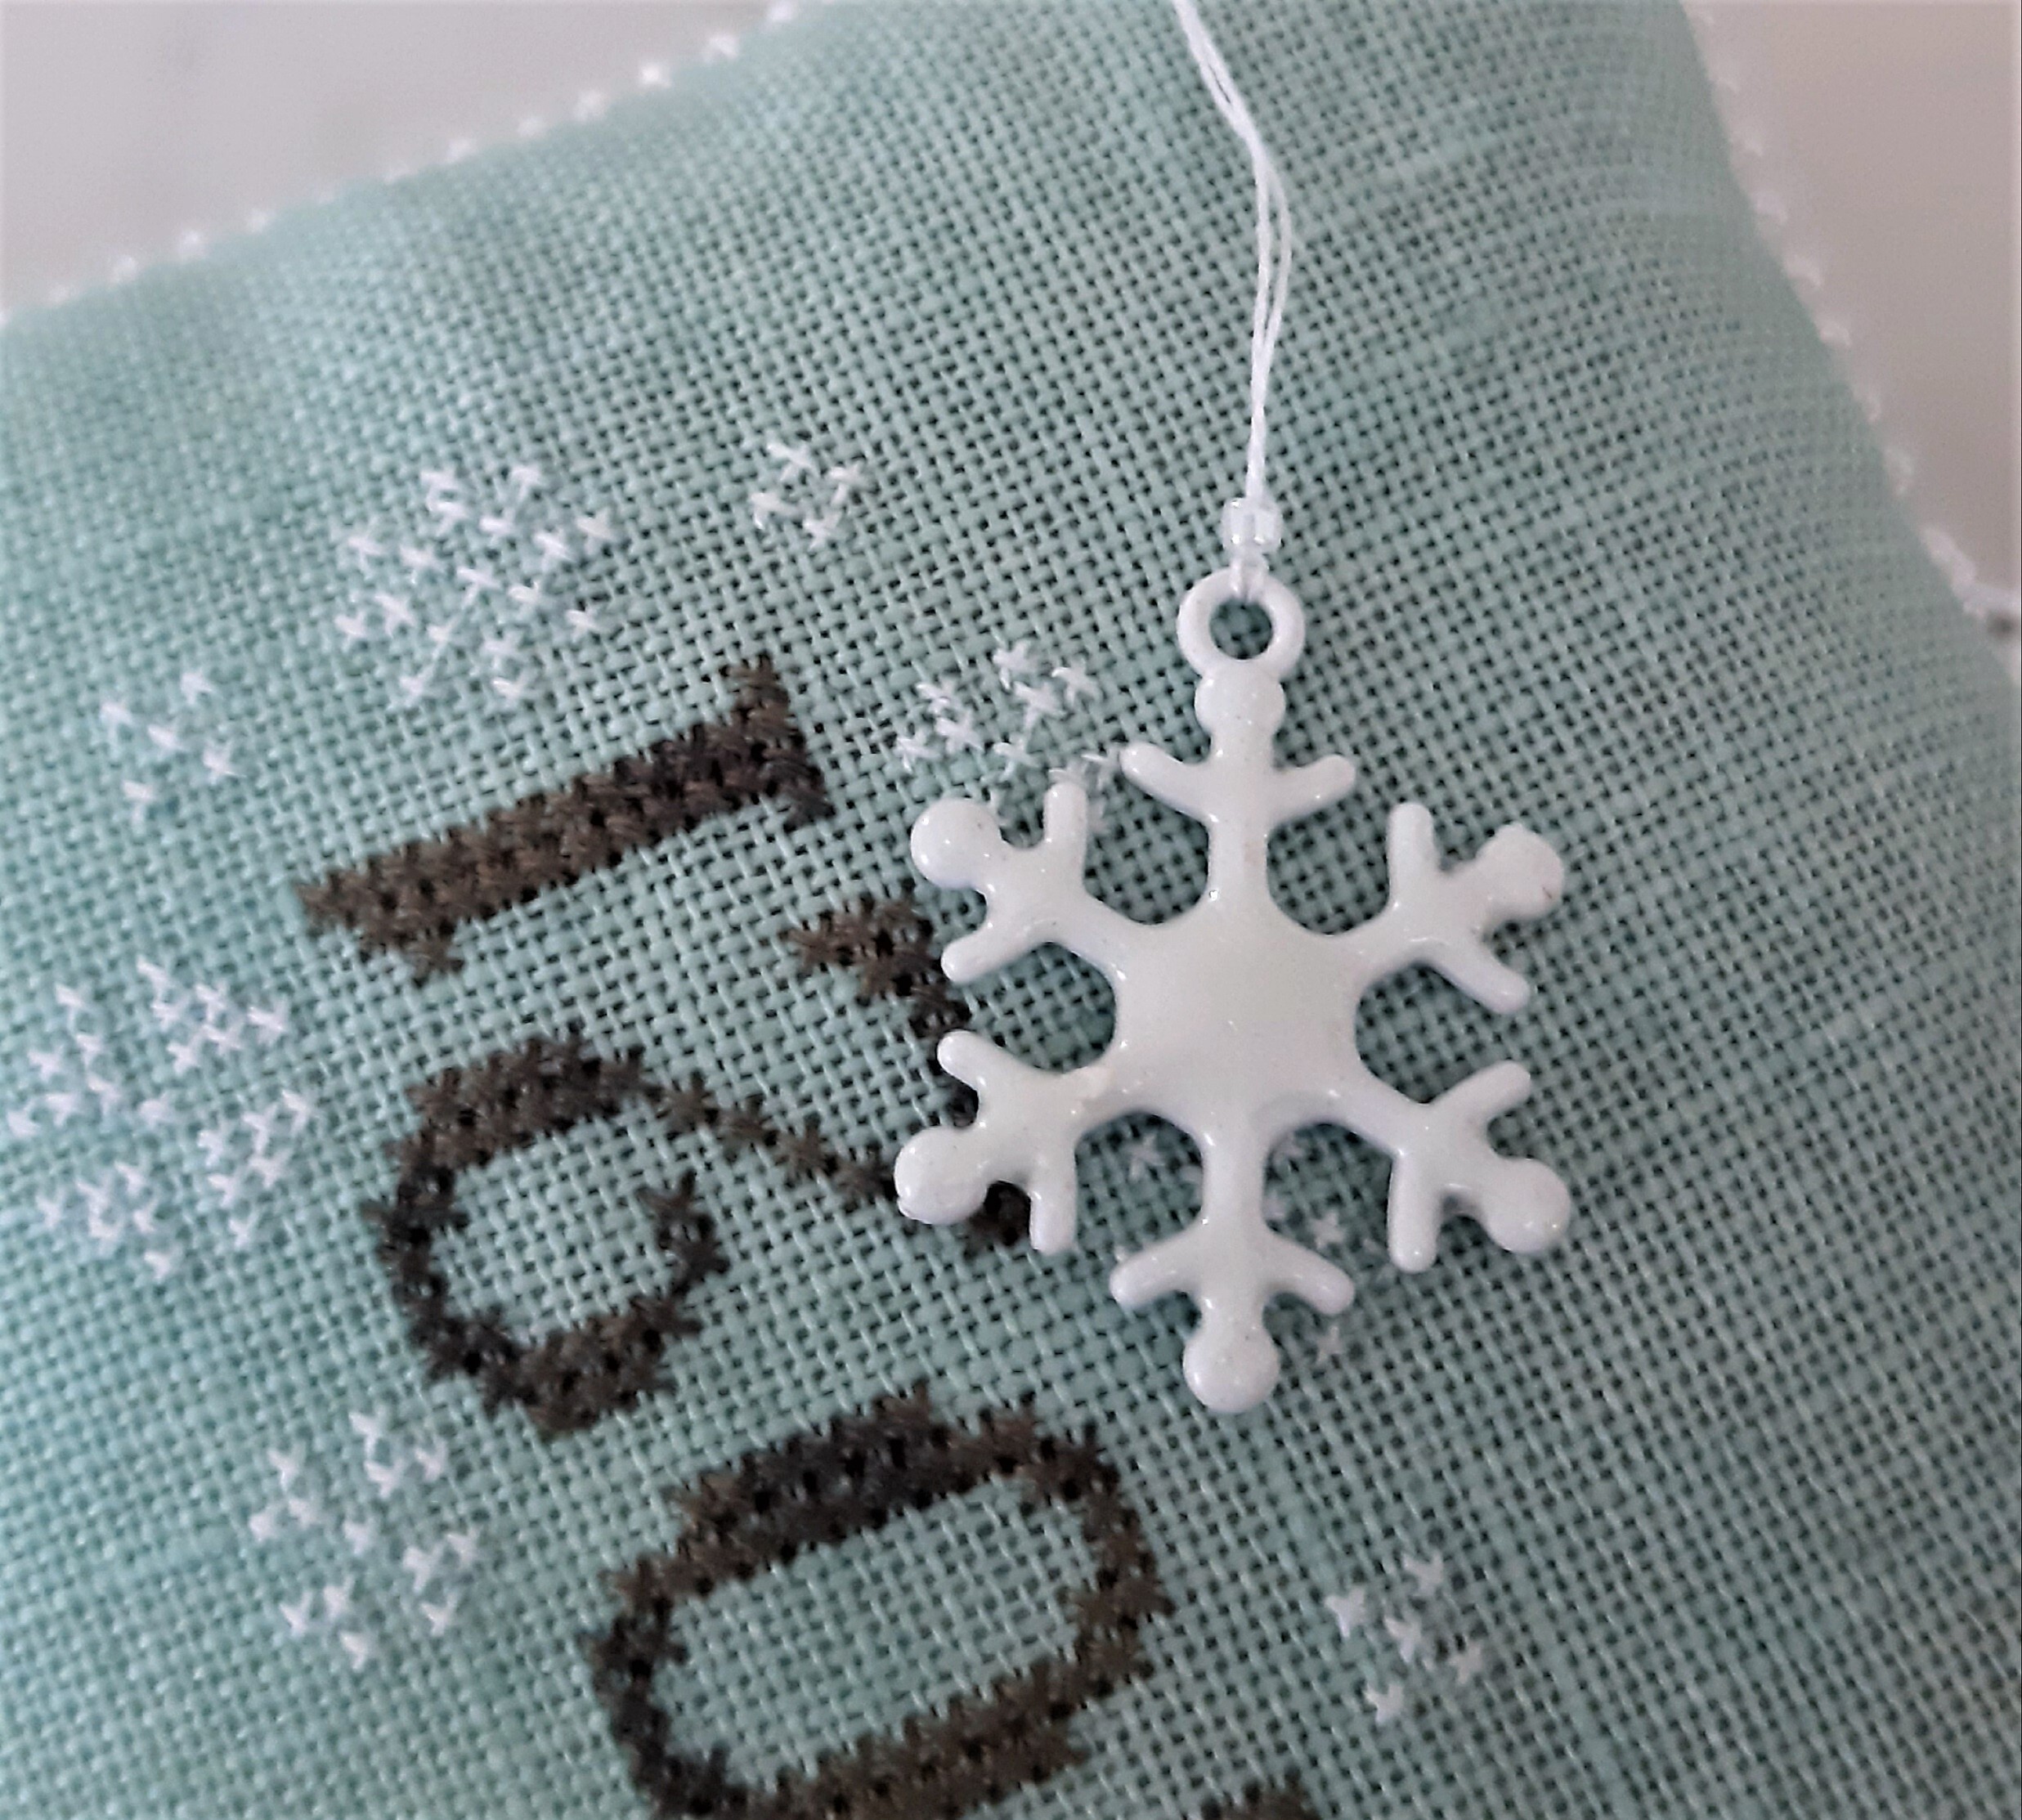
Step 5
With approximately 2 inches of the border left to bead, I filled the ornament with a mix of polyester stuffing and finely ground walnut shells.
Step 6
Because I started and finished my border beading in one of the top corners, I was able to continue adding beads to my thread to create a hanger. I finished by tying off with a knot at the opposite top corner.
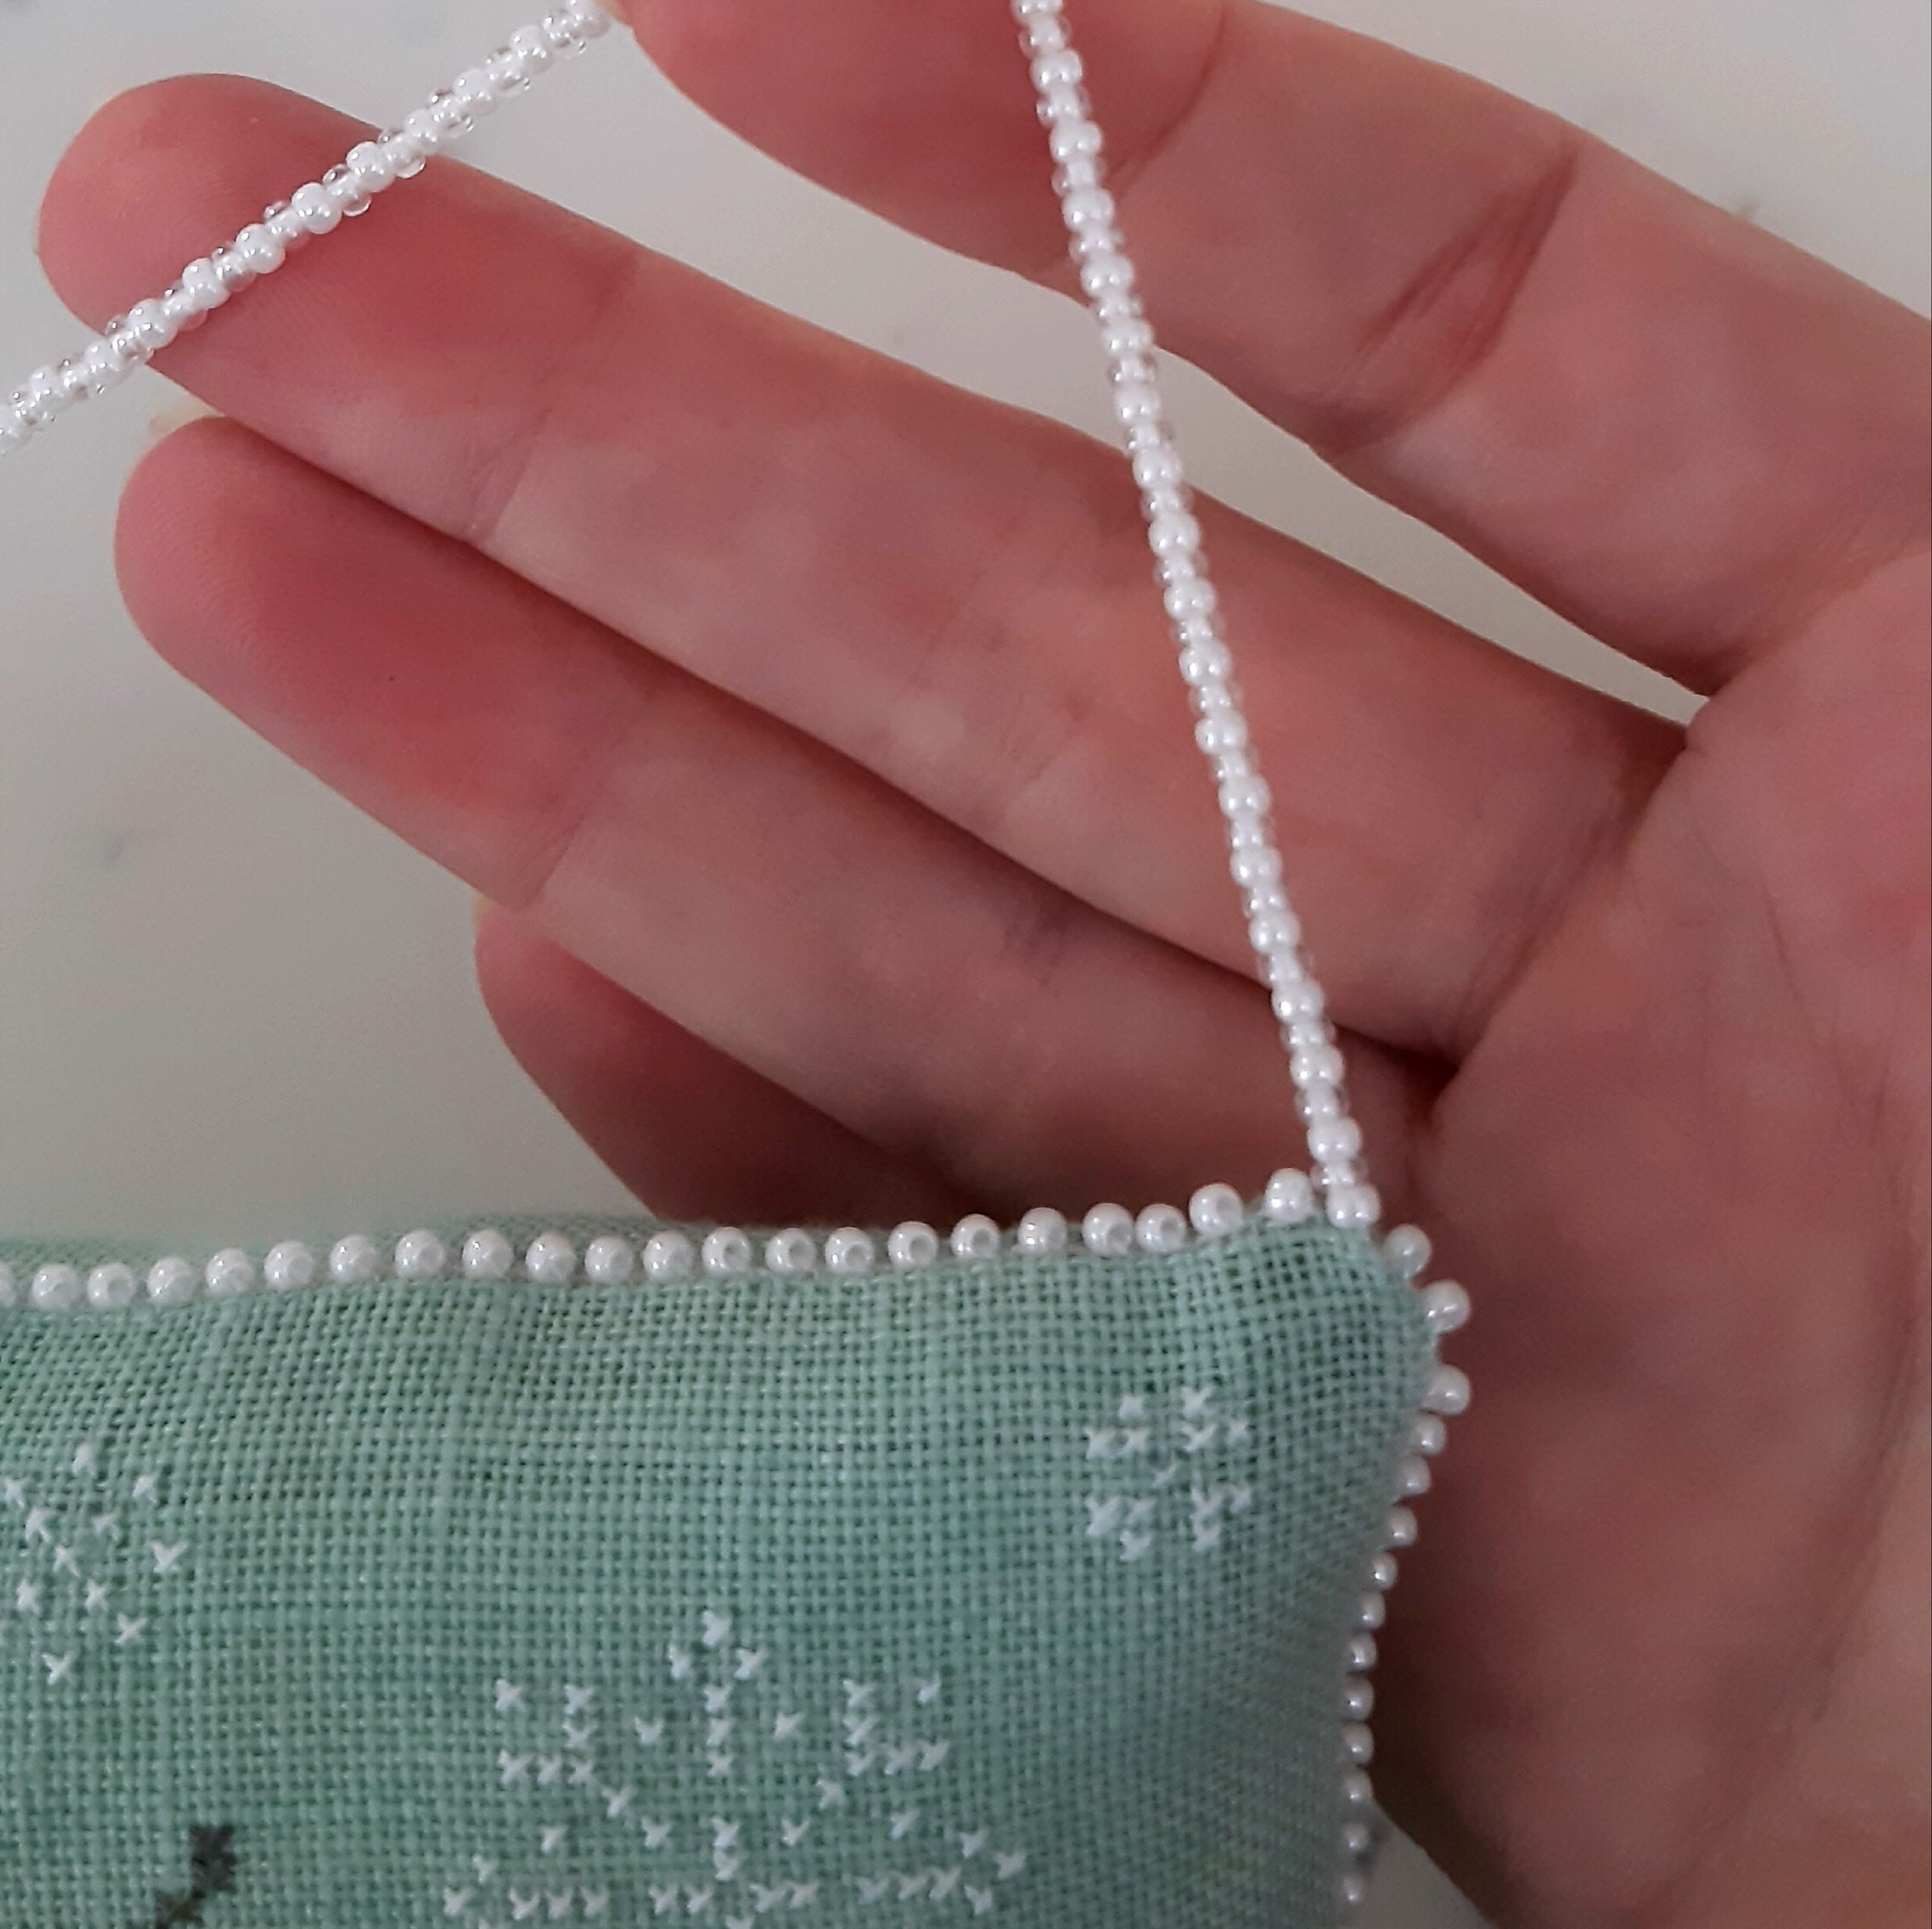
Finish