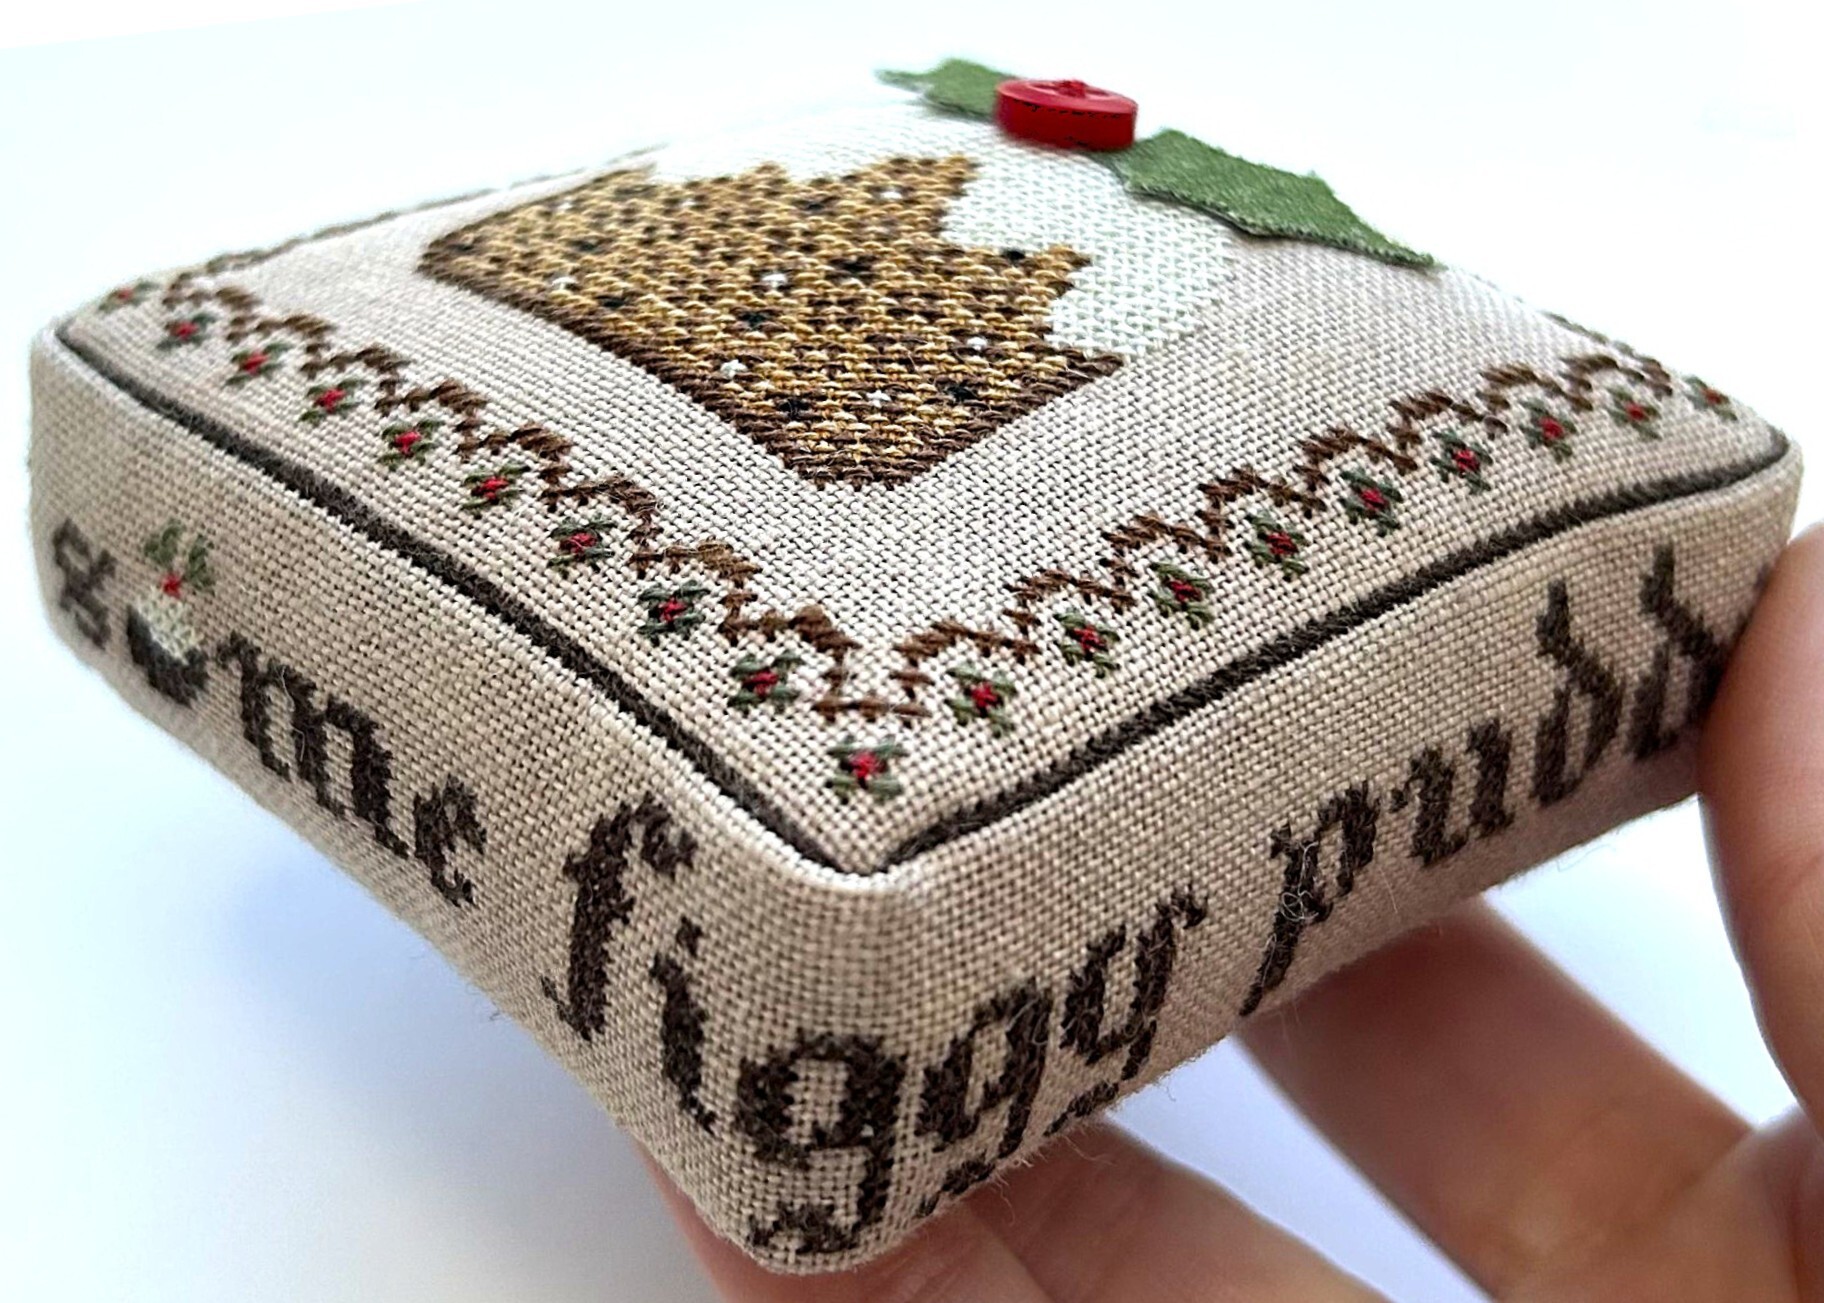
Figgy Pudding Pin Cushion Finish
Materials
- Red button (9mm used on model)
- Green felt for leaves
- Thread for backstitching and joining panels (I used 1 strand of WDW Tatanka)
- Crushed walnut shells OR alternative filling material (I used a combination of both)
- Lightweight fusible interfacing (optional)
- Linen for the base of the pin cushion (MUST be the same count as the linen used for the top and border)
Step 1
Cut leaf shapes out of your felt and attach to the top of the pudding design. If you've purchased the chart from the Big Stitch, I have provided pre-cut leaves for you. I also included an extra piece of felt should you wish to make your leaves a tad smaller/larger. I attached the felt leaves to my design using a tiny amount of fabric glue (shhhhh, please don't tell the cross stitch police!). Stitch on the button, using a complimentary floss, between the leaves to complete the 3D holly berry effect.
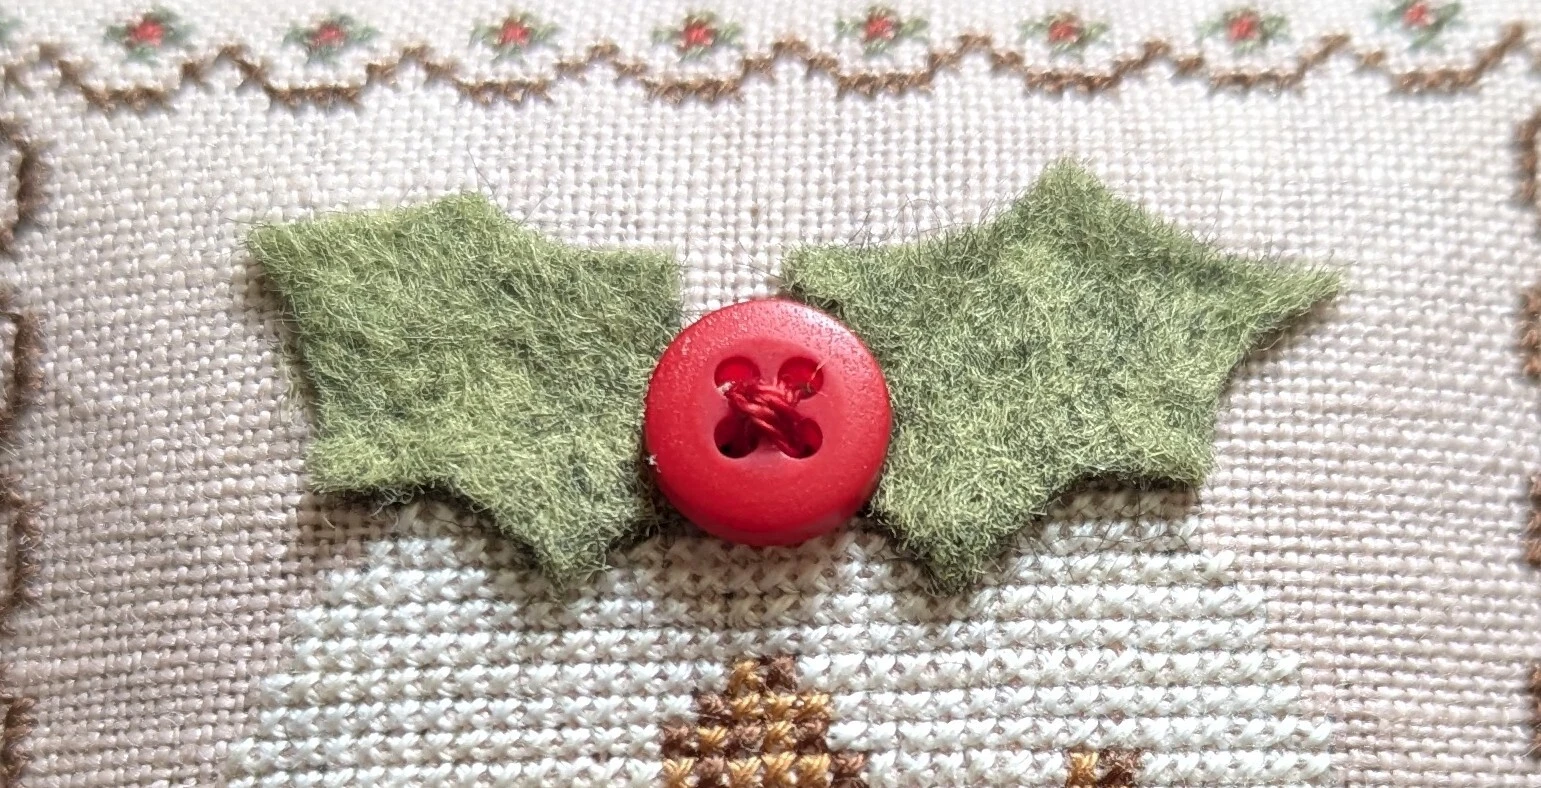
Step 2
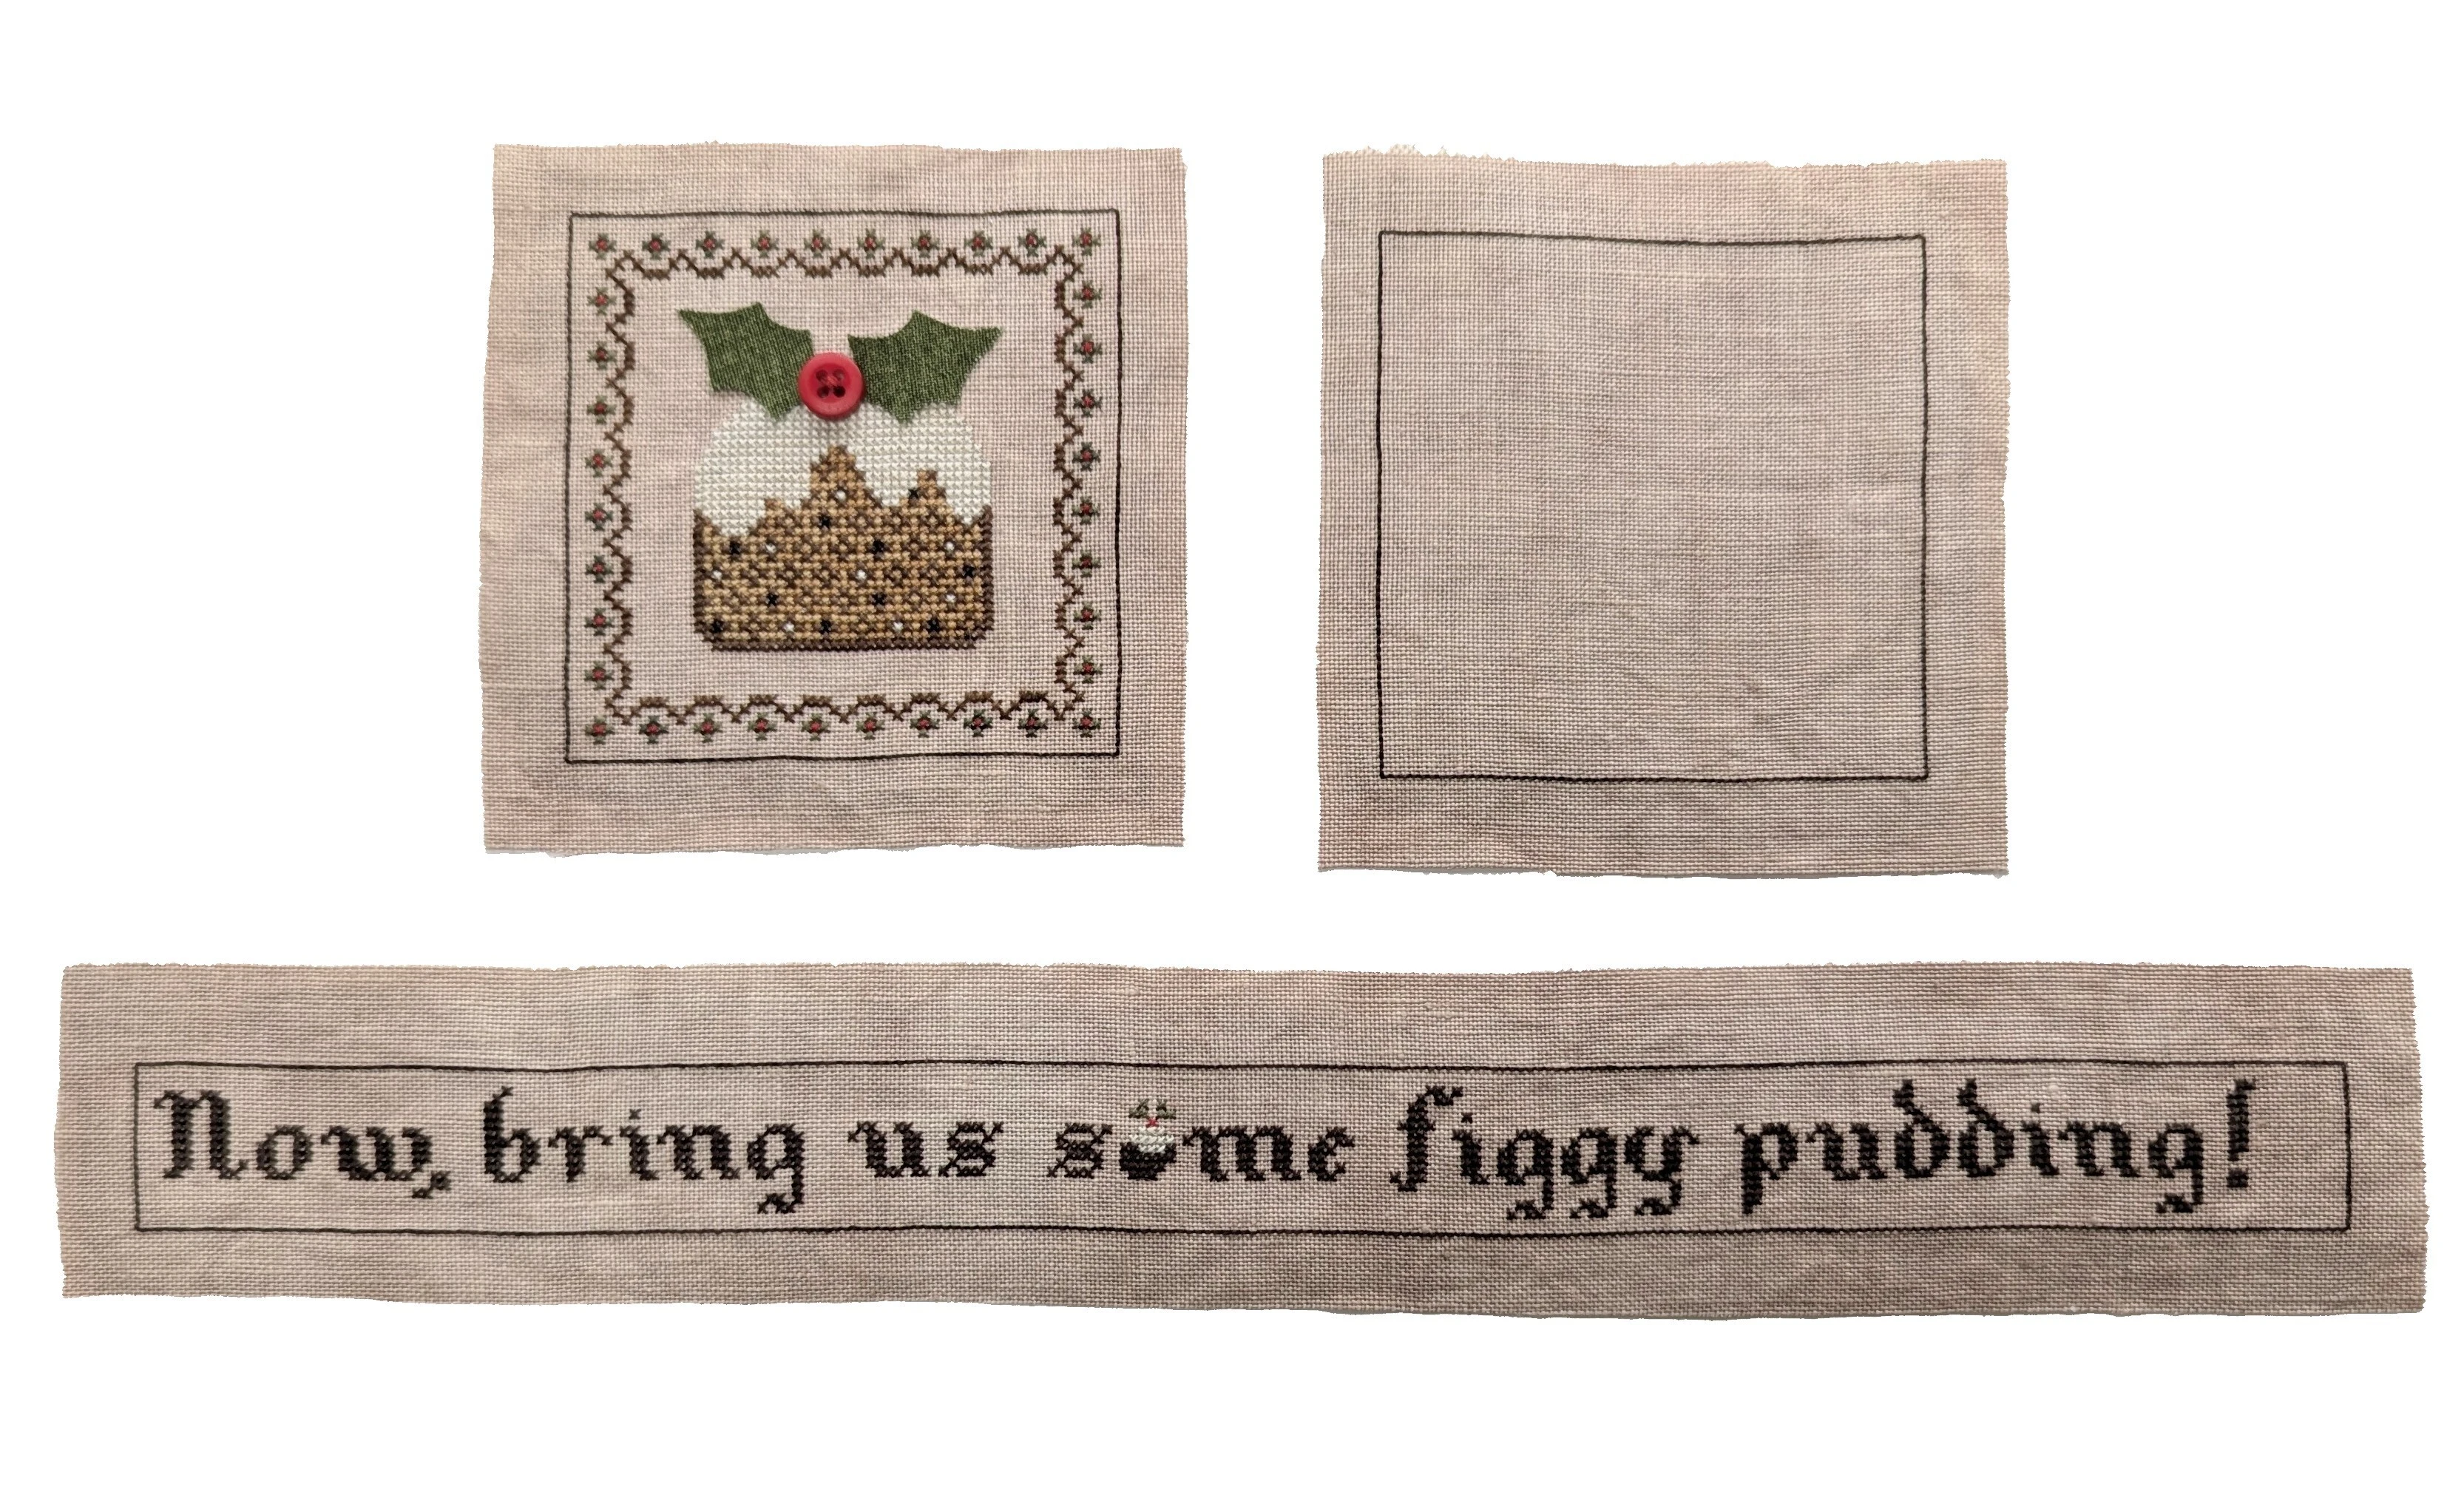
Backstitch a border (over 2 threads if stitching on linen) around the edge of the figgy pudding design, shown as a solid line on the chart. Then, repeat on another piece of linen for the base of the cushion. Ensure the 2 backstitched areas, for the top and base, are exactly the same dimensions (61 x 61 stitches)! Now, backstitch the border for the side design (also shown on this chart as a solid line, 244 x 19 stitches). Trim the excess linen to leave approximately ½ an inch from the backstitched lines.
Step 3
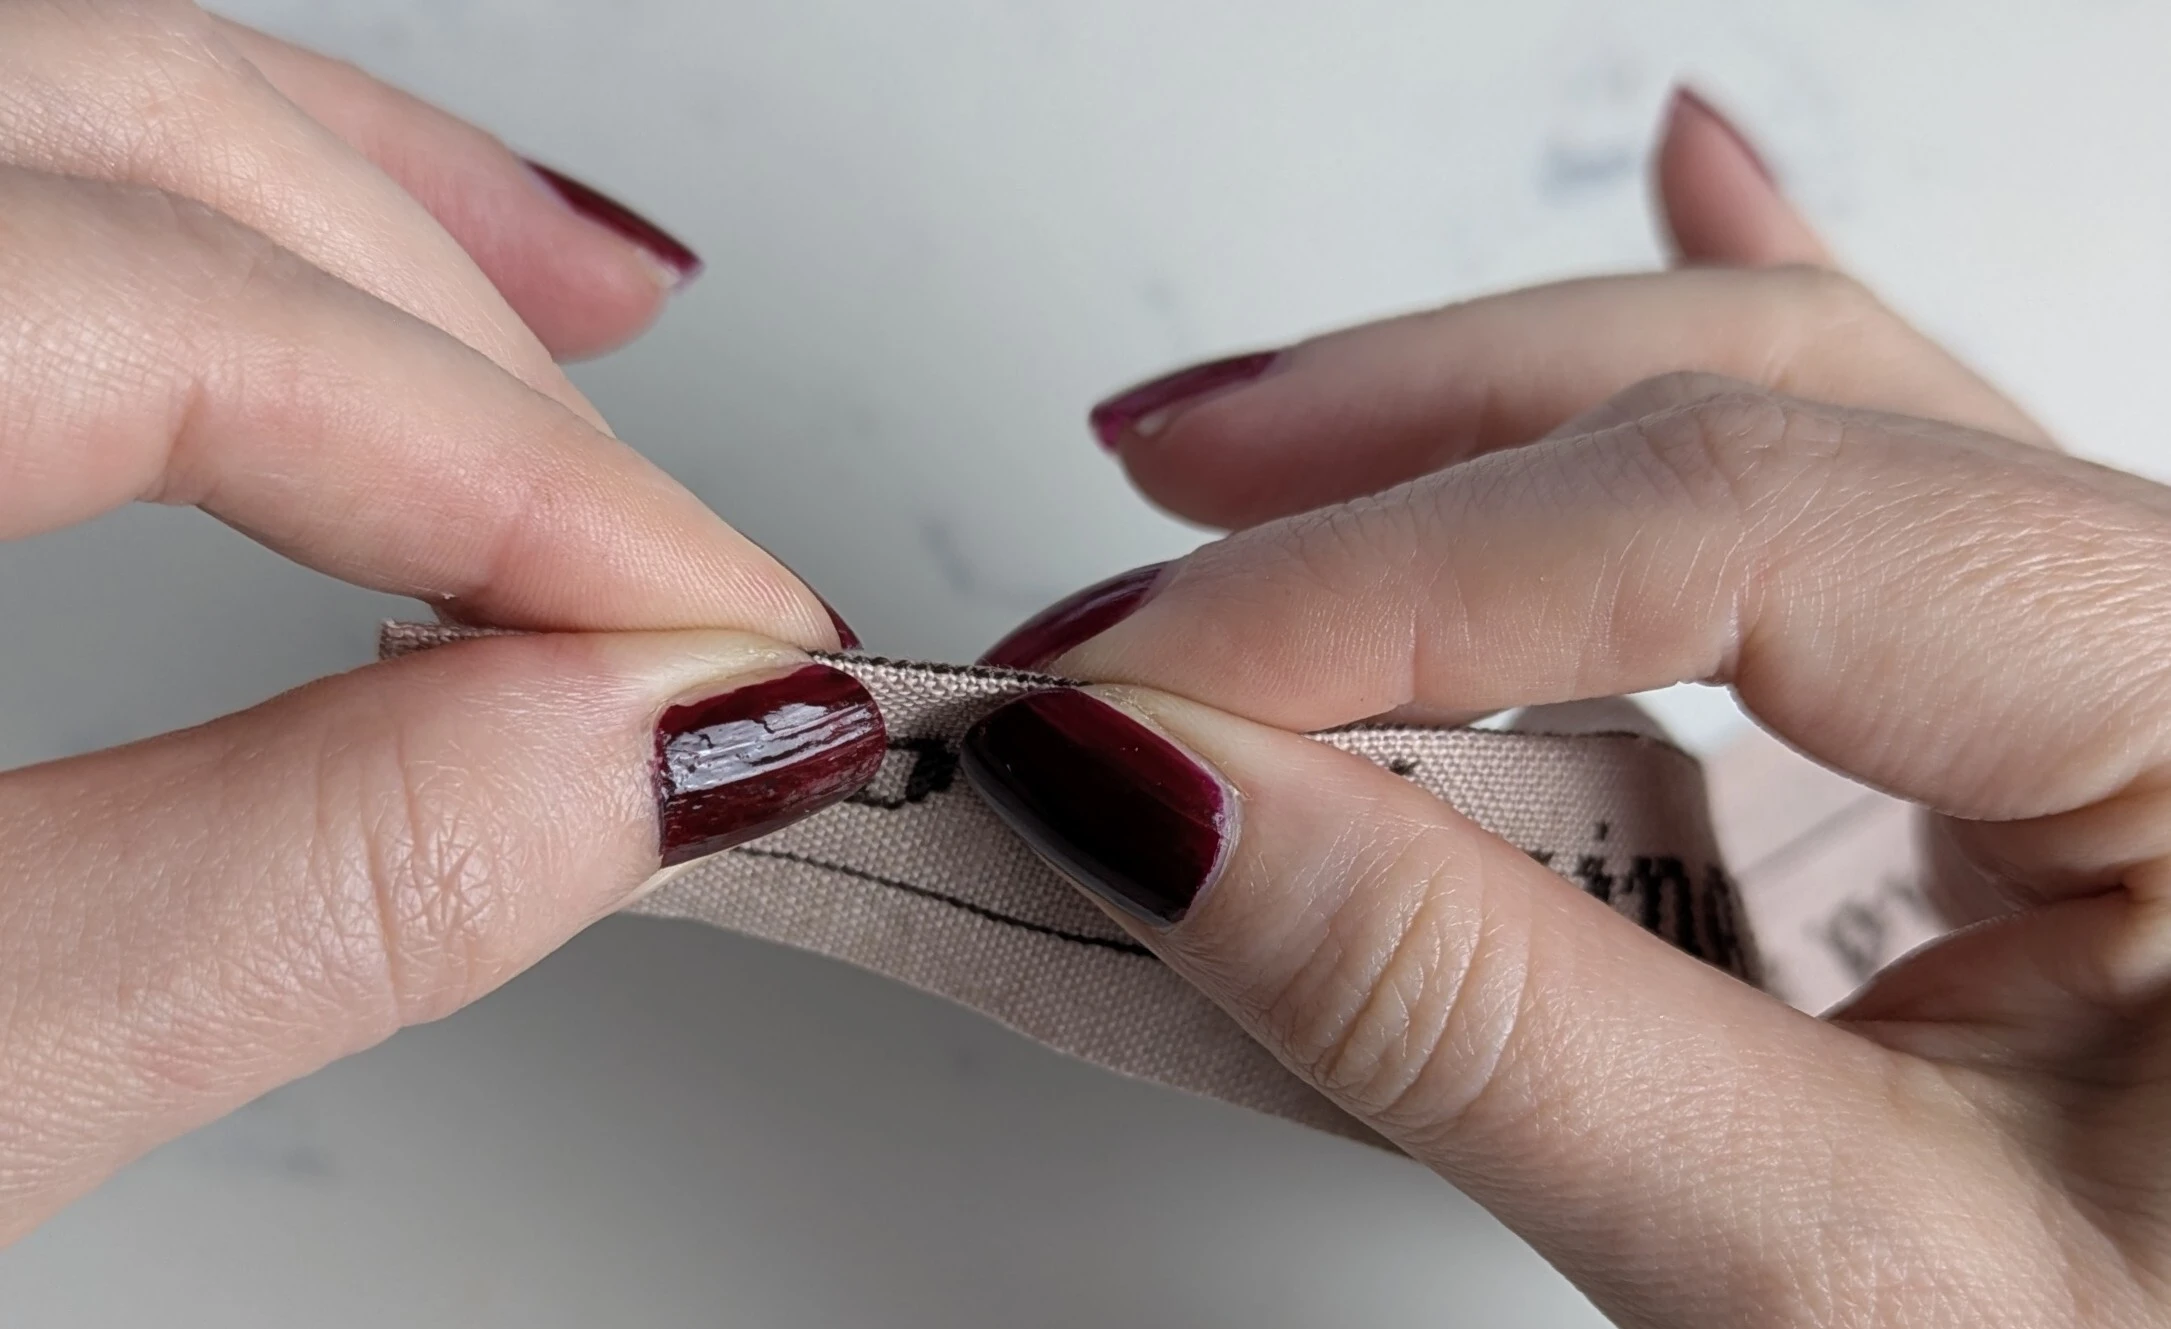
Add lightweight fusible interfacing to the reverse of the linen, just inside of the backstitched line. I find this helps add structure and provides an extra barrier for the walnut shells that I use (the interfacing is not strictly necessary, particularly if you use wadding or similar for your filler). Then, firmly finger press along all the backstitched lines to create a crisp edge.
Step 4
Next, line up one end of the side design with the centre of the top of the figgy pudding design (either 30 or 31 stitches from the corner). Whip stitch the seam by looping through each adjoining backstitch all around the edge until the two ends meet.
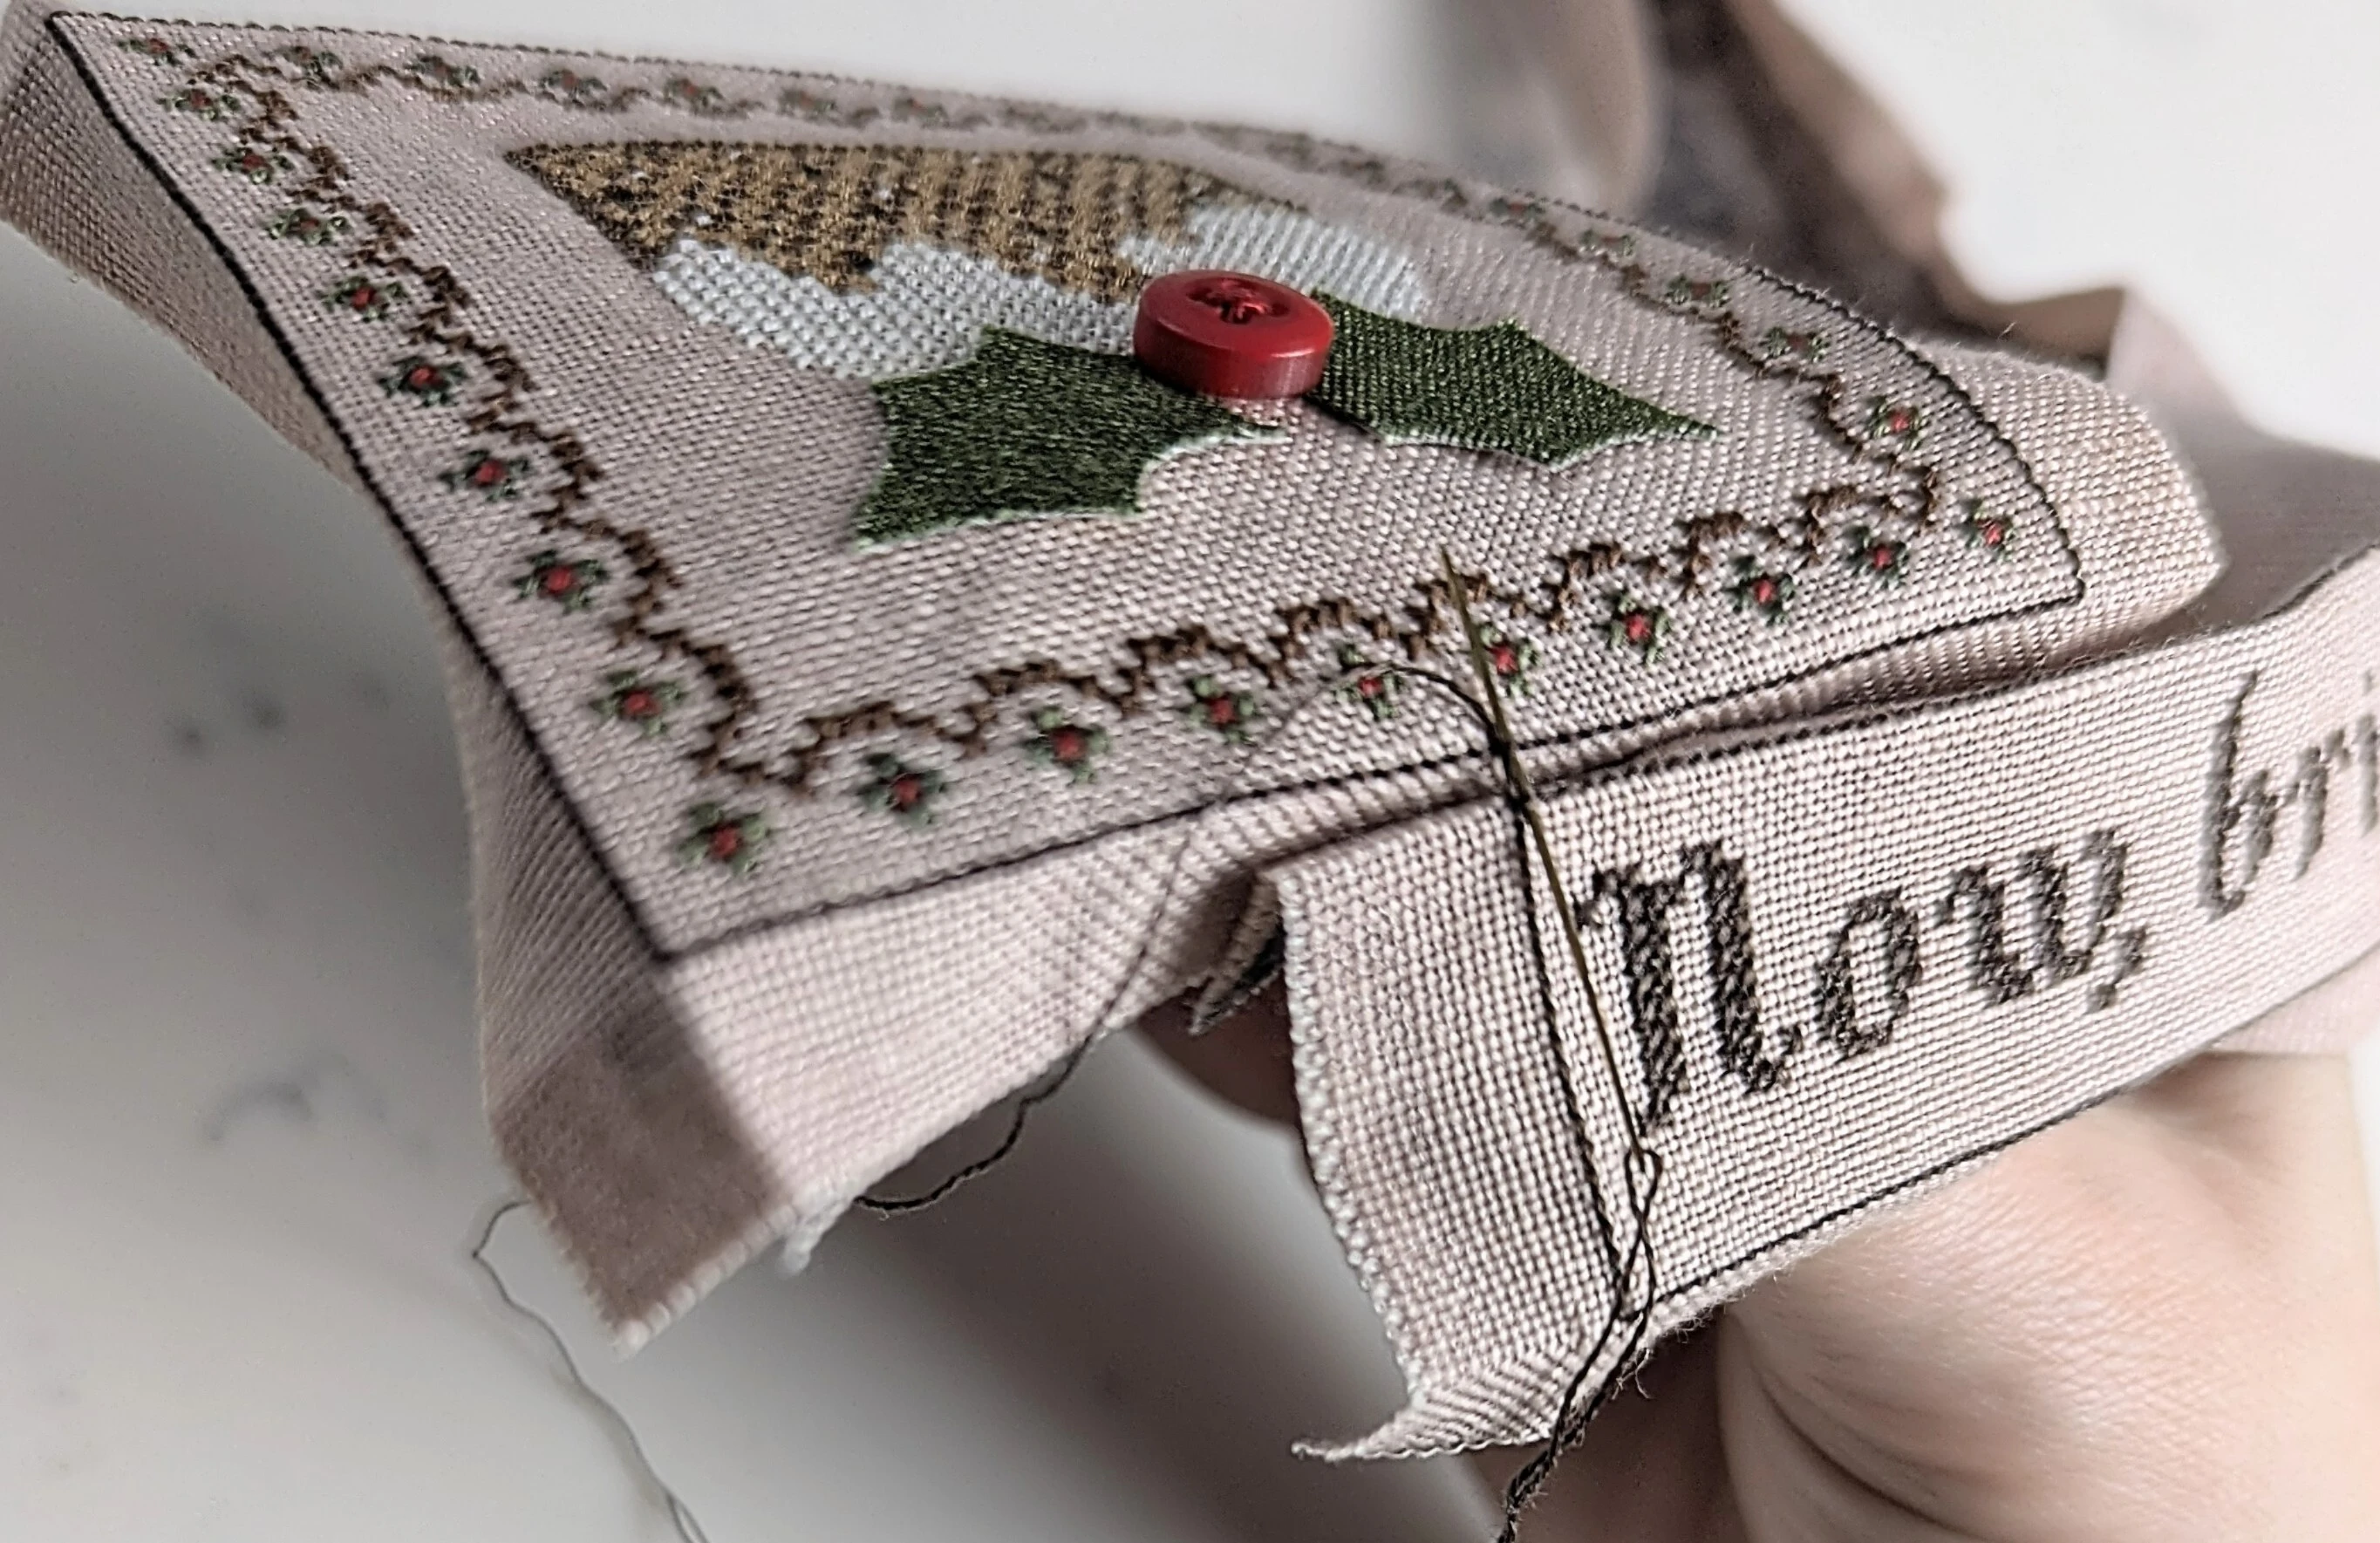
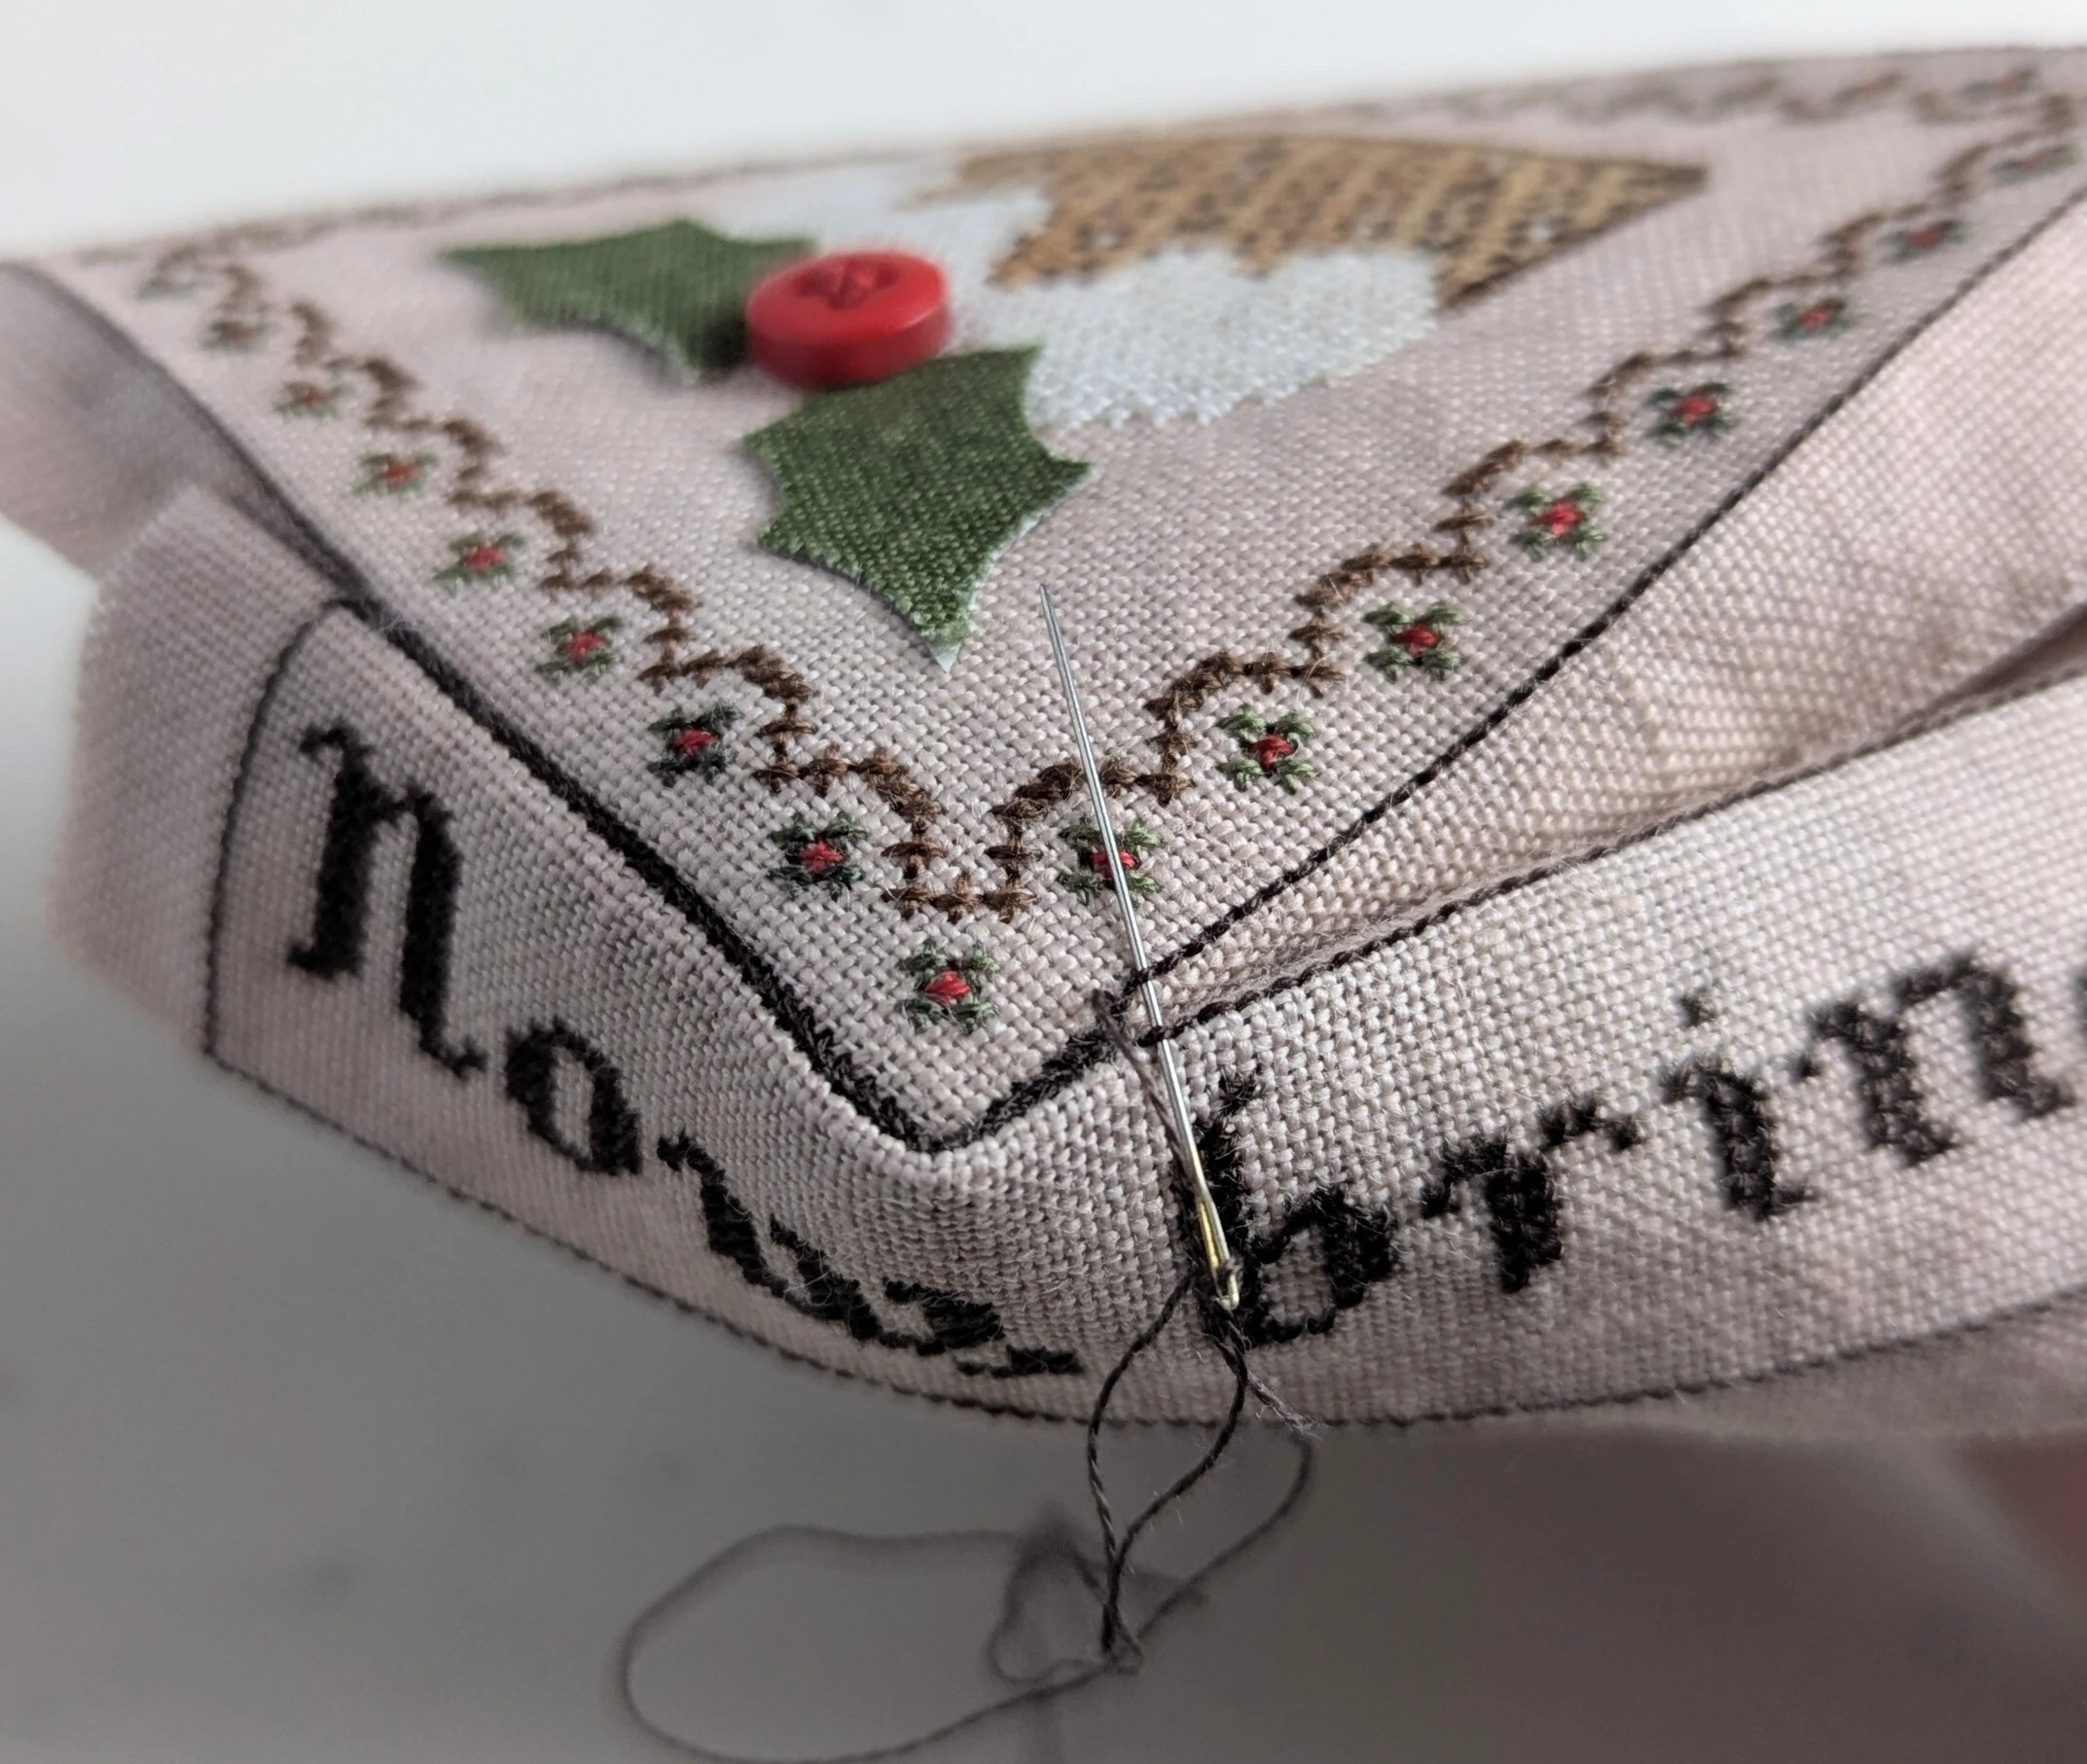
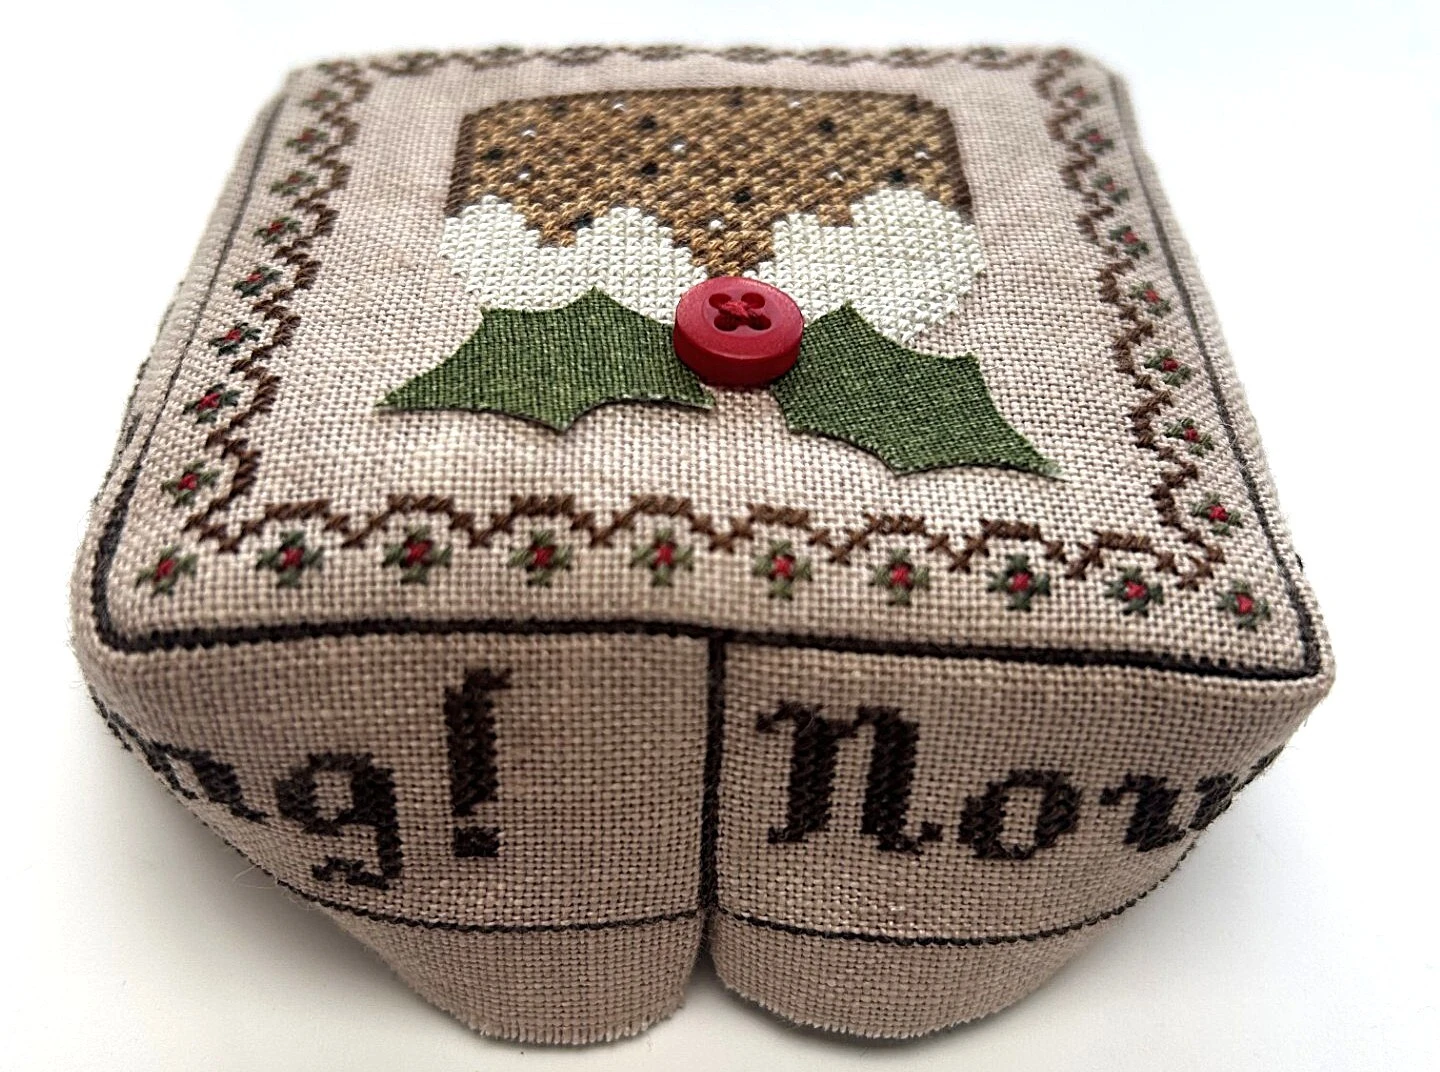
Continue whip stitching down the seam of the side panel to complete the top of the cushion.
Step 5
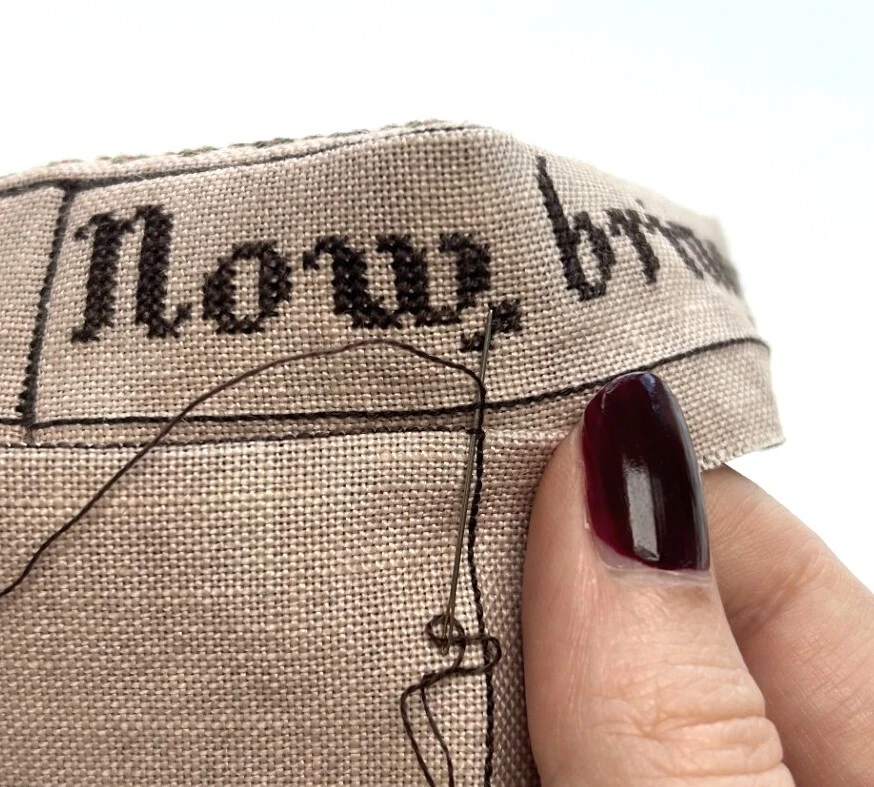
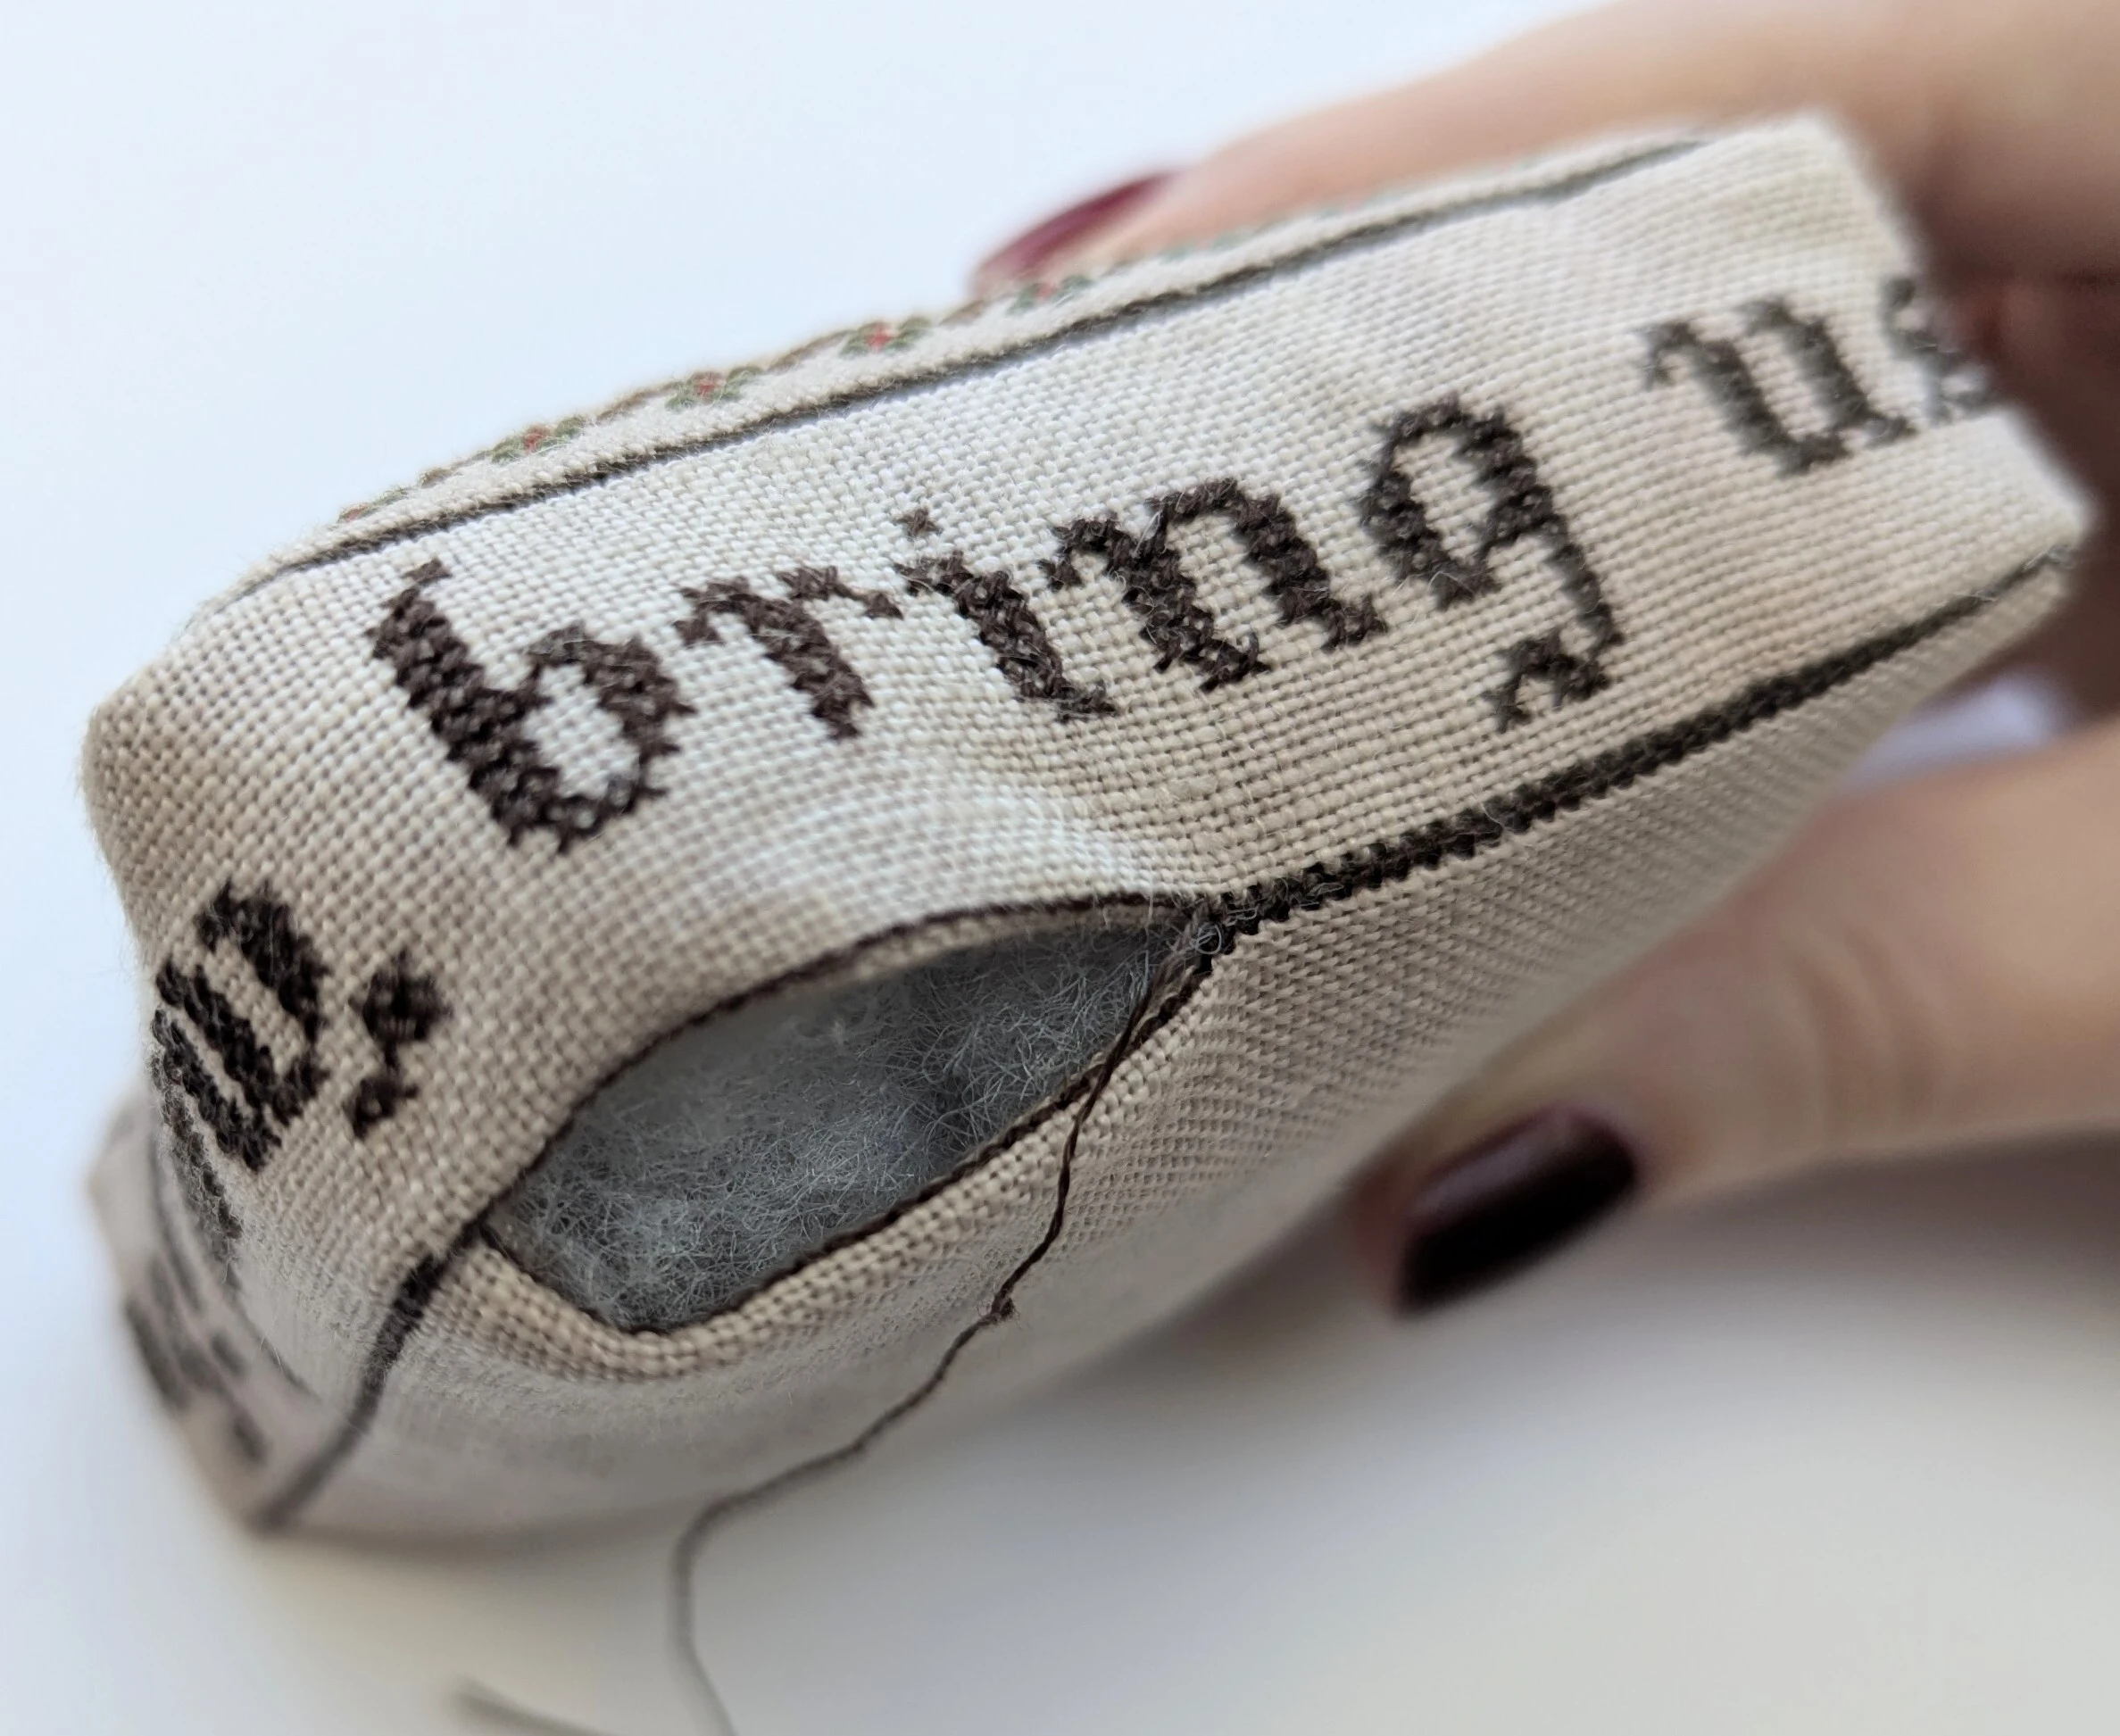
I find aligning the base with the top is easiest starting at a corner so I counted the same number of stitches away from the join/seam of the side design (30 in my case) before starting my whip stitching again.
Step 6
With approximately an inch to go before your base is fully attached, pack in your filling material. Then, stitch up the final section.