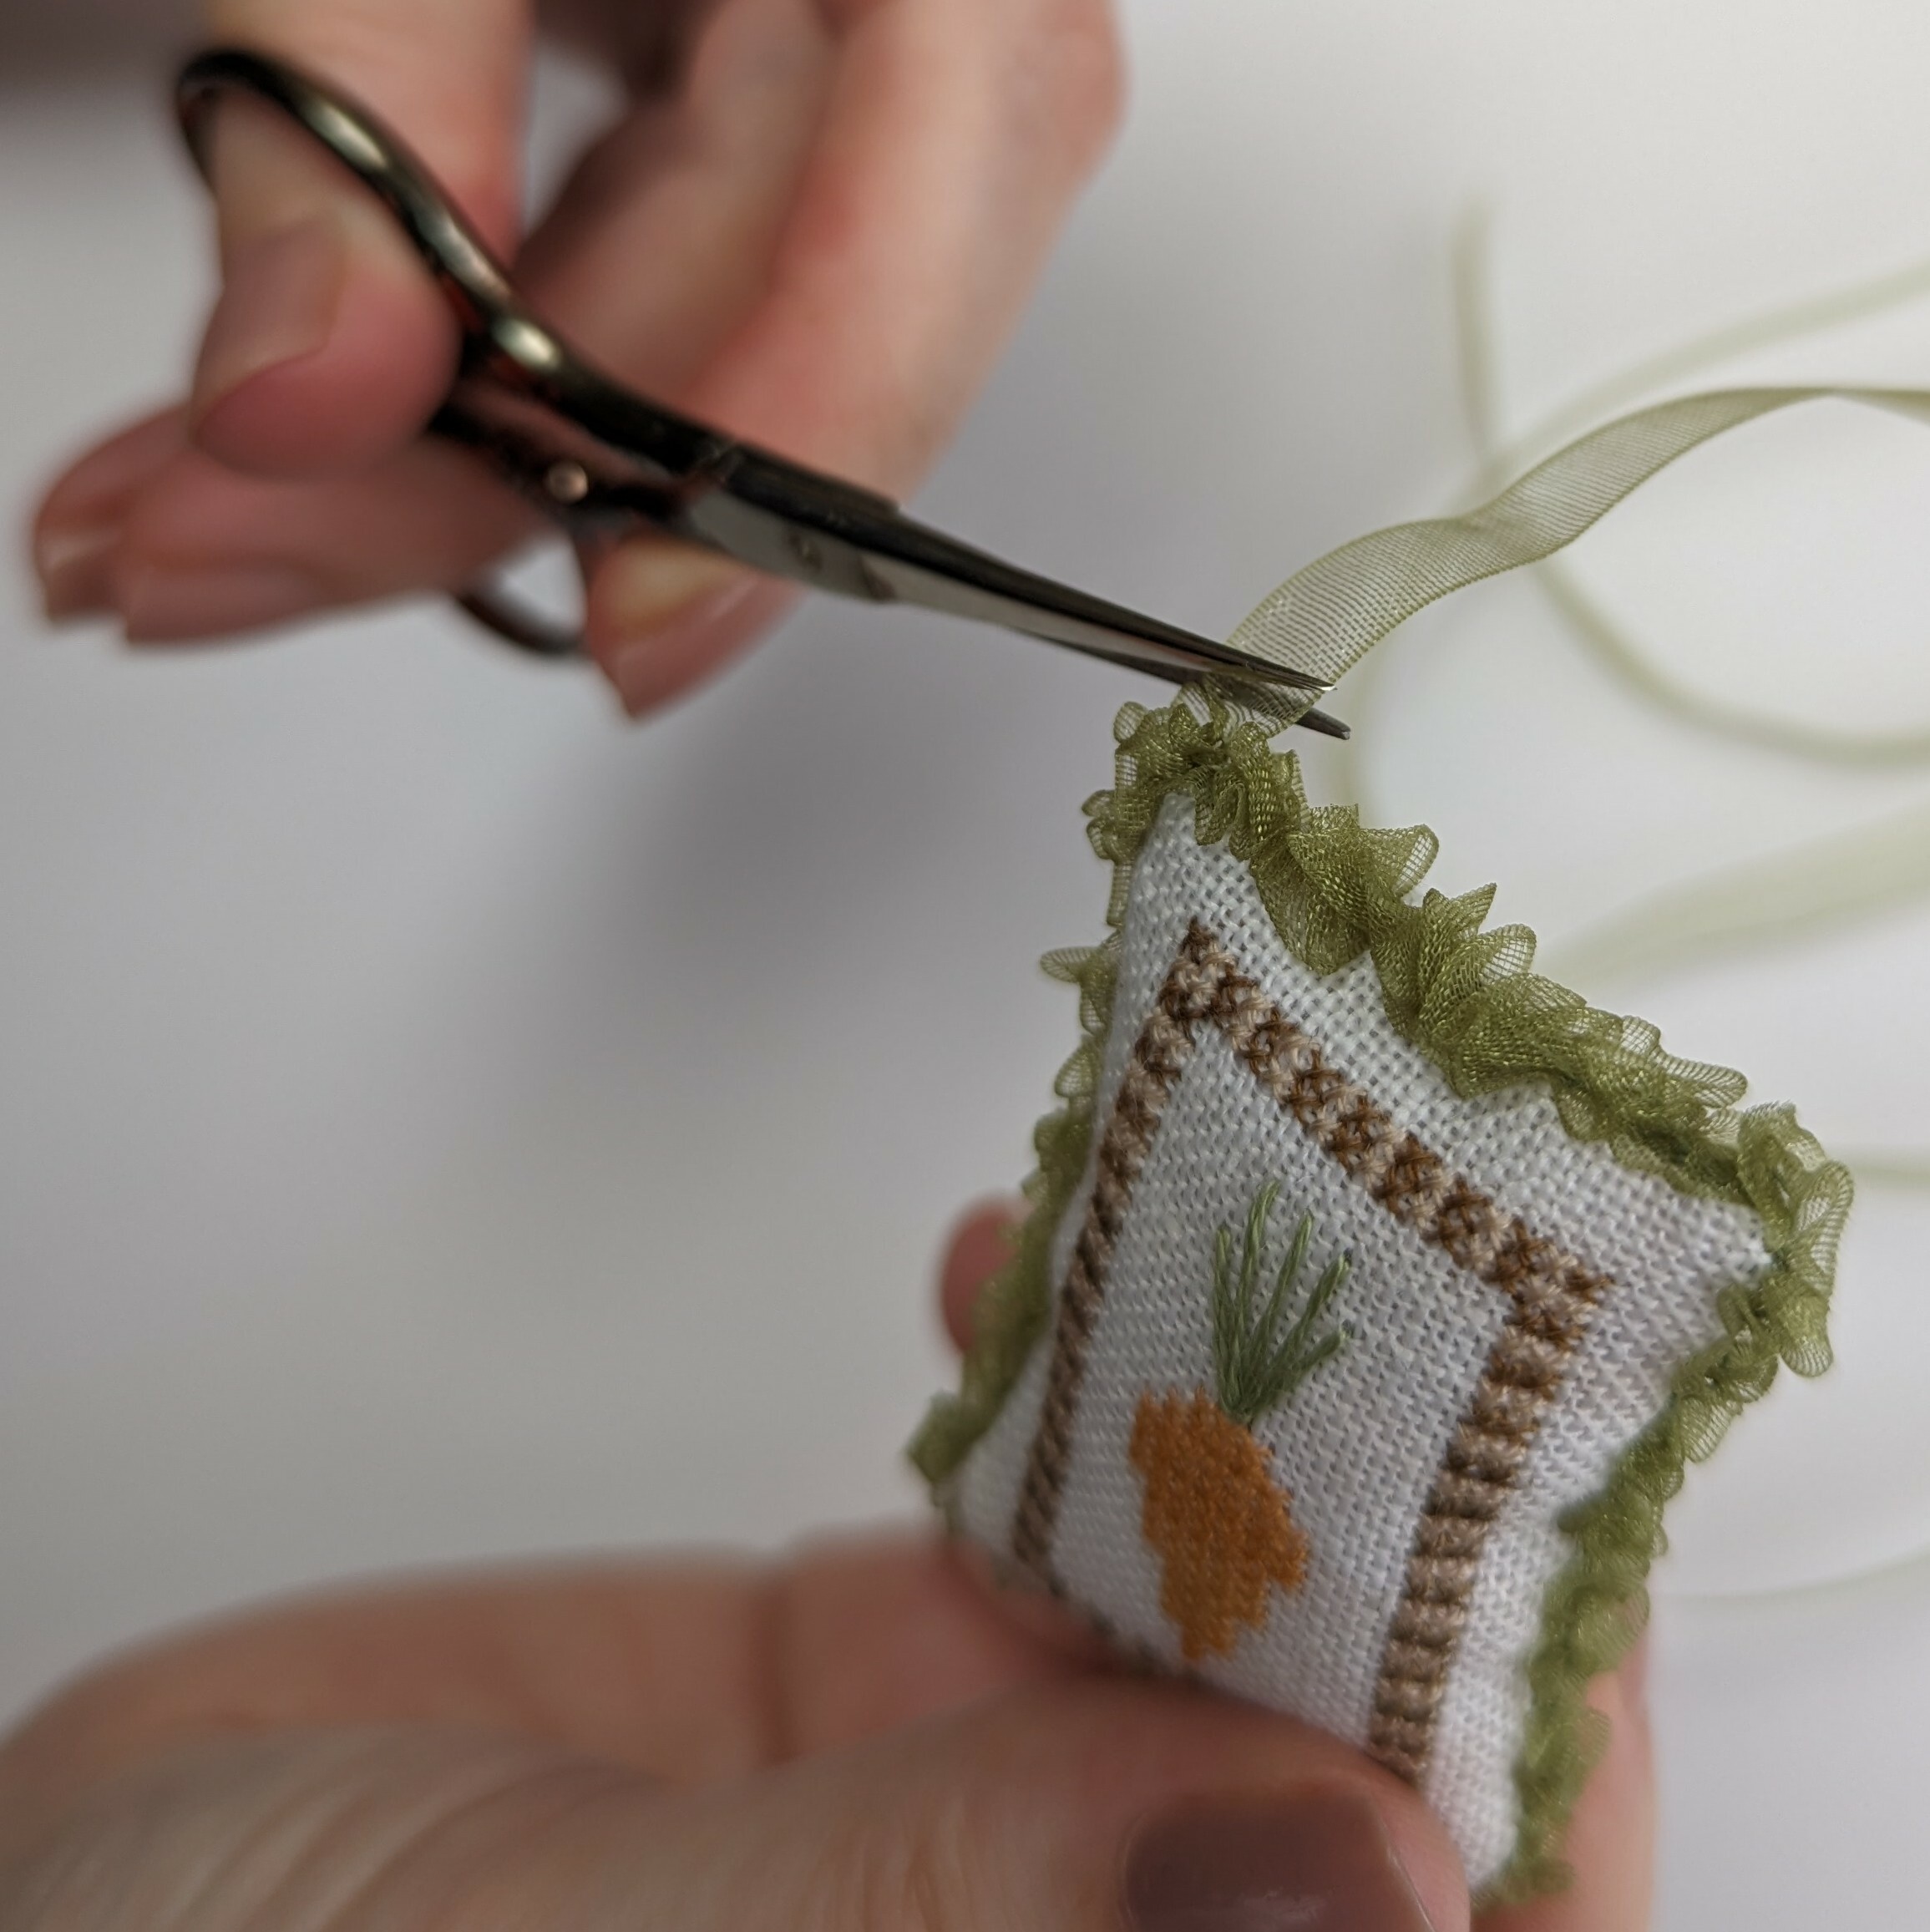
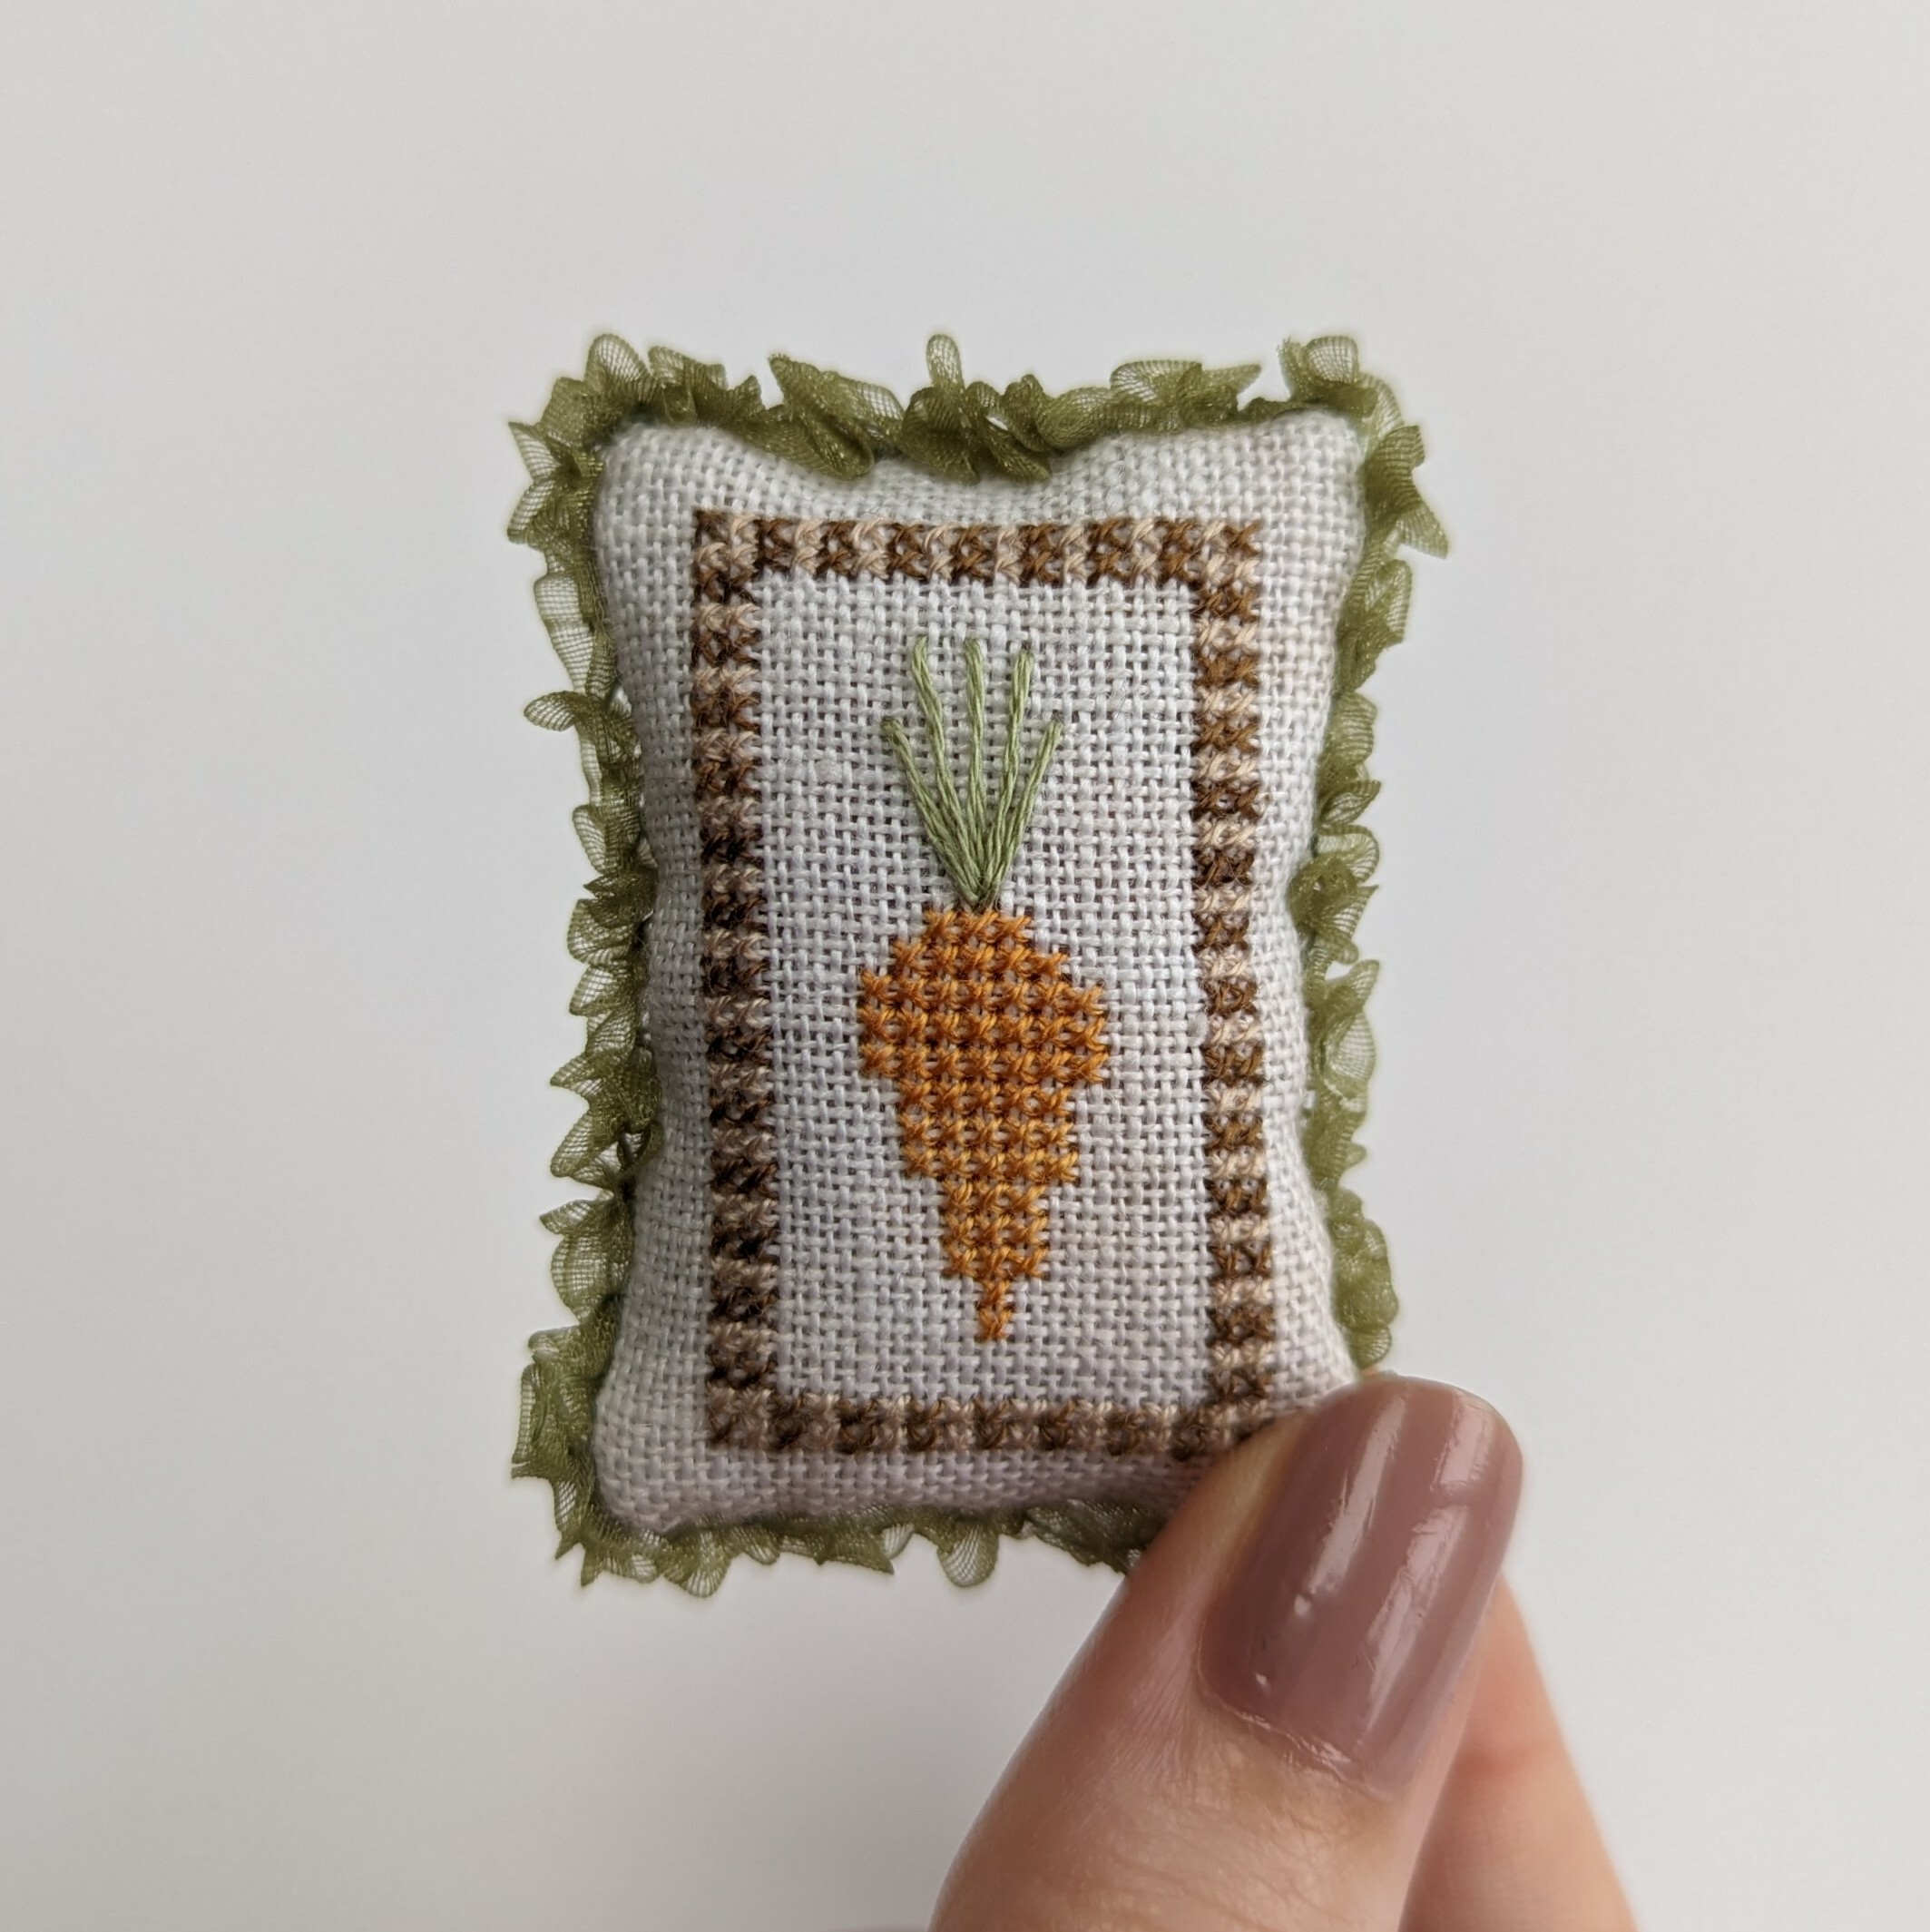
Pin Pillow Finish with Ruched Ribbon Edge
Materials
- Ribbon (I used 6mm organza ribbon)
- Thread to match the ribbon colour
- Crushed walnut shells OR alternative filling material
- Lightweight fusible interfacing (optional)
Step 1
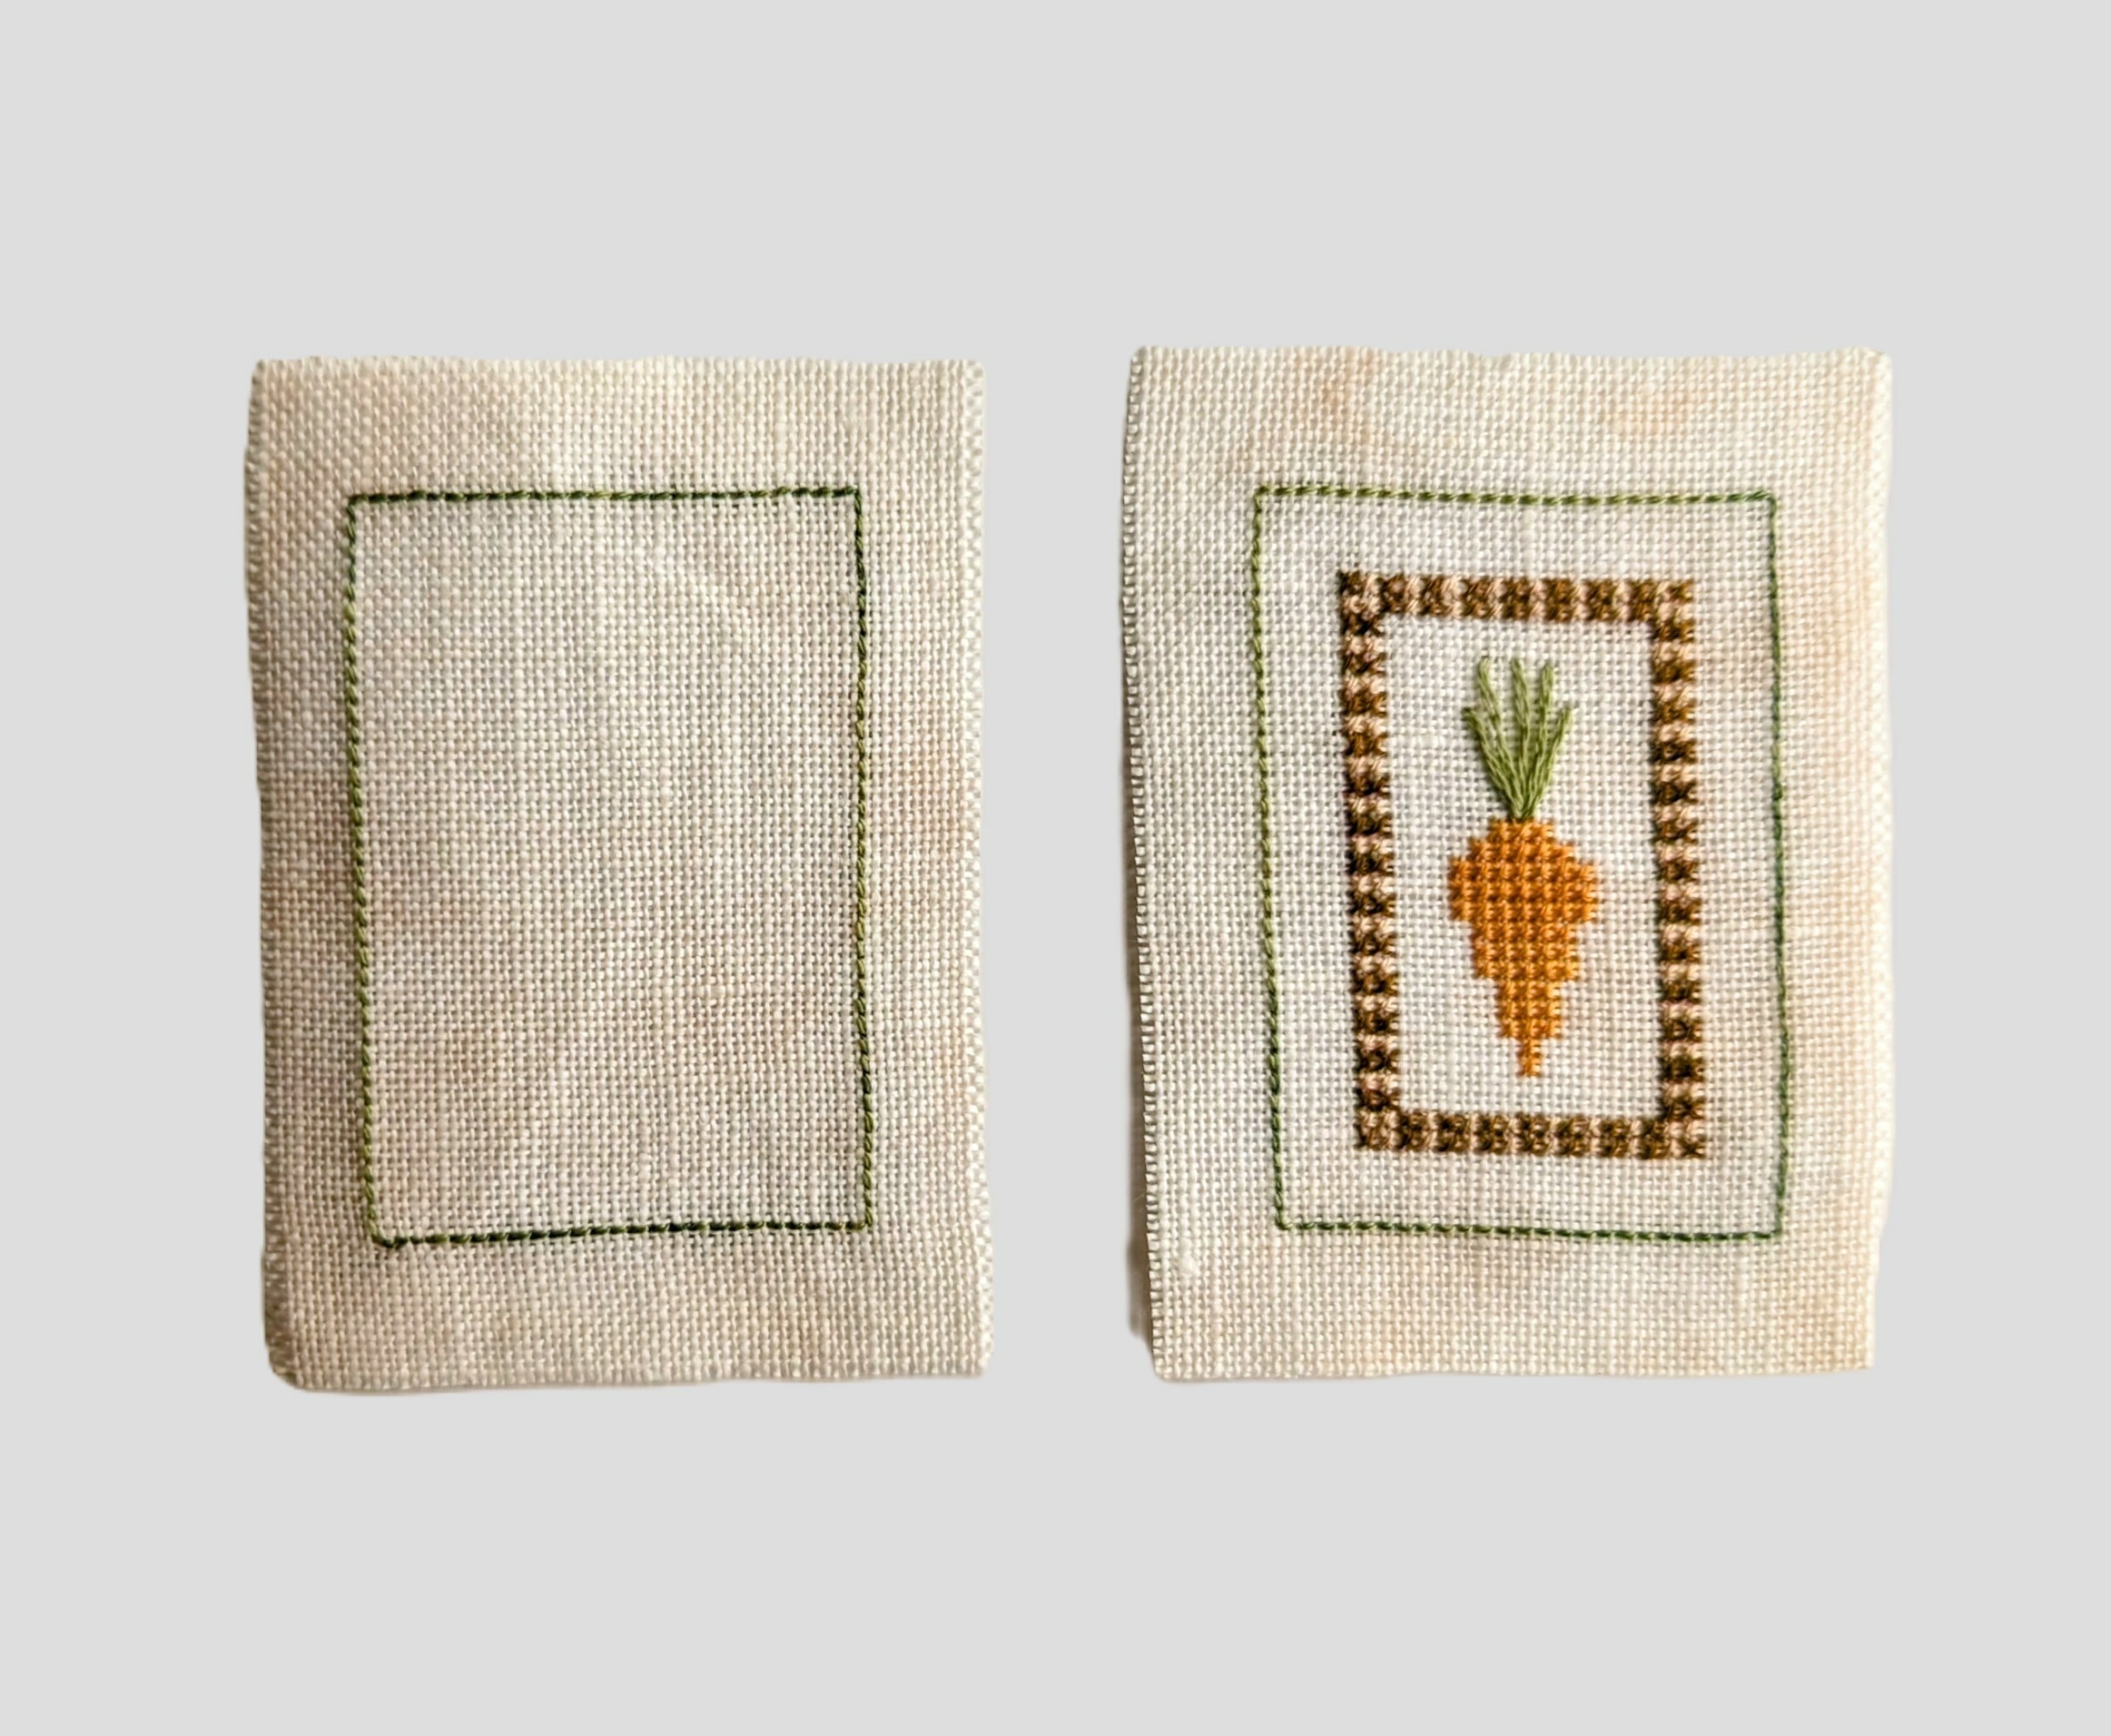
Backstitch a line around the edge of the design and then repeat again on another piece of linen for the reverse of the pillow. Ensure the 2 backstitched areas are exactly the same dimensions! Then, trim the excess linen to leave approximately ½ an inch from the backstitched line.
Step 2
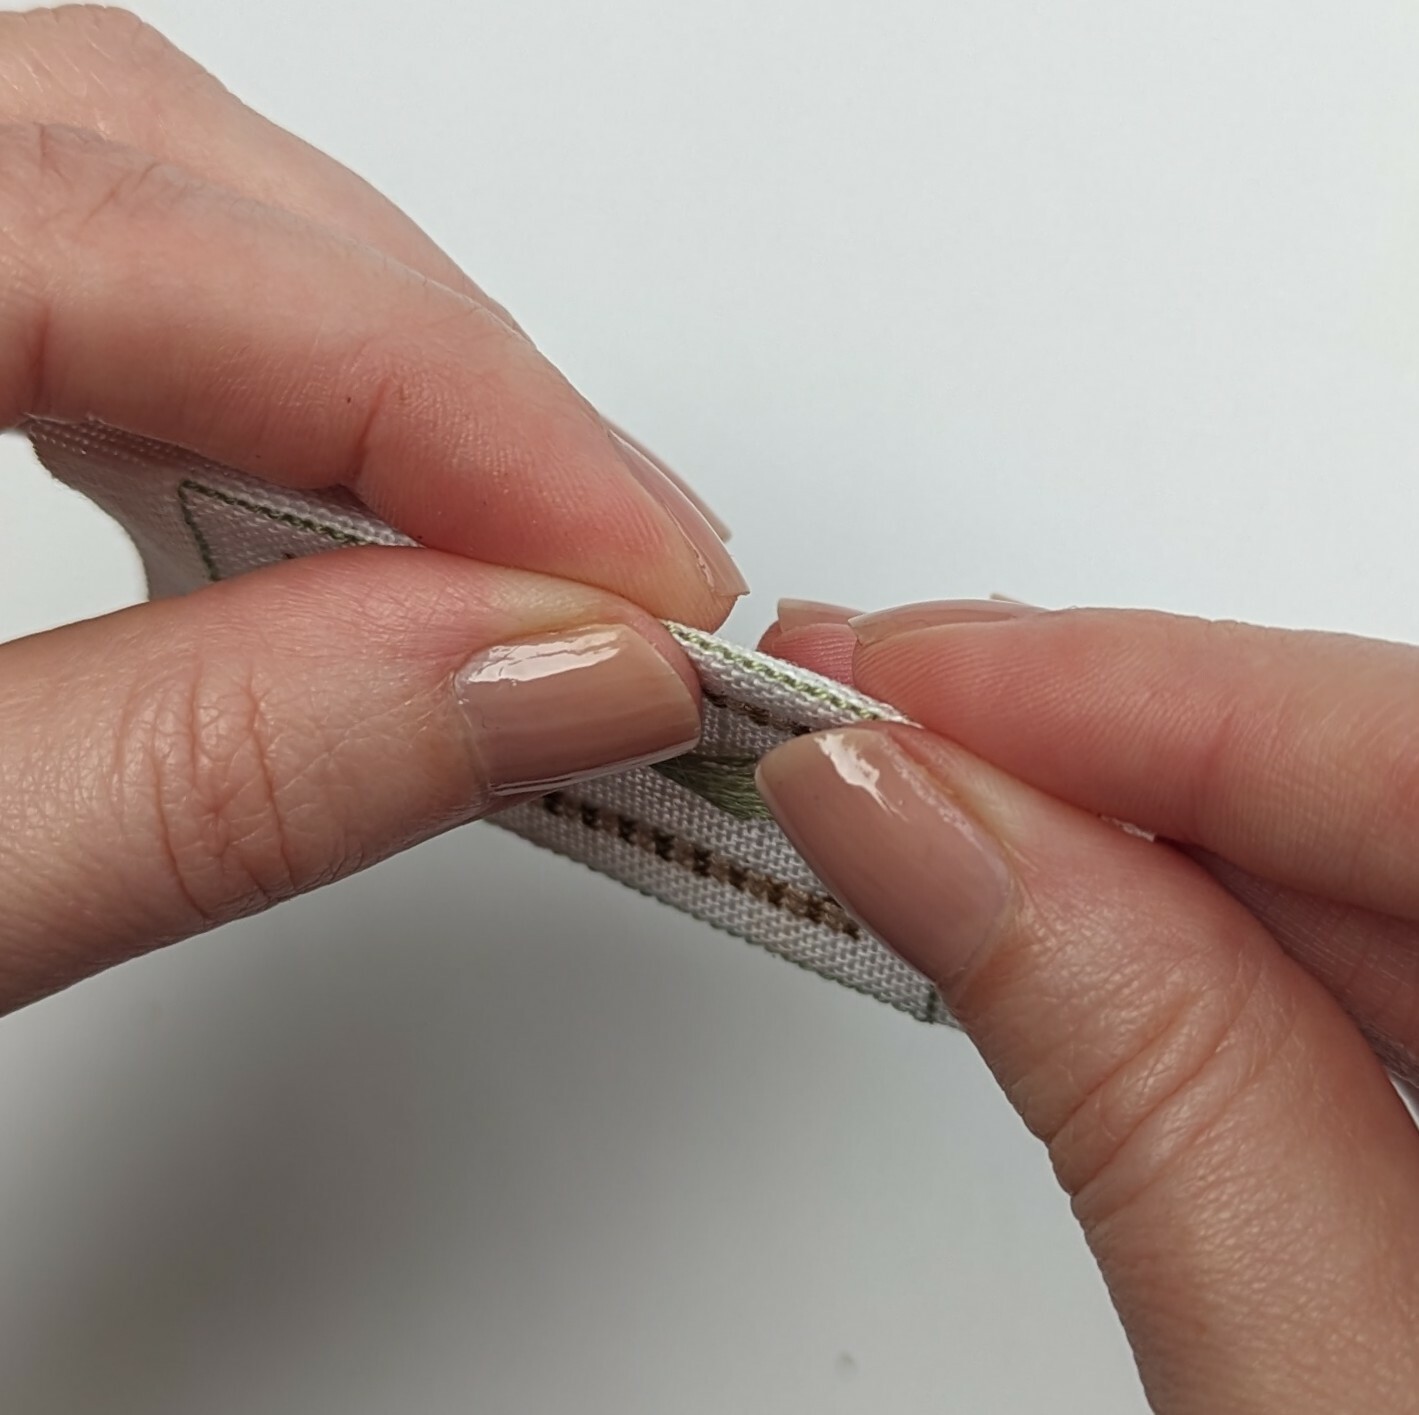
Add lightweight fusible interfacing to the reverse of the linen, just inside of the backstitched line. I find this helps add structure and provides an extra barrier for the walnut shells that I use (the interfacing is not strictly necessary, particularly if you use wadding or similar for your filler). Then, firmly finger press along all the backstitched lines to create a crisp edge.
Step 3
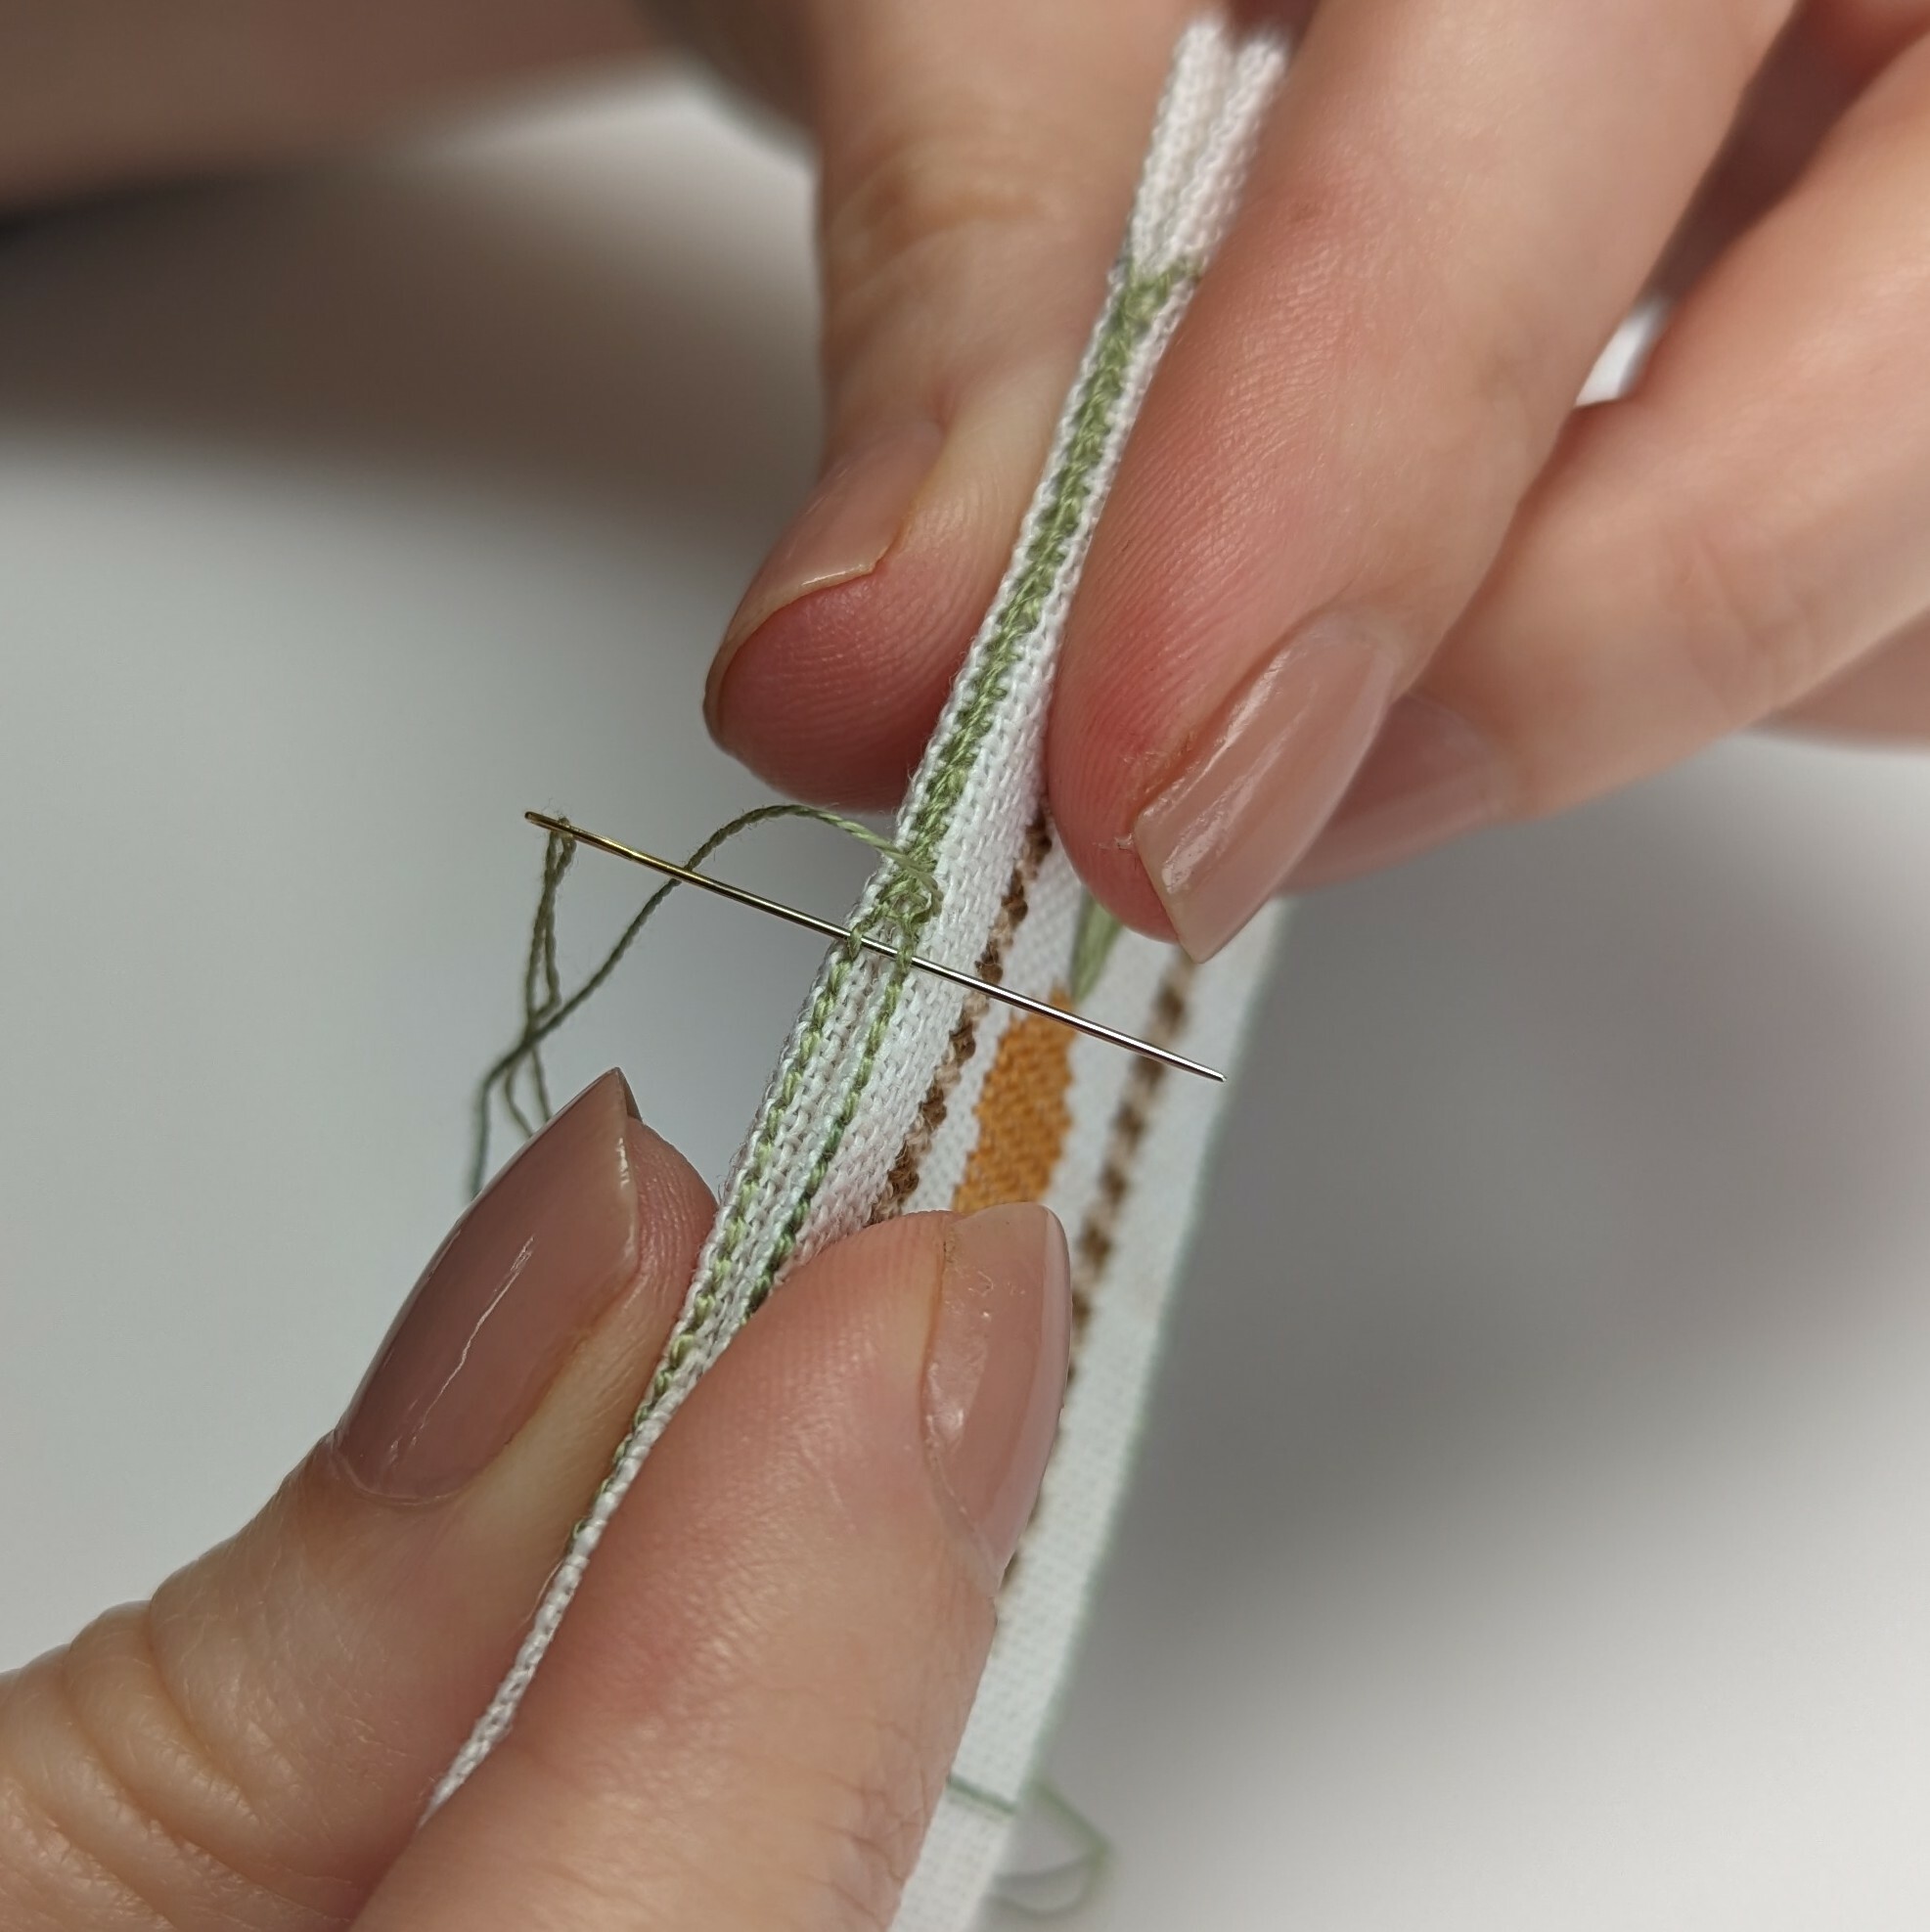
Next, line up what will be the front and back of your pillow, and whip stitch the seam by looping through the backstitches. Continue all the way around the edge of the pillow until you have roughly an inch of stitching left to go.
Step 4
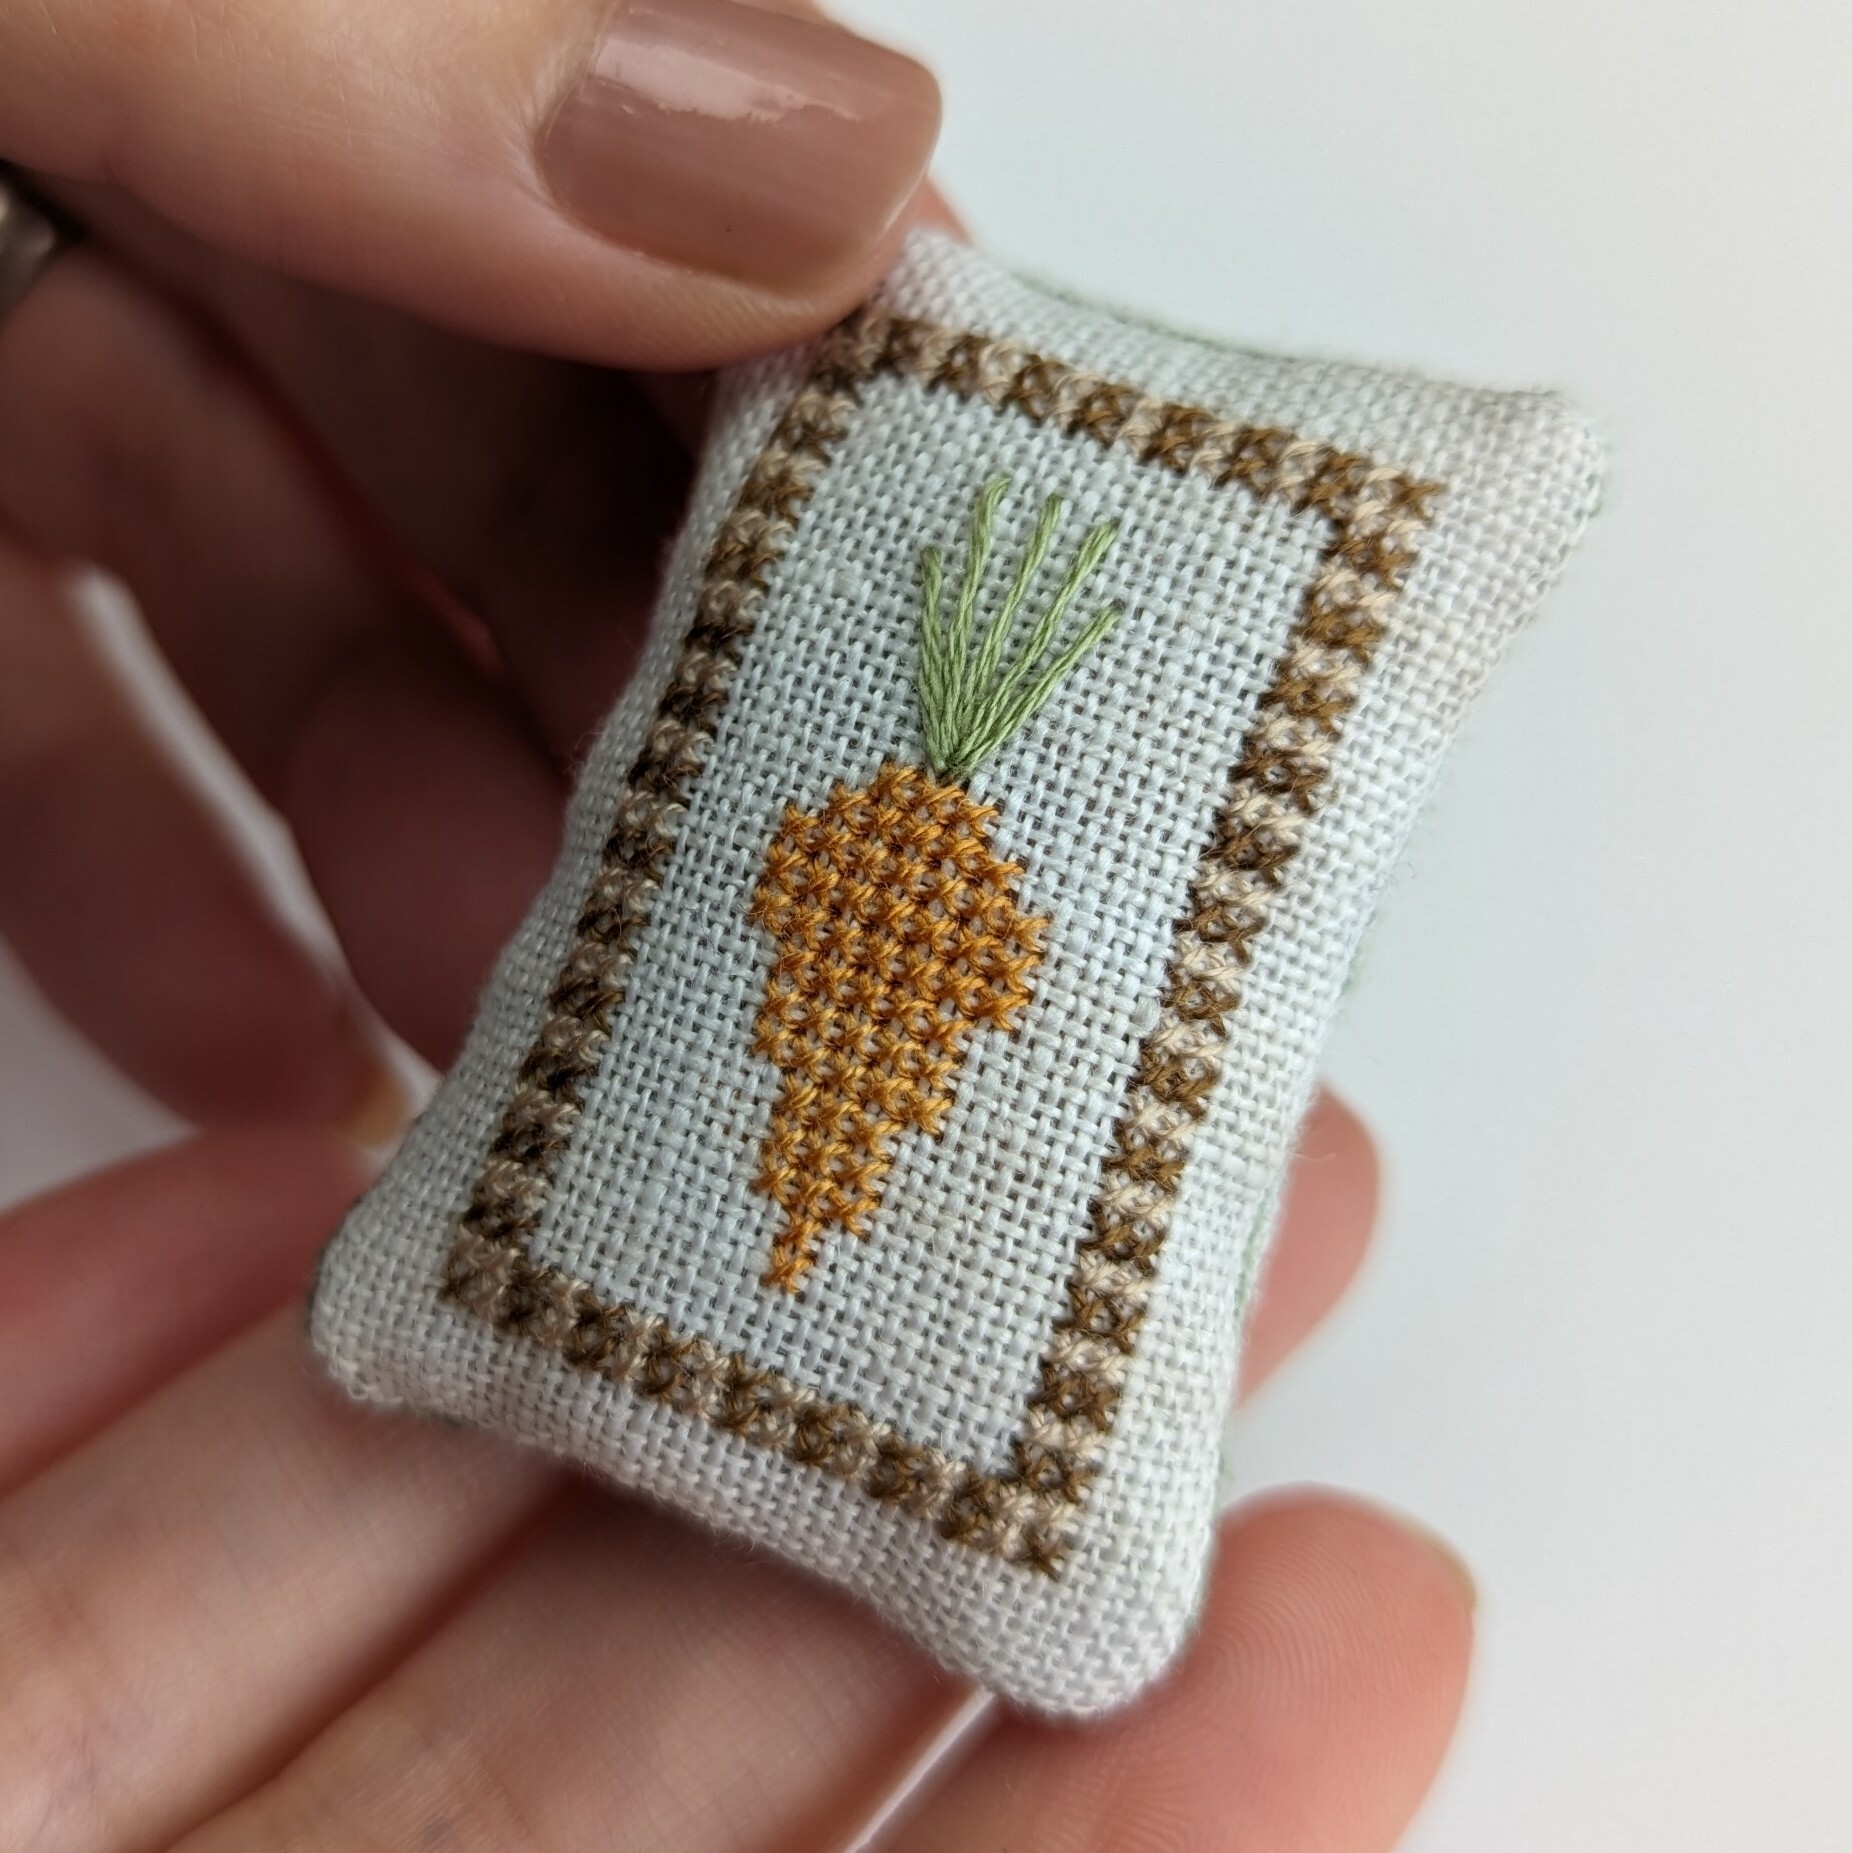
Add your filling material and pack in to your preferred density. Then, stitch up the last section.
Step 5
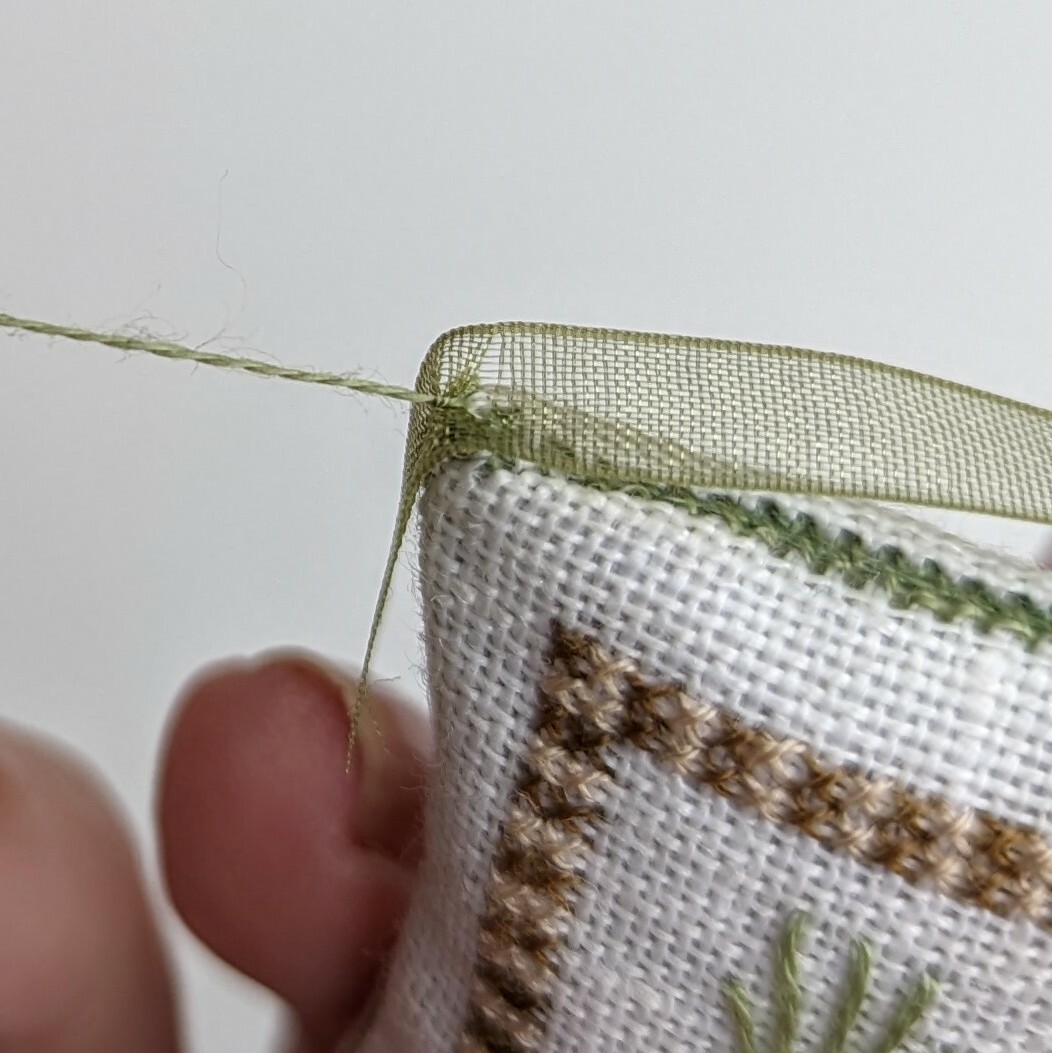
Secure one end of your ribbon to a corner of the pillow by tying with with a knot.
Step 6
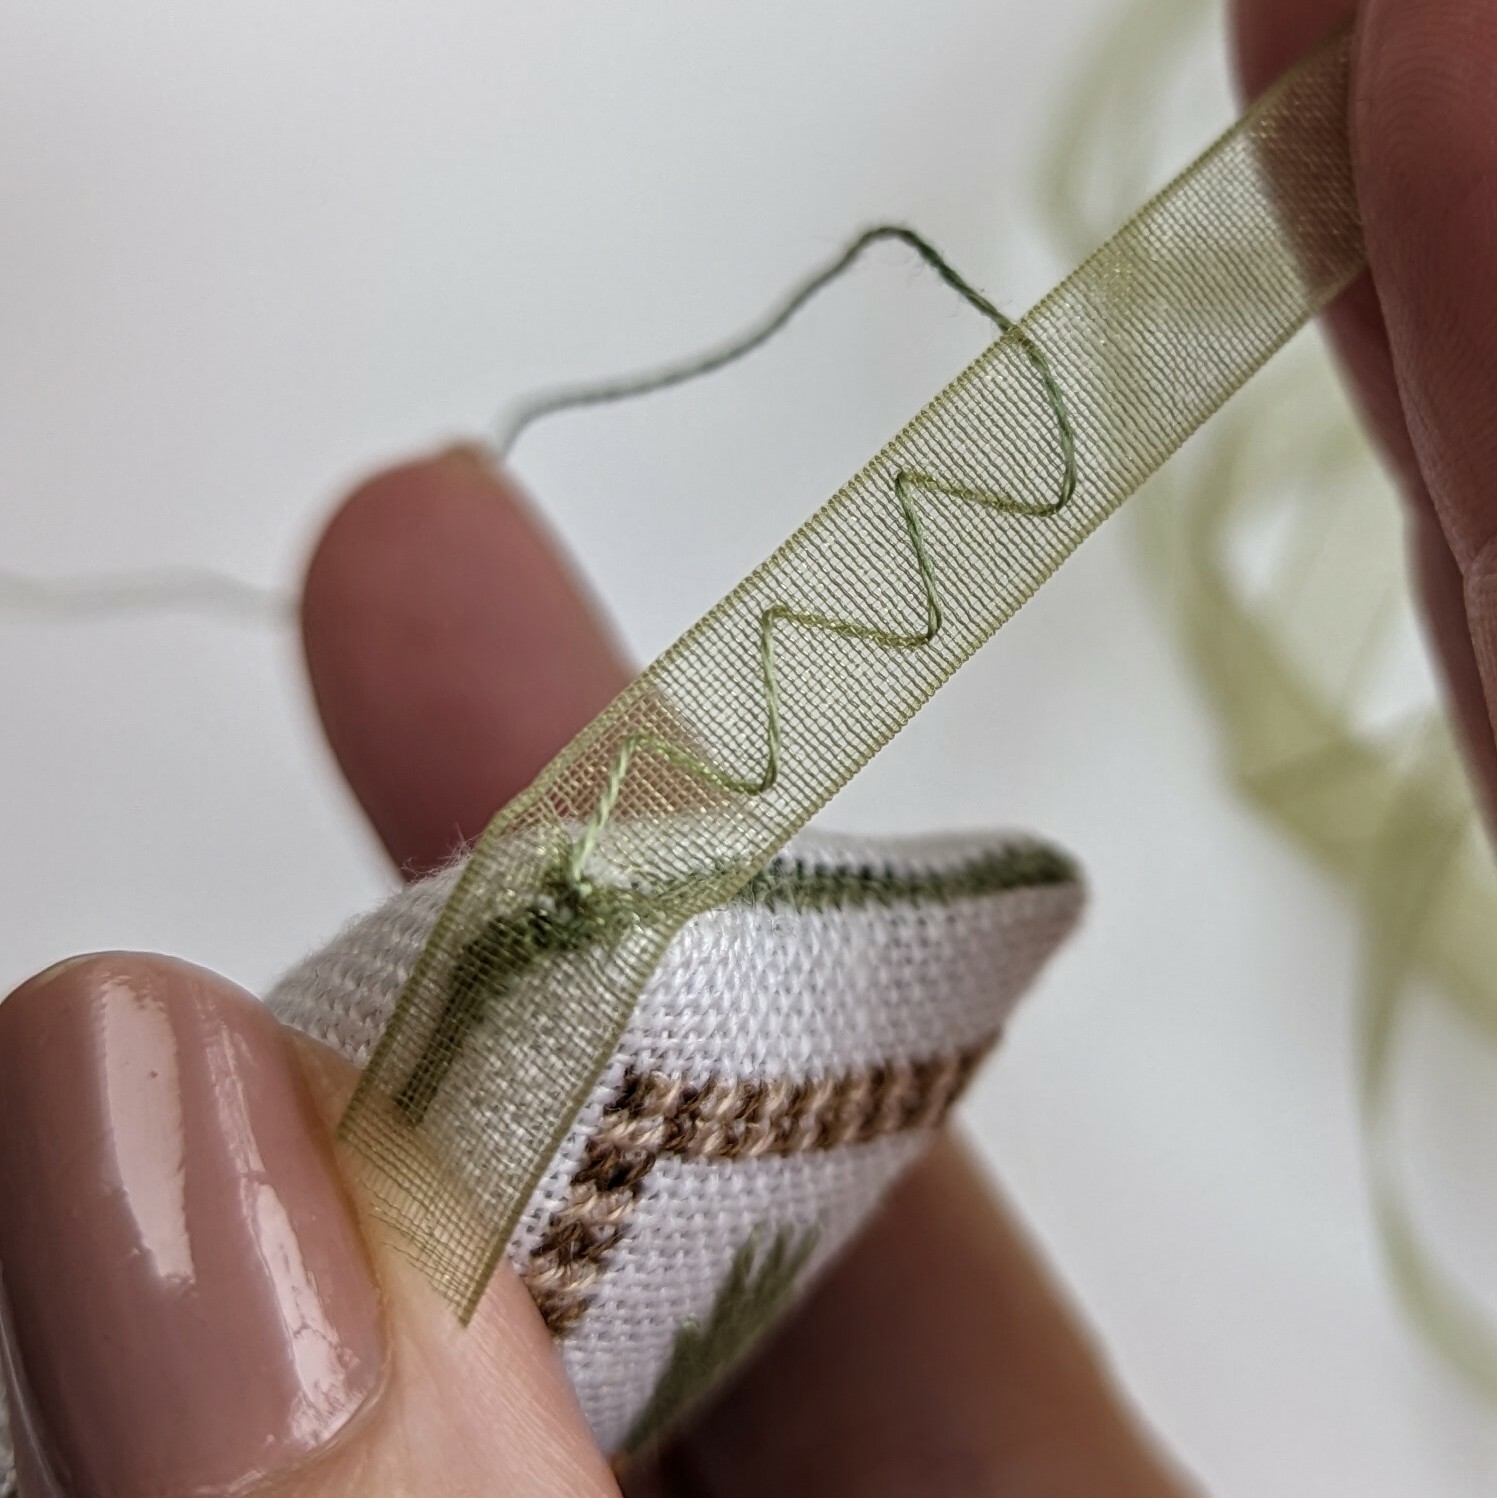
Make a series of stitches that zig zag through the ribbon (side to side) in a fairly regular pattern. I chose to stitch around 7 or 8 in each set.
Step 7
Now, pull the thread taut and scrunch the ribbon back towards the end attached to the pillow. Secure this ruched section by threading through the seam.
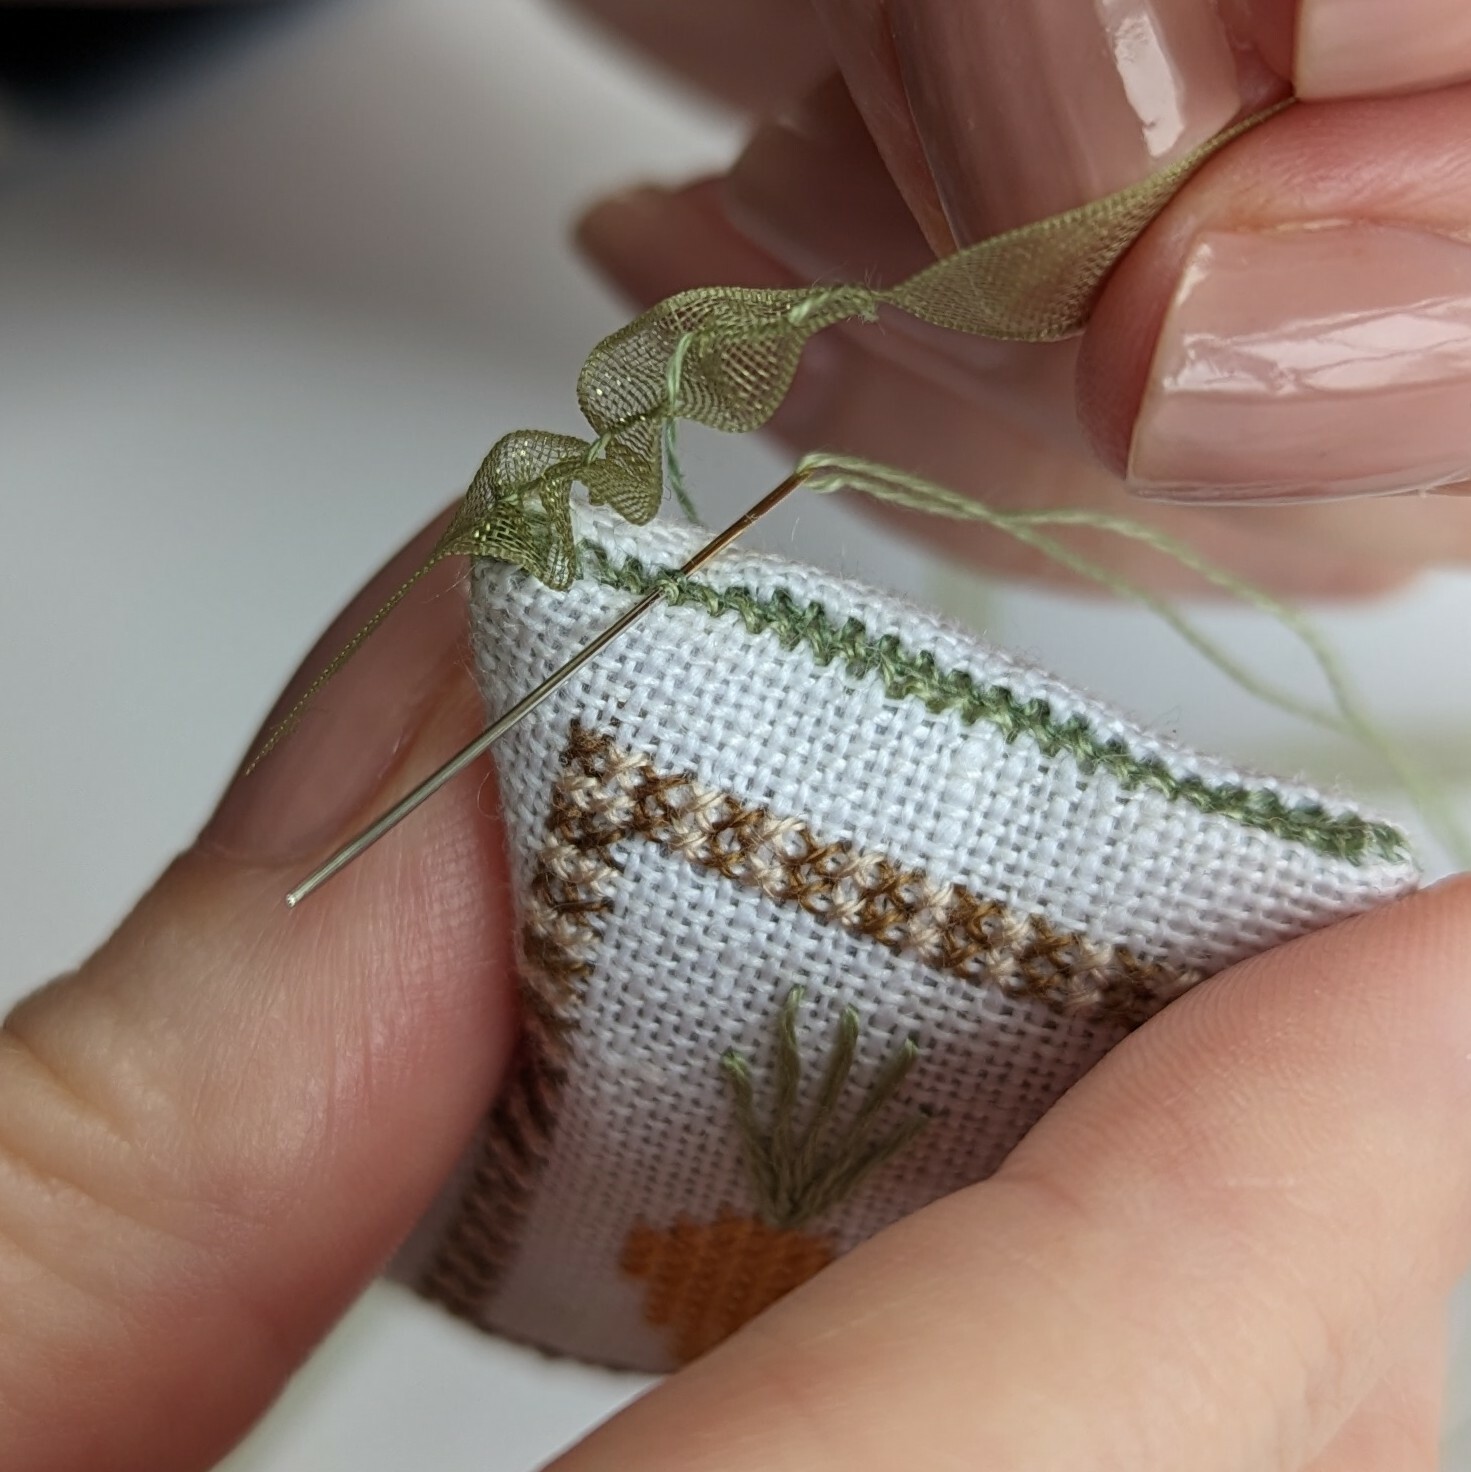
Pull through the thread tight before stitching the next set of zig zags through the ribbon.
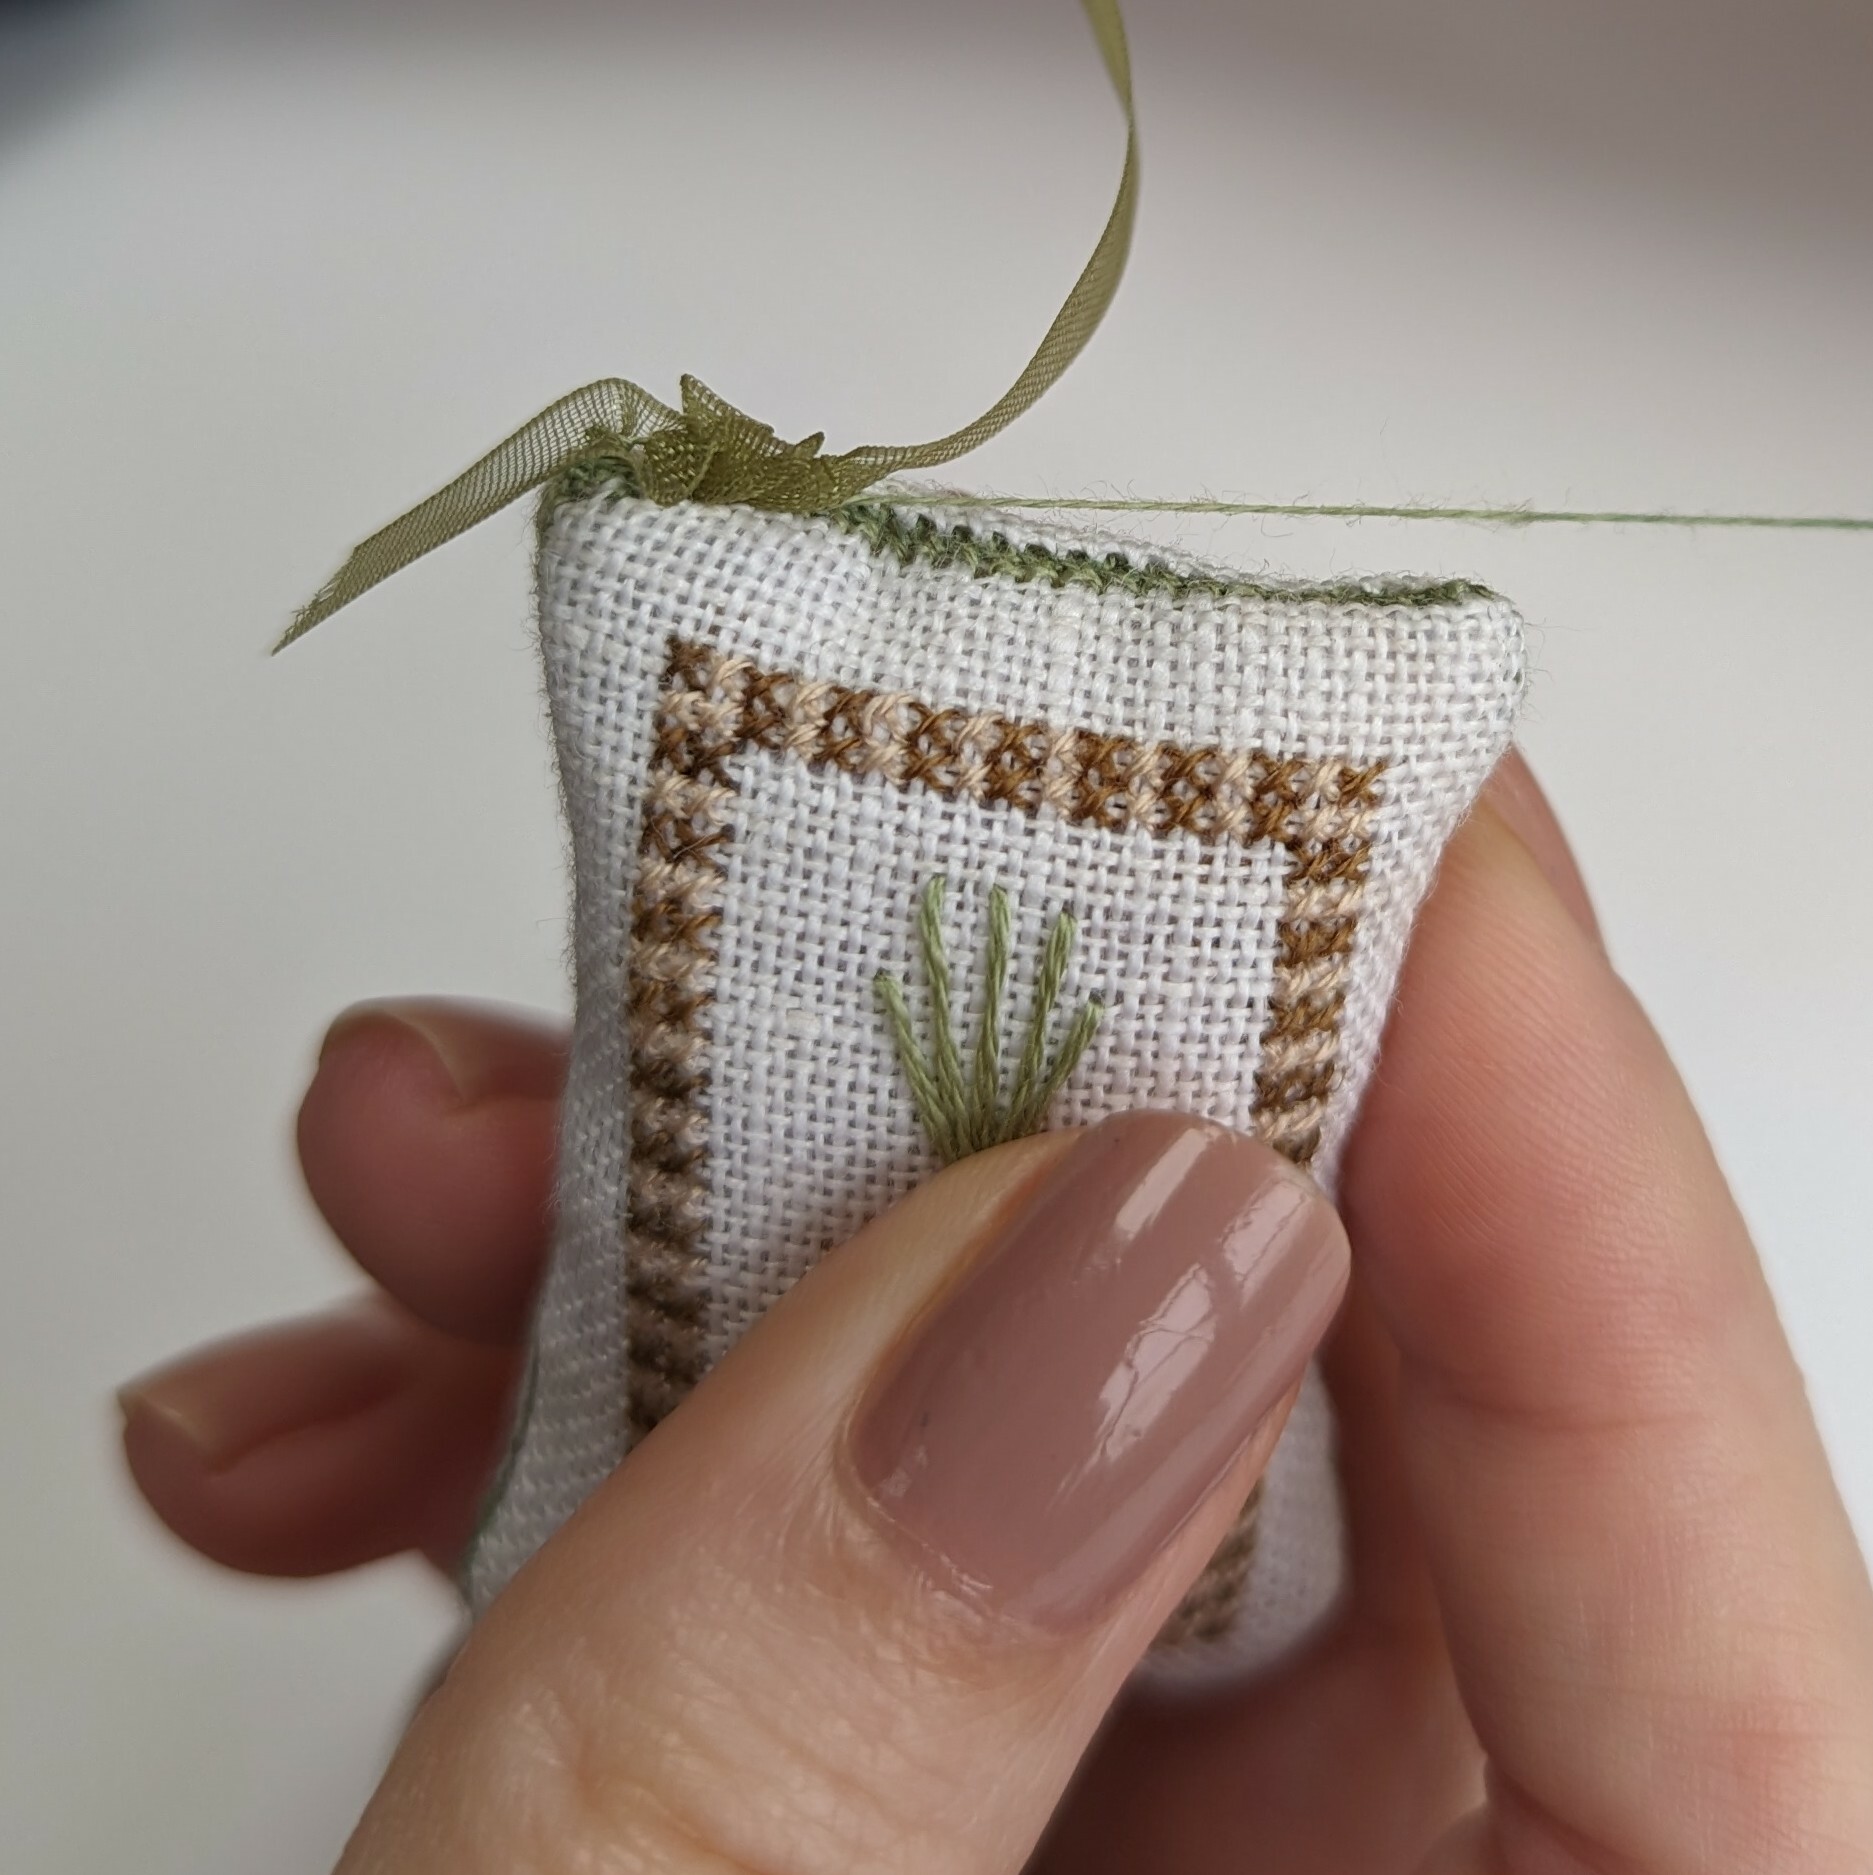
Repeat the process, pulling the thread line tight after each securing stitch.
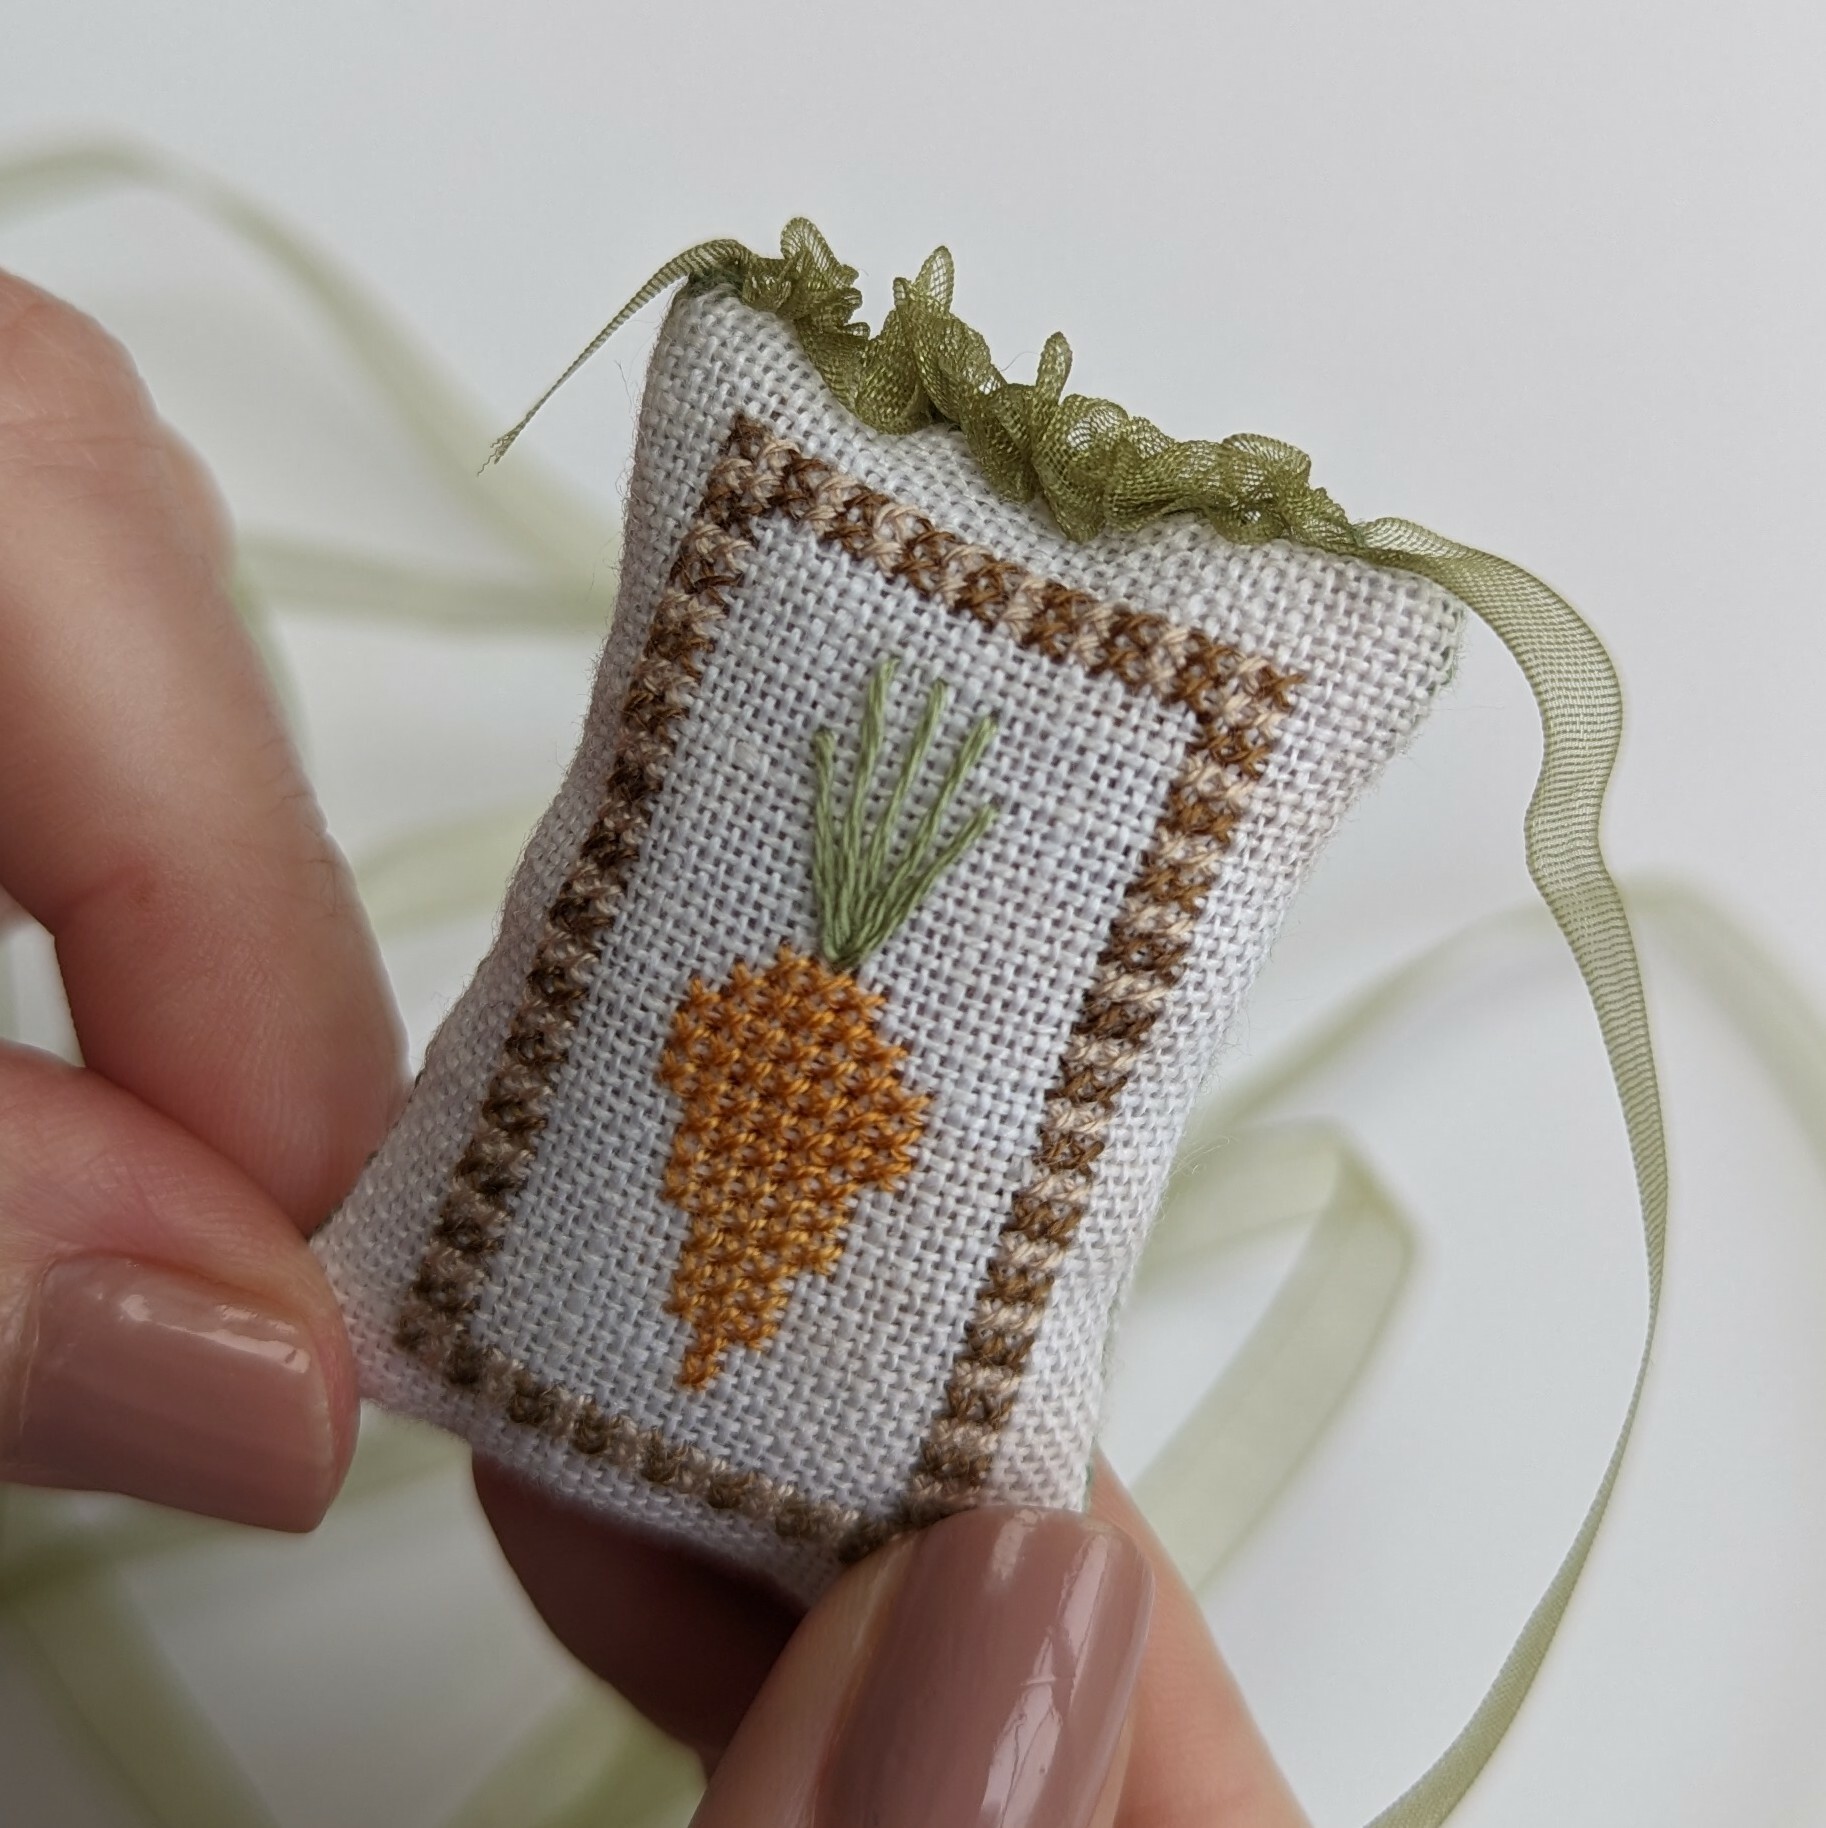
Step 8
Once you have completed ruching your ribbon around the edge of the pillow, secure with a knot and then trim the excess. Organza ribbon is very forgiving!
