
Vintage Baubles - Drum Finish
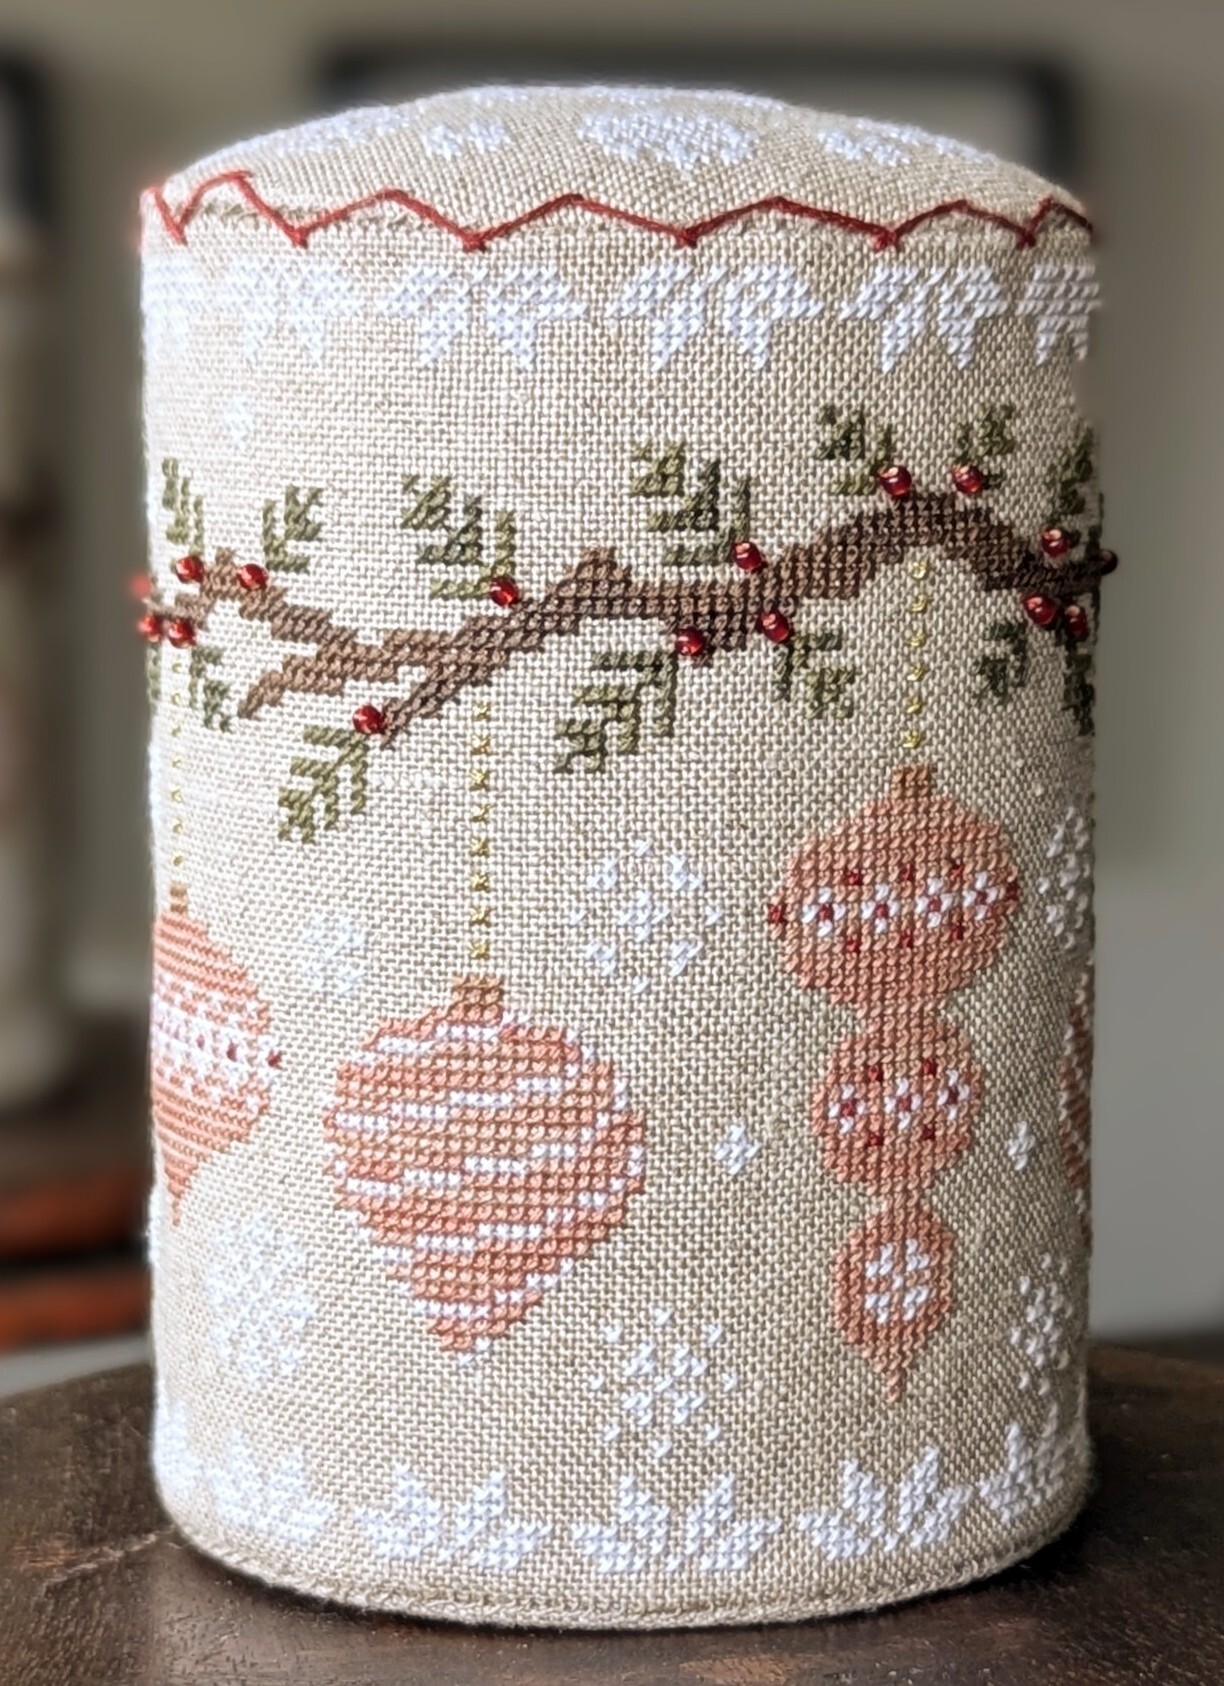
The method that I used for finishing the Vintage Baubles pattern as a drum is shown in the following steps.
Materials
- Linen for base
- Floss to match the linen colour
- Floss for decorative zig zag edge
- Thin mat board
- 1 small sheet of felt
- Crushed walnut shells OR alternative filling material
- Lightweight fusible interfacing (optional)
Step 1
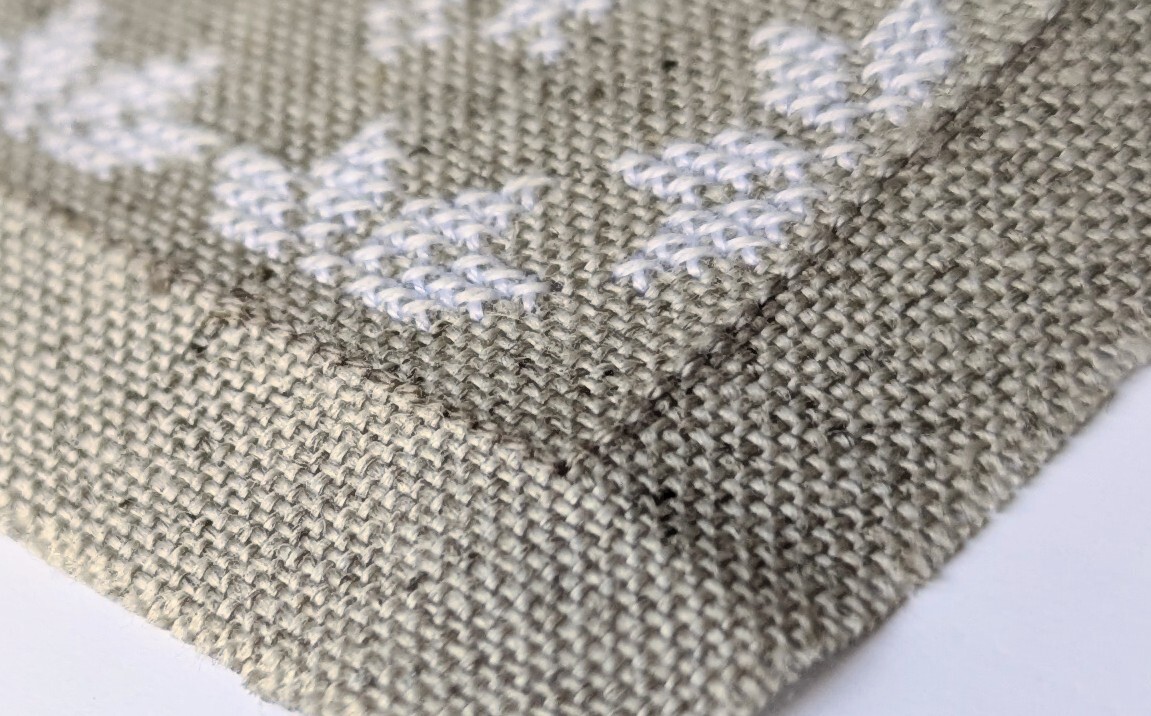
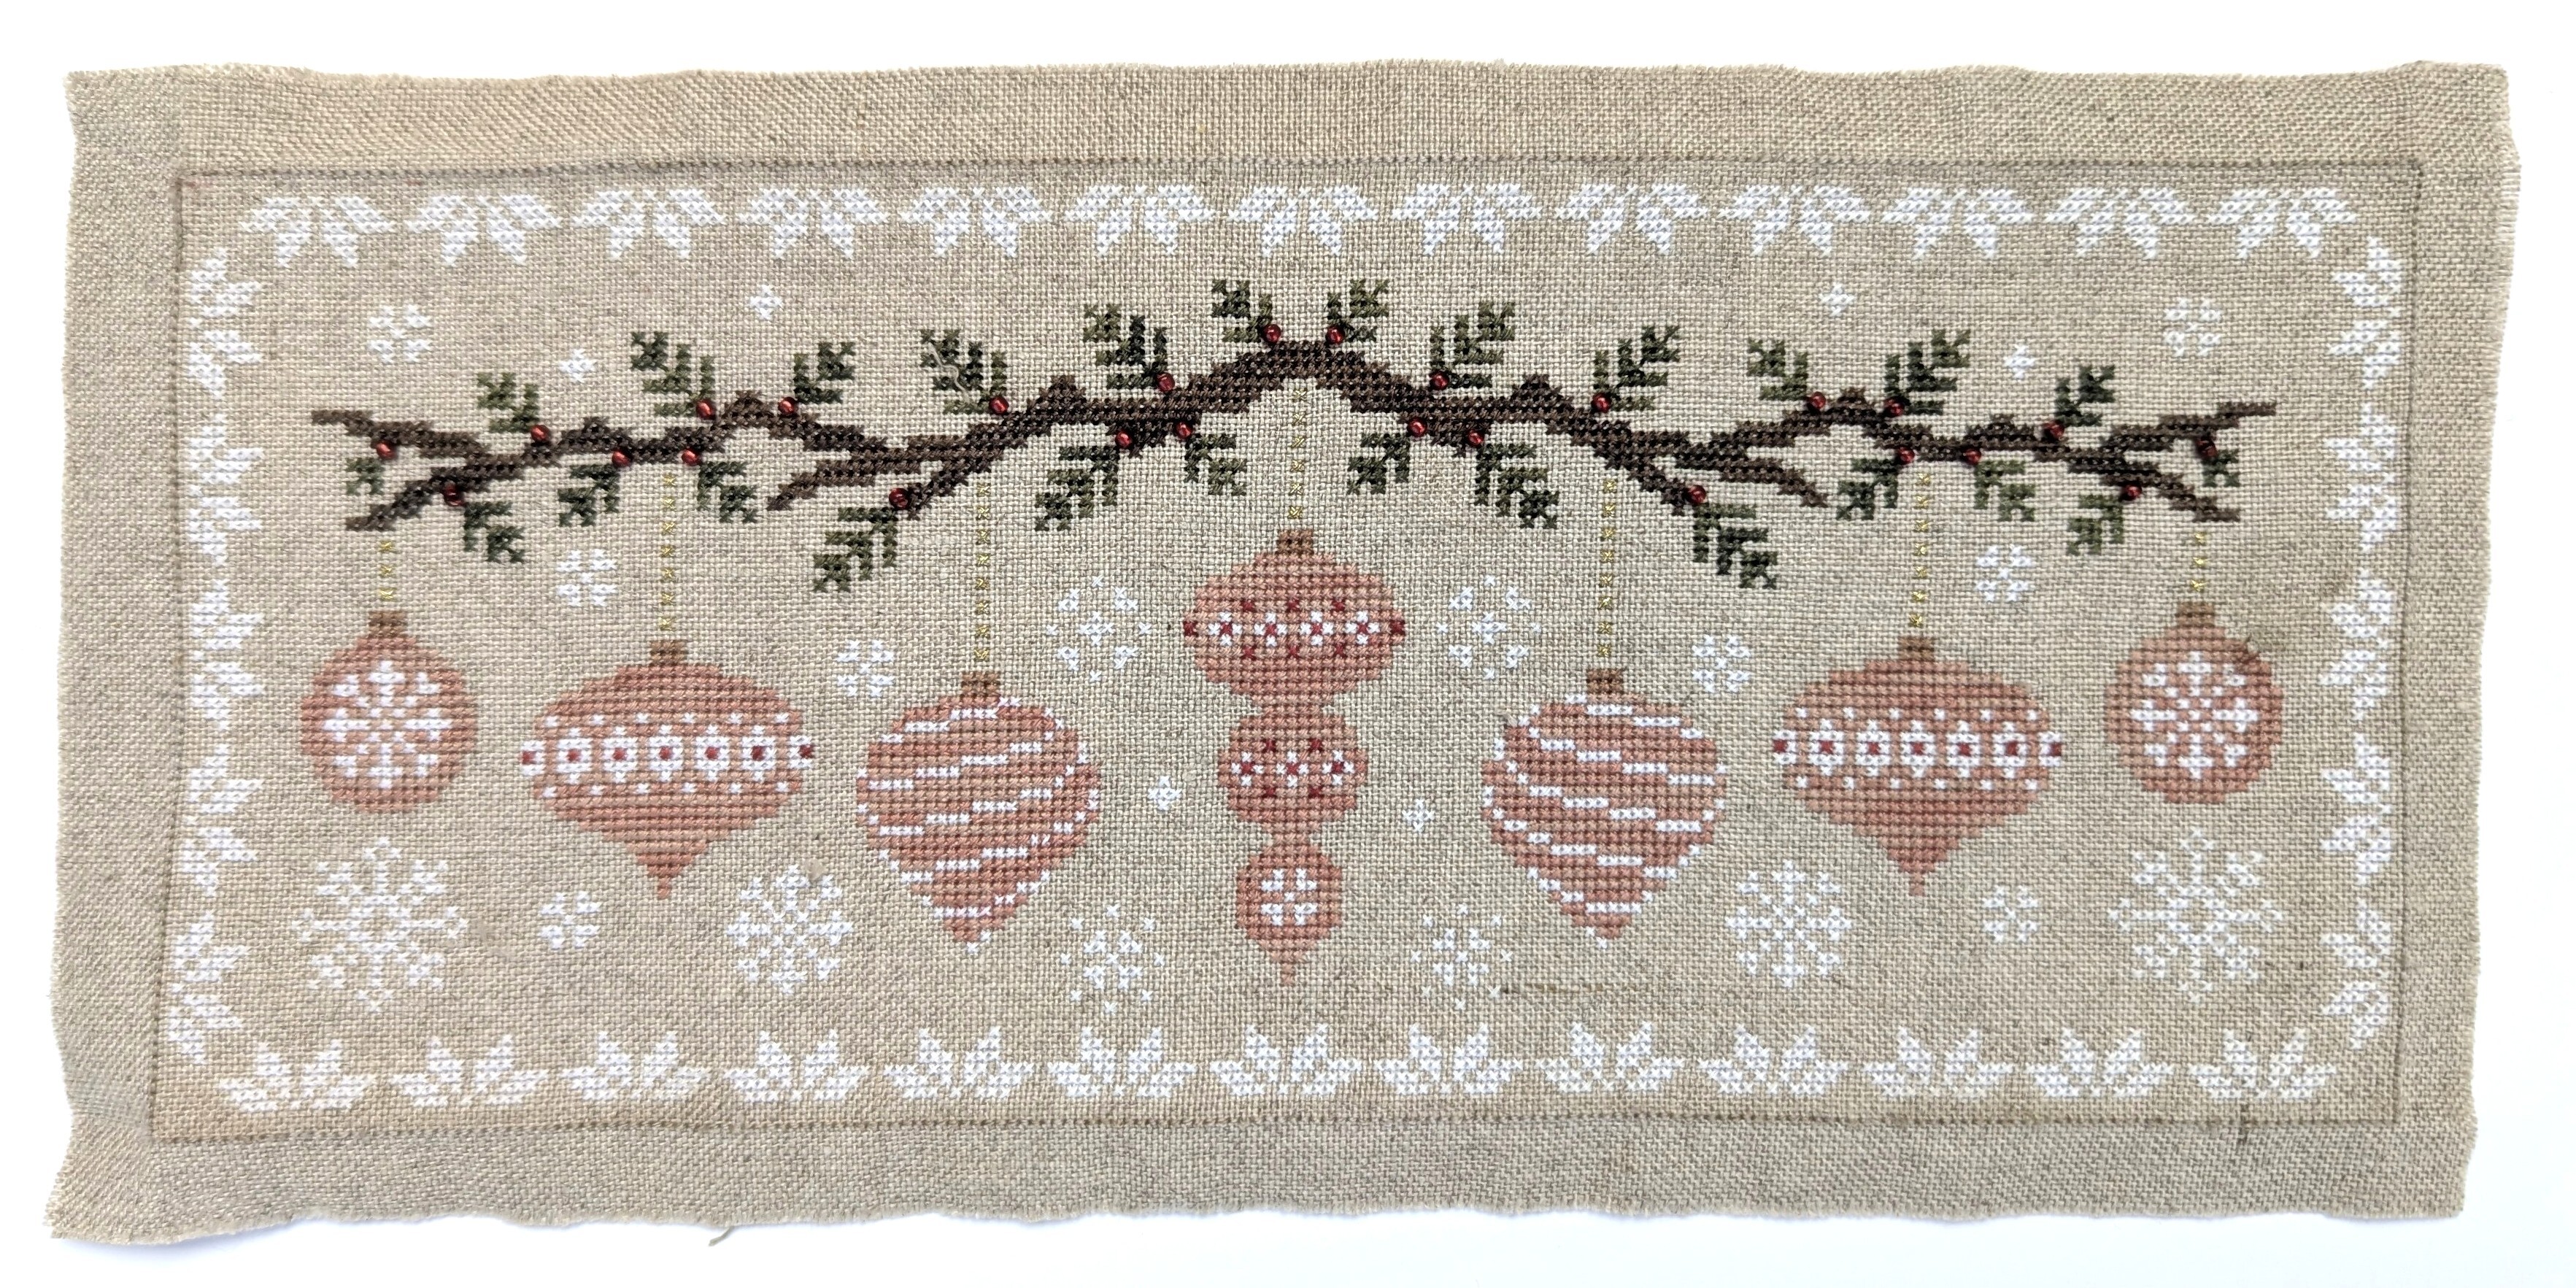
Backstitch a line around the whole edge of the design. I found DMC 642 was a good match for Zweigart 'Raw' linen. I chose to stitch my line 2 stitches (4 threads) away from the top and bottom of the design, and 1 stitch (2 threads) away from the sides of the design.
Step 2
Trim the excess linen to leave approximately ½ an inch from the backstitched line. Then, firmly finger press along all the backstitched lines to create a crisp edge.
Step 3
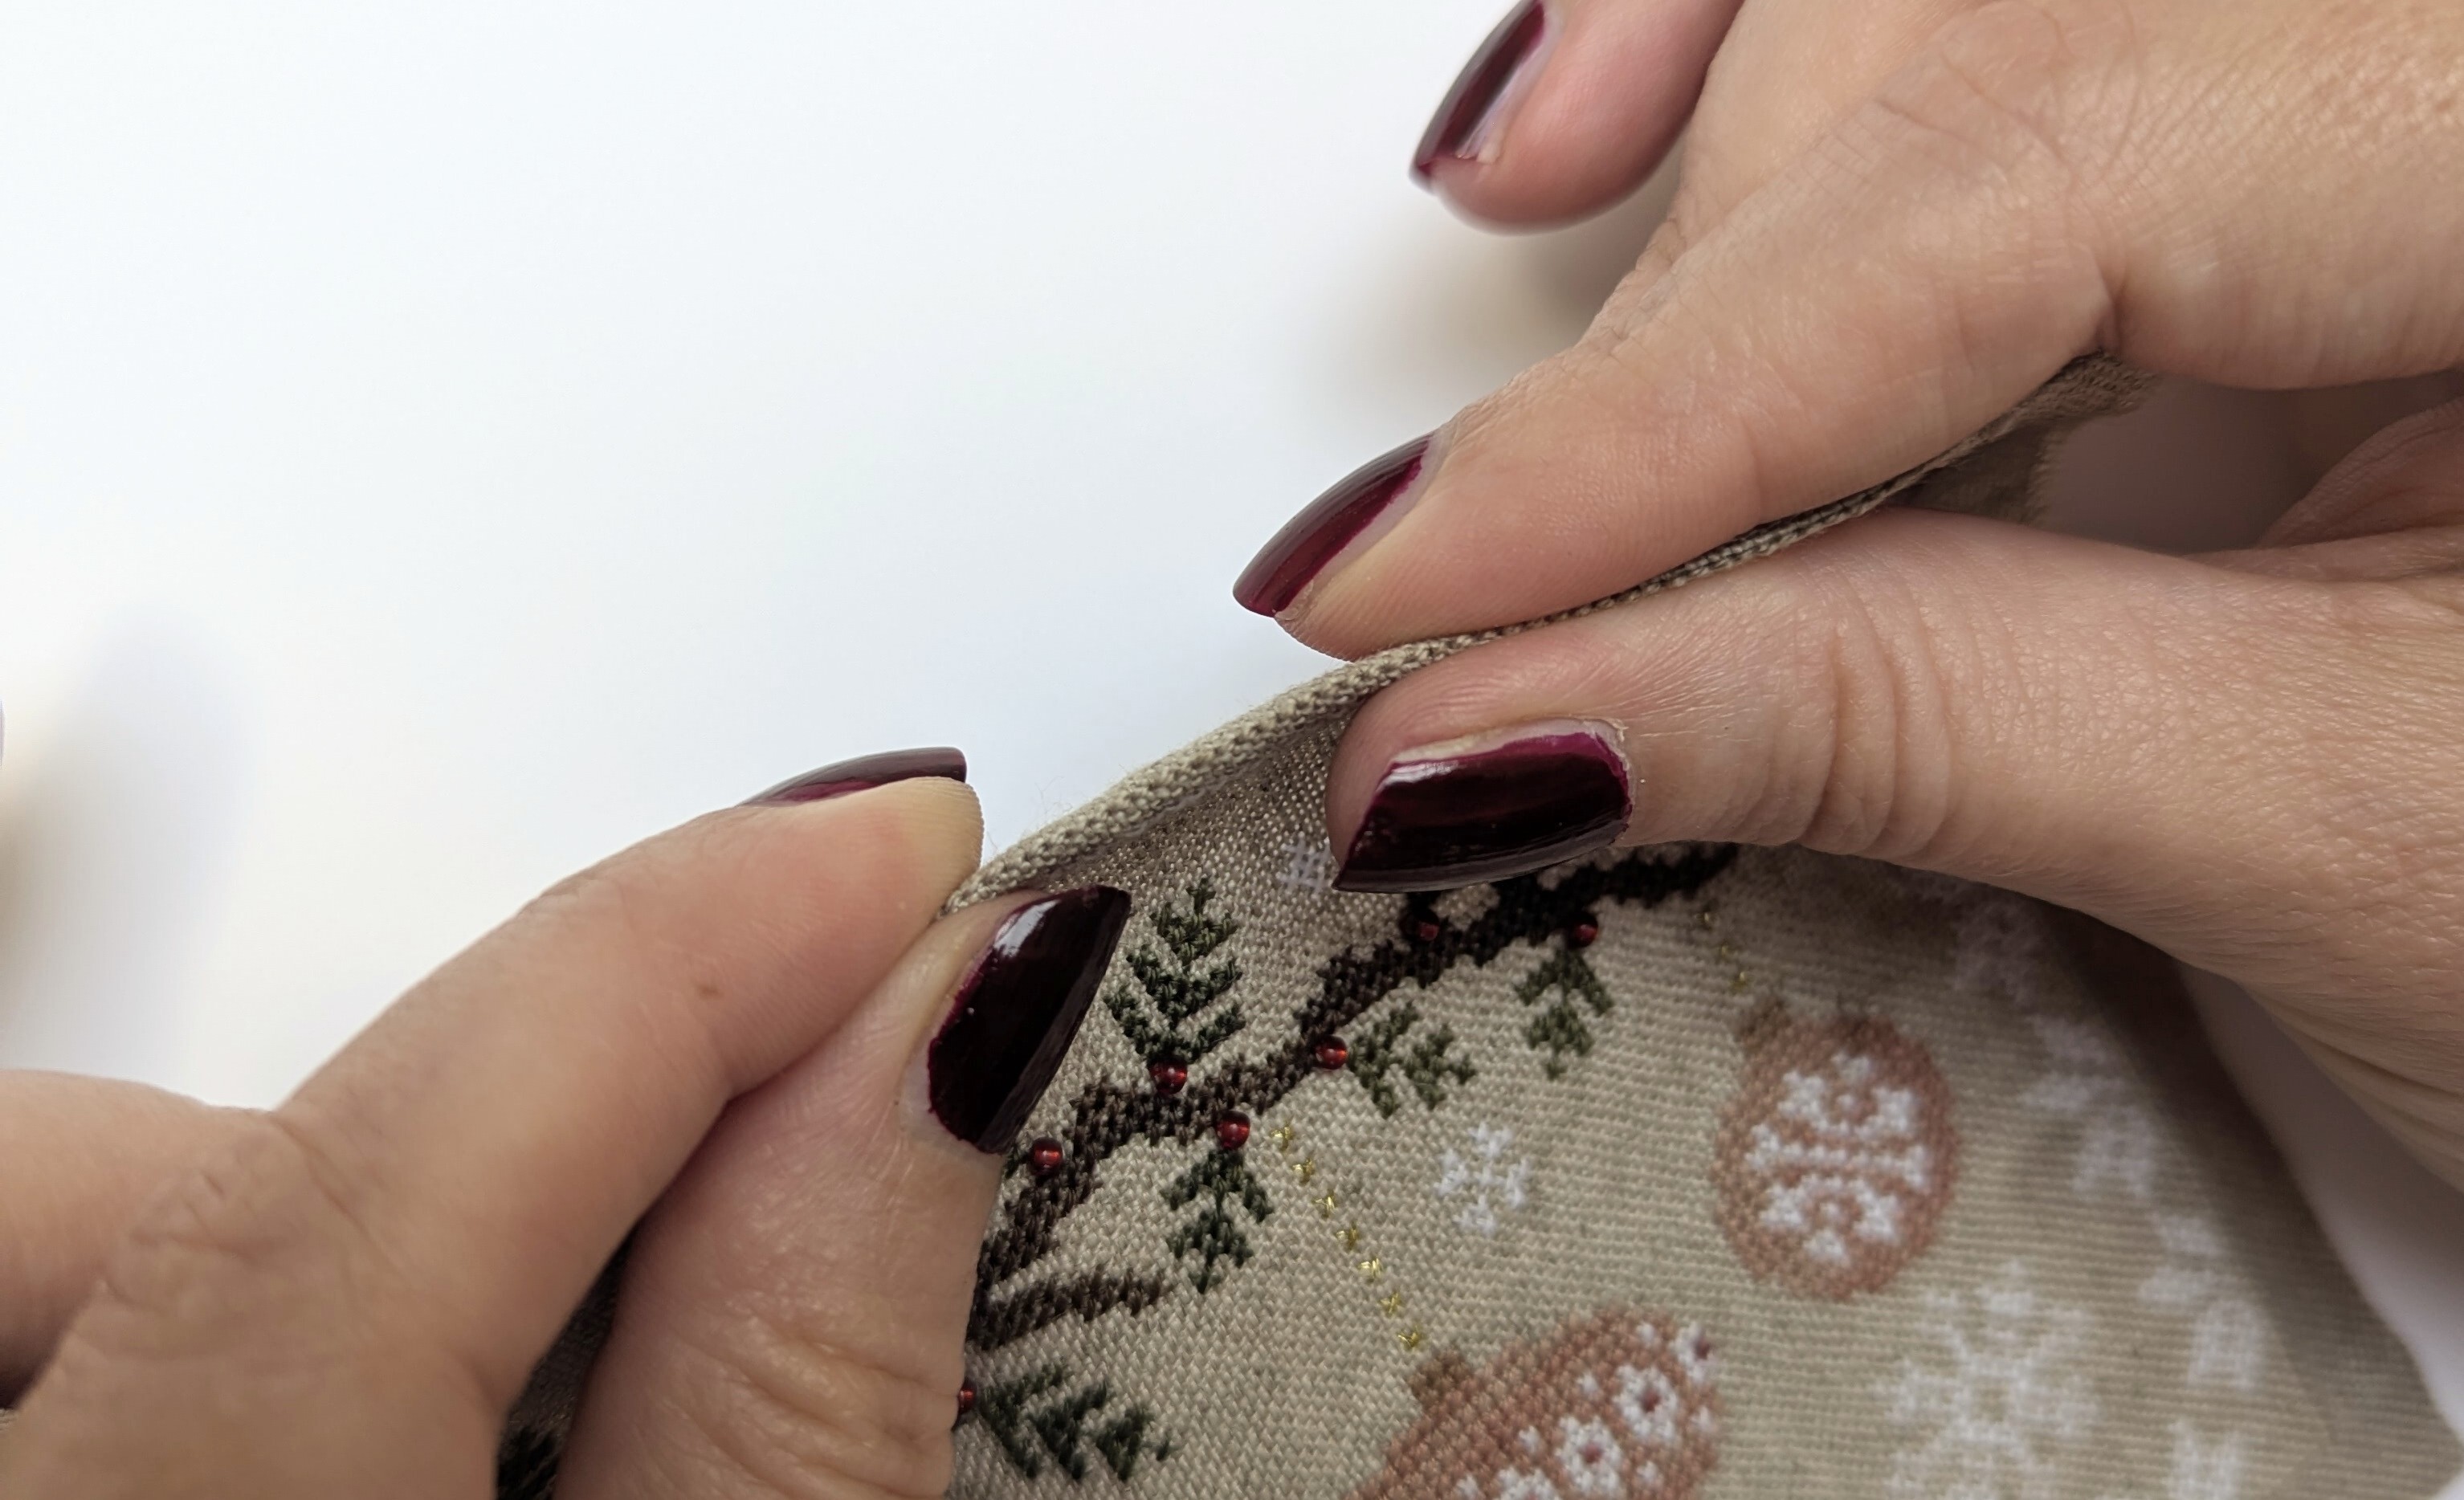
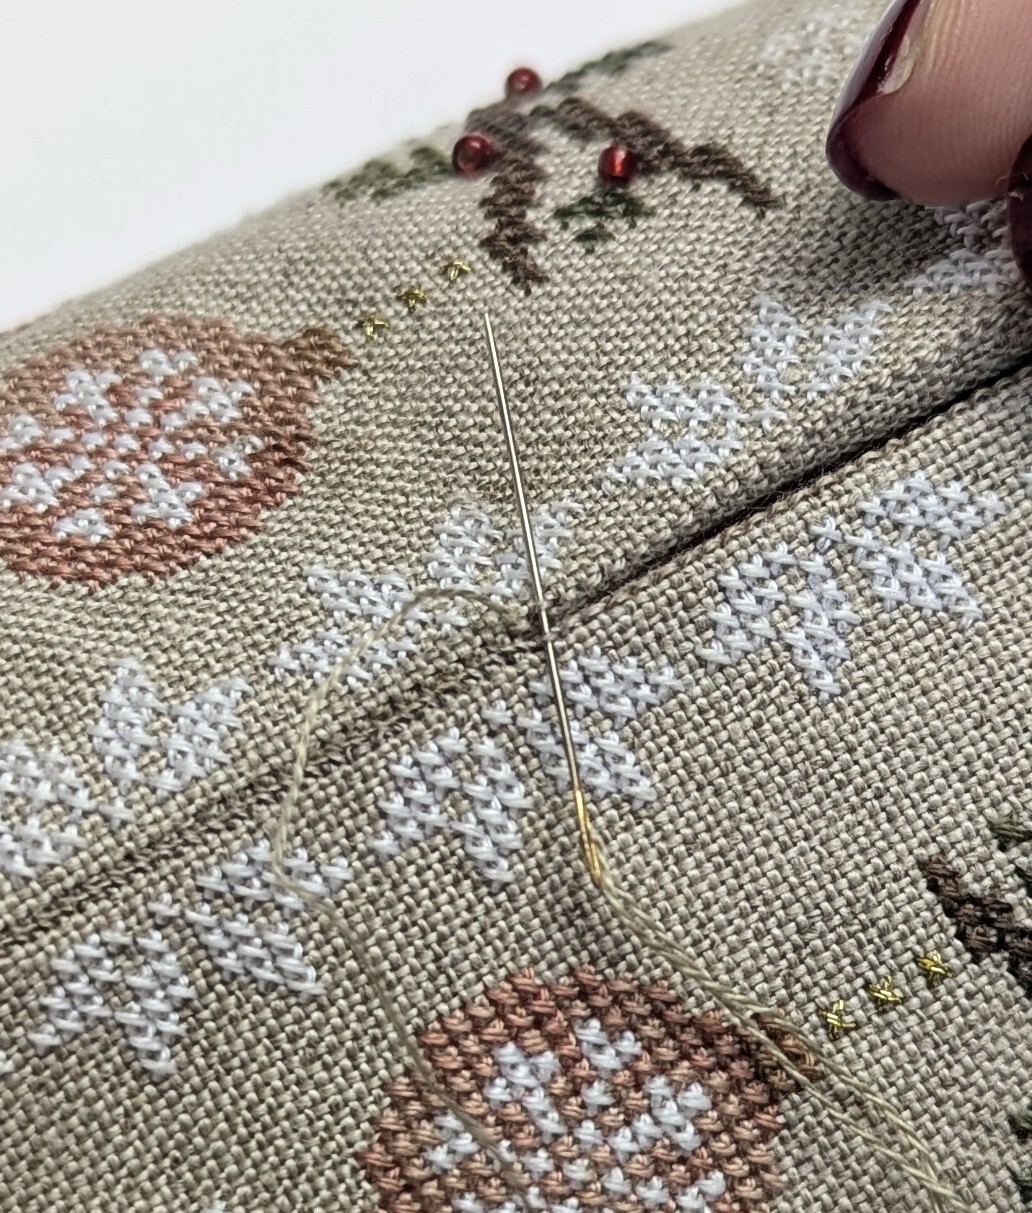
Add lightweight fusible interfacing to the reverse of the design, just inside of the backstitched line. I find this helps add structure to the drum and provides an extra barrier for the walnut shells that I use (the interfacing is not strictly necessary, particularly if you use wadding or similar for your filler). Now, line up the 2 sides and whip stitch the seam by looping through the backstitches. You should end up with an open ended cylinder.
Step 4
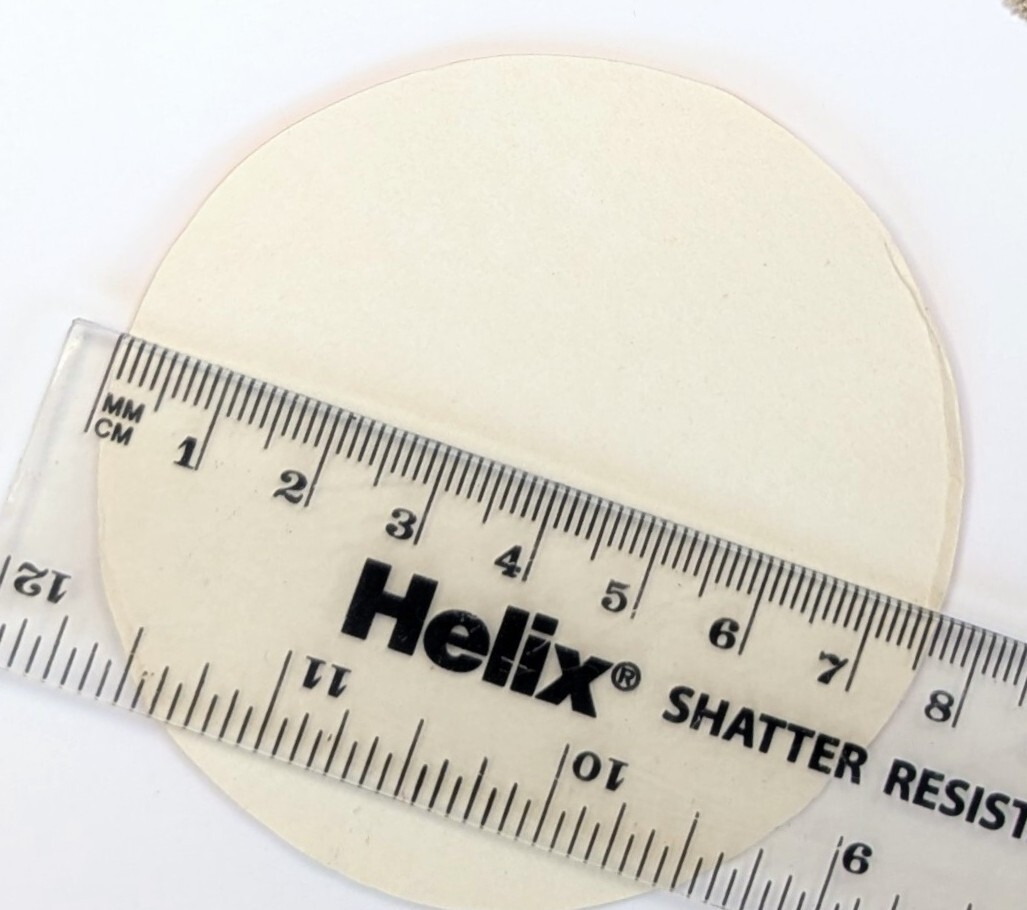
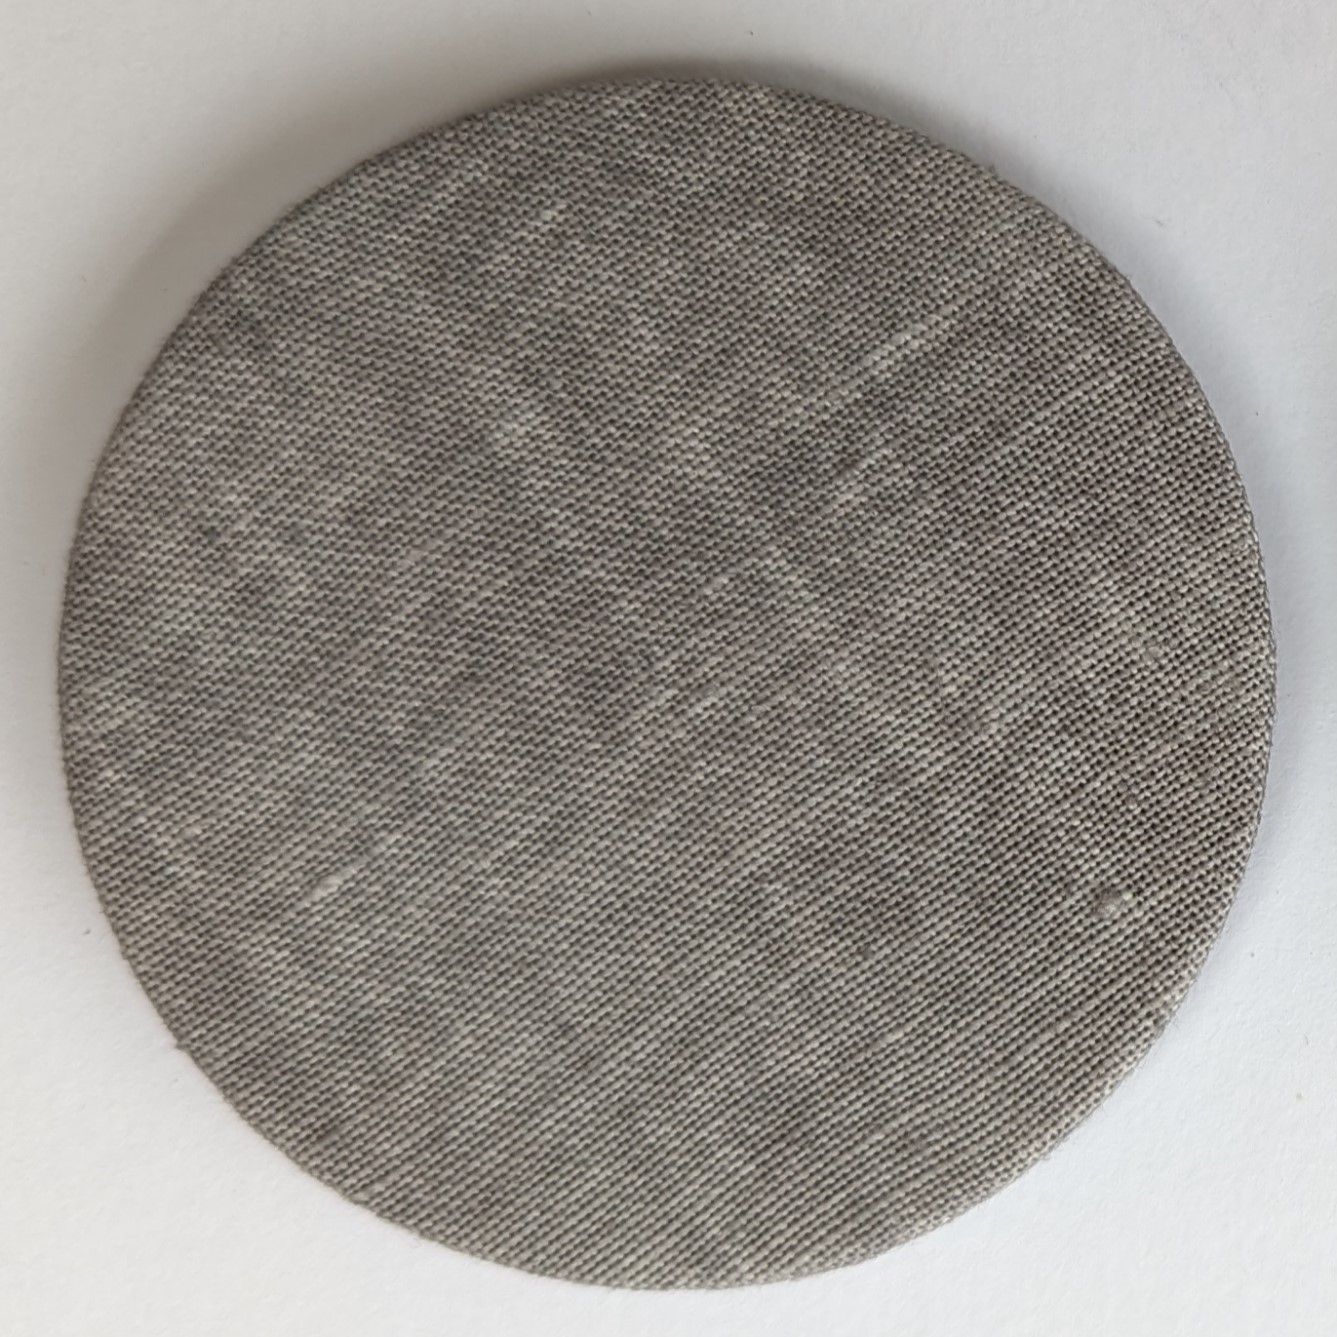
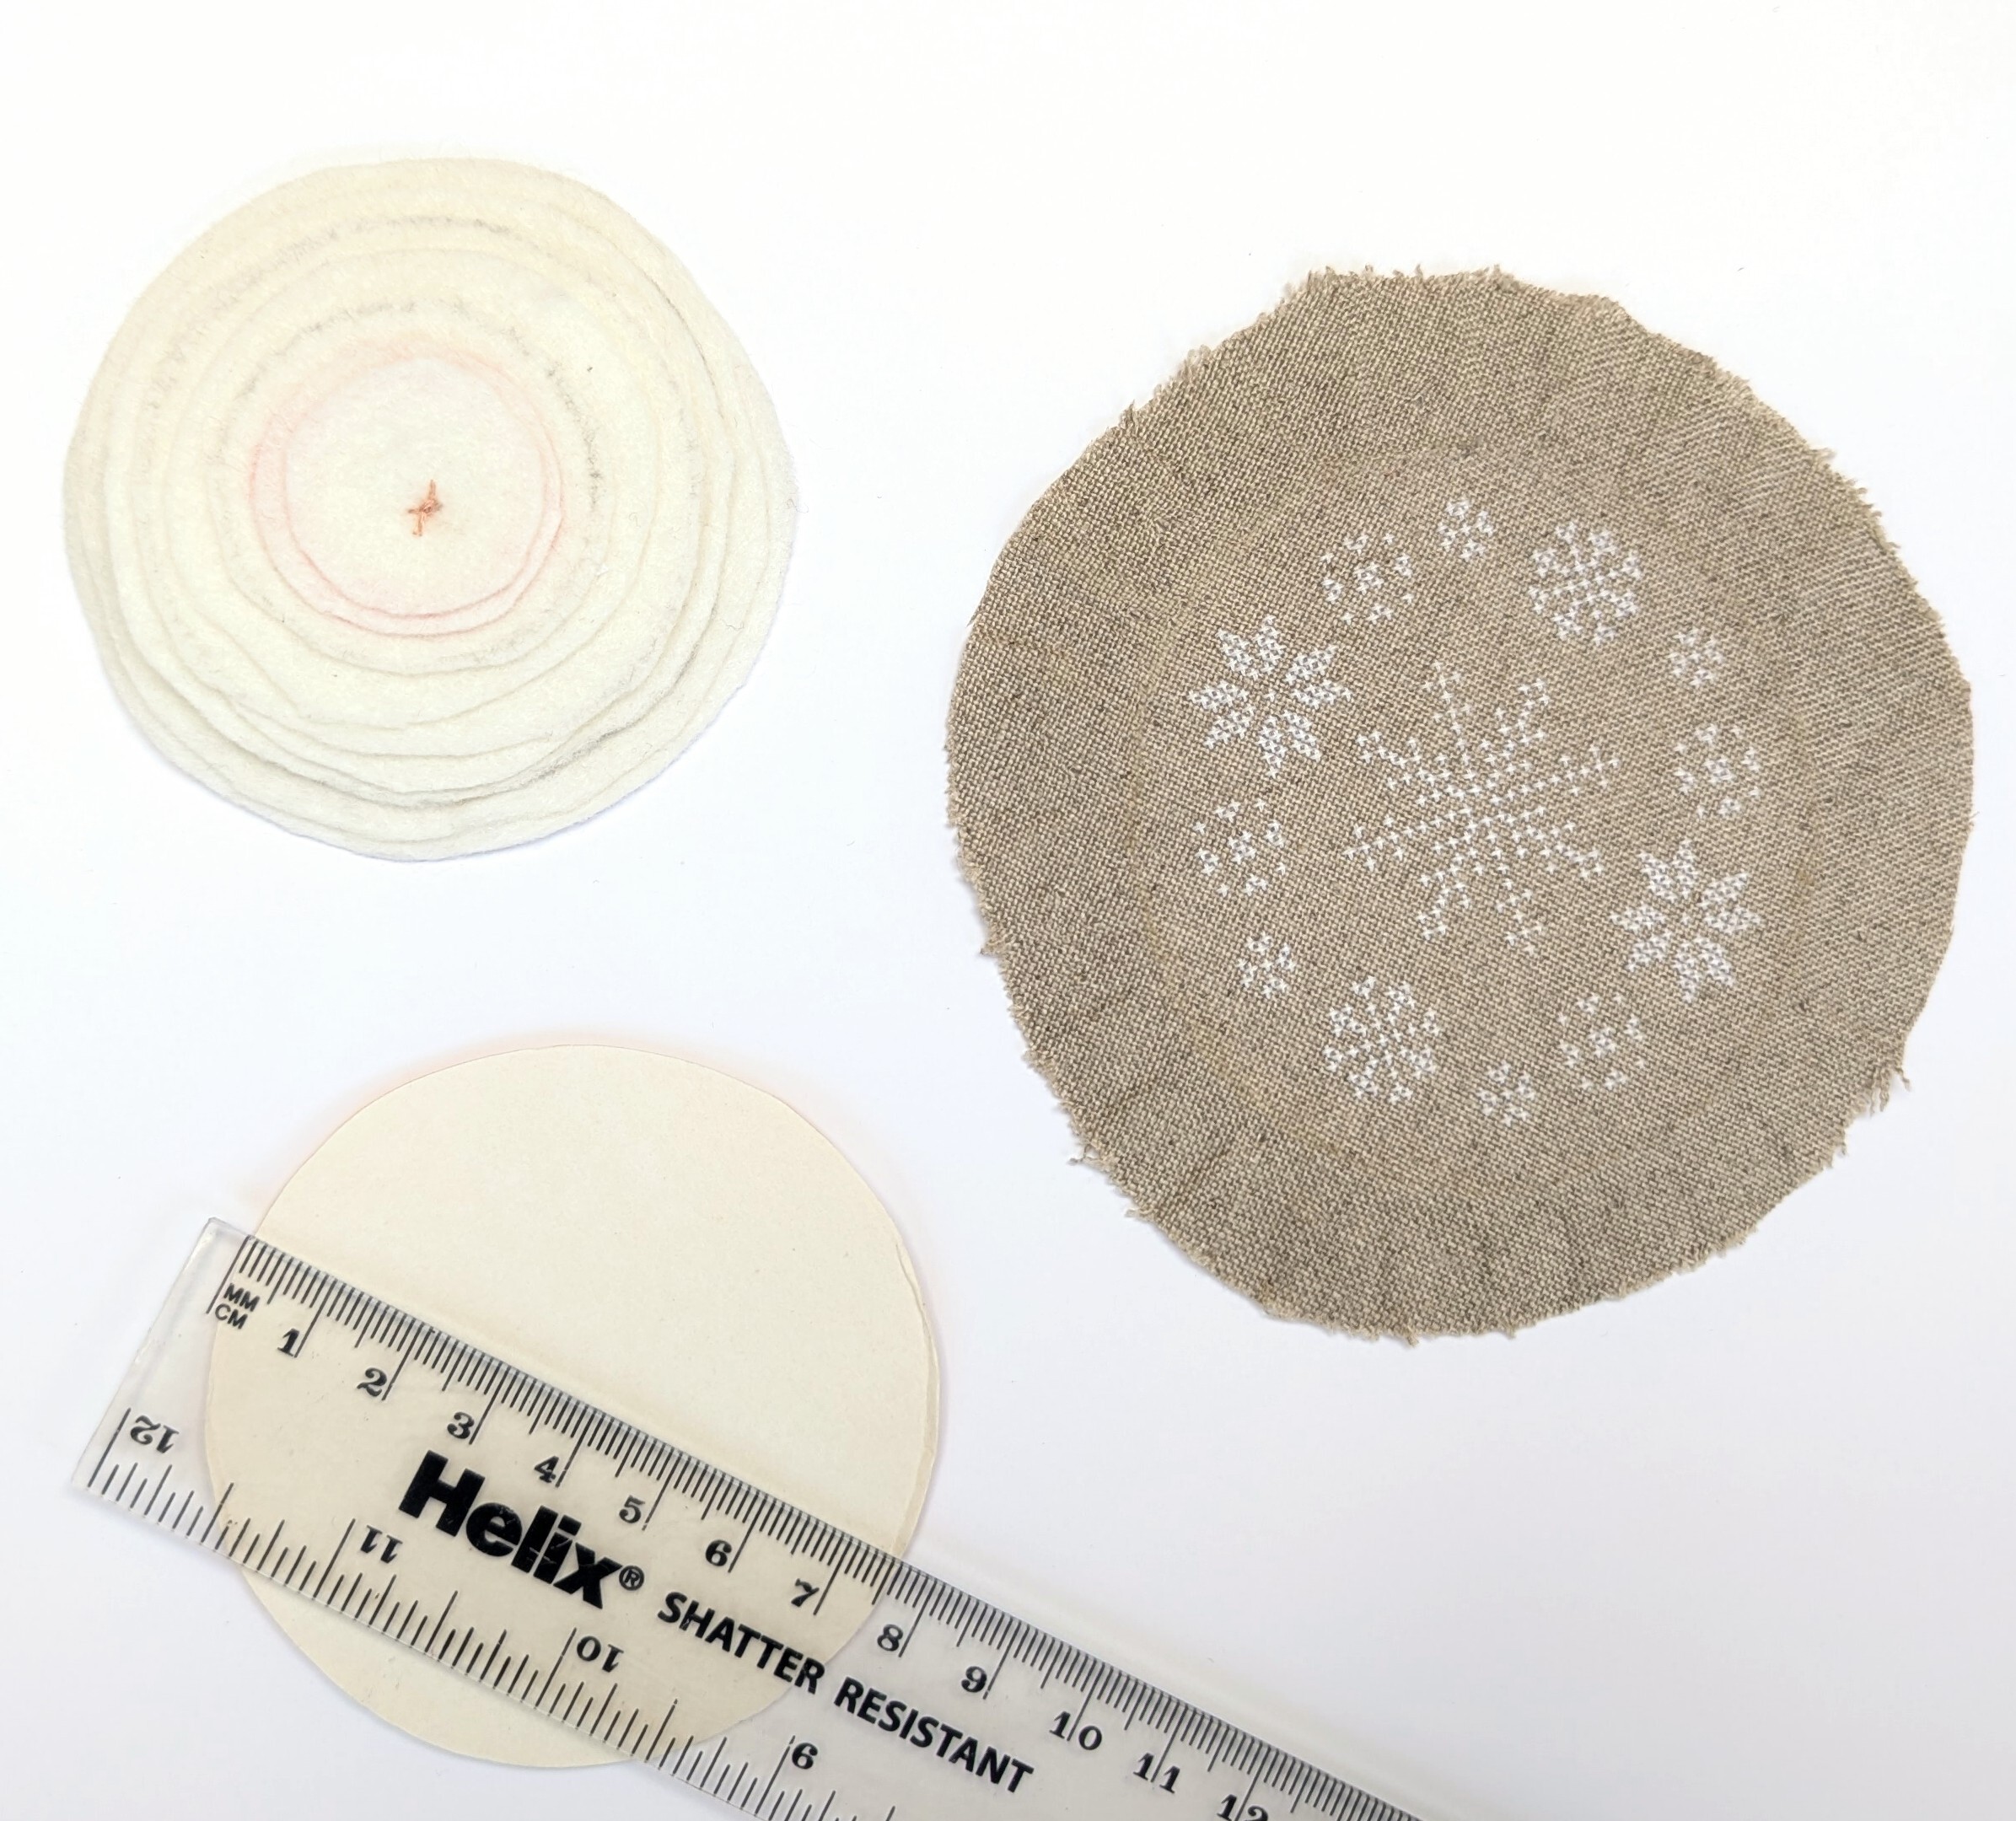
Cut 2 circles of mat board that will fit snugly inside the drum cylinder (mine were 7.6cm/2.99 inches in diameter), these will be the top and bottom of the drum. Next, cut a piece of linen about 2 inches wider than the mat board circles. Gather the linen tightly around one of the mat board circles using a basting stitch. Once the fabric has been gathered, lace across from one side of the fabric to the other several times to ensure the linen on the reverse remains taut, and wrinkle free. The lacing does not need to be neat, NOBODY will ever see it!


Step 5
Make a 'dome' for the top of your drum by gluing concentric felt circles on top of the remaining circle of mat board. I added a single stitch through all of the layers to help keep them in place. Repeat the above lacing process with the stitched snowflakes design for the drum top.
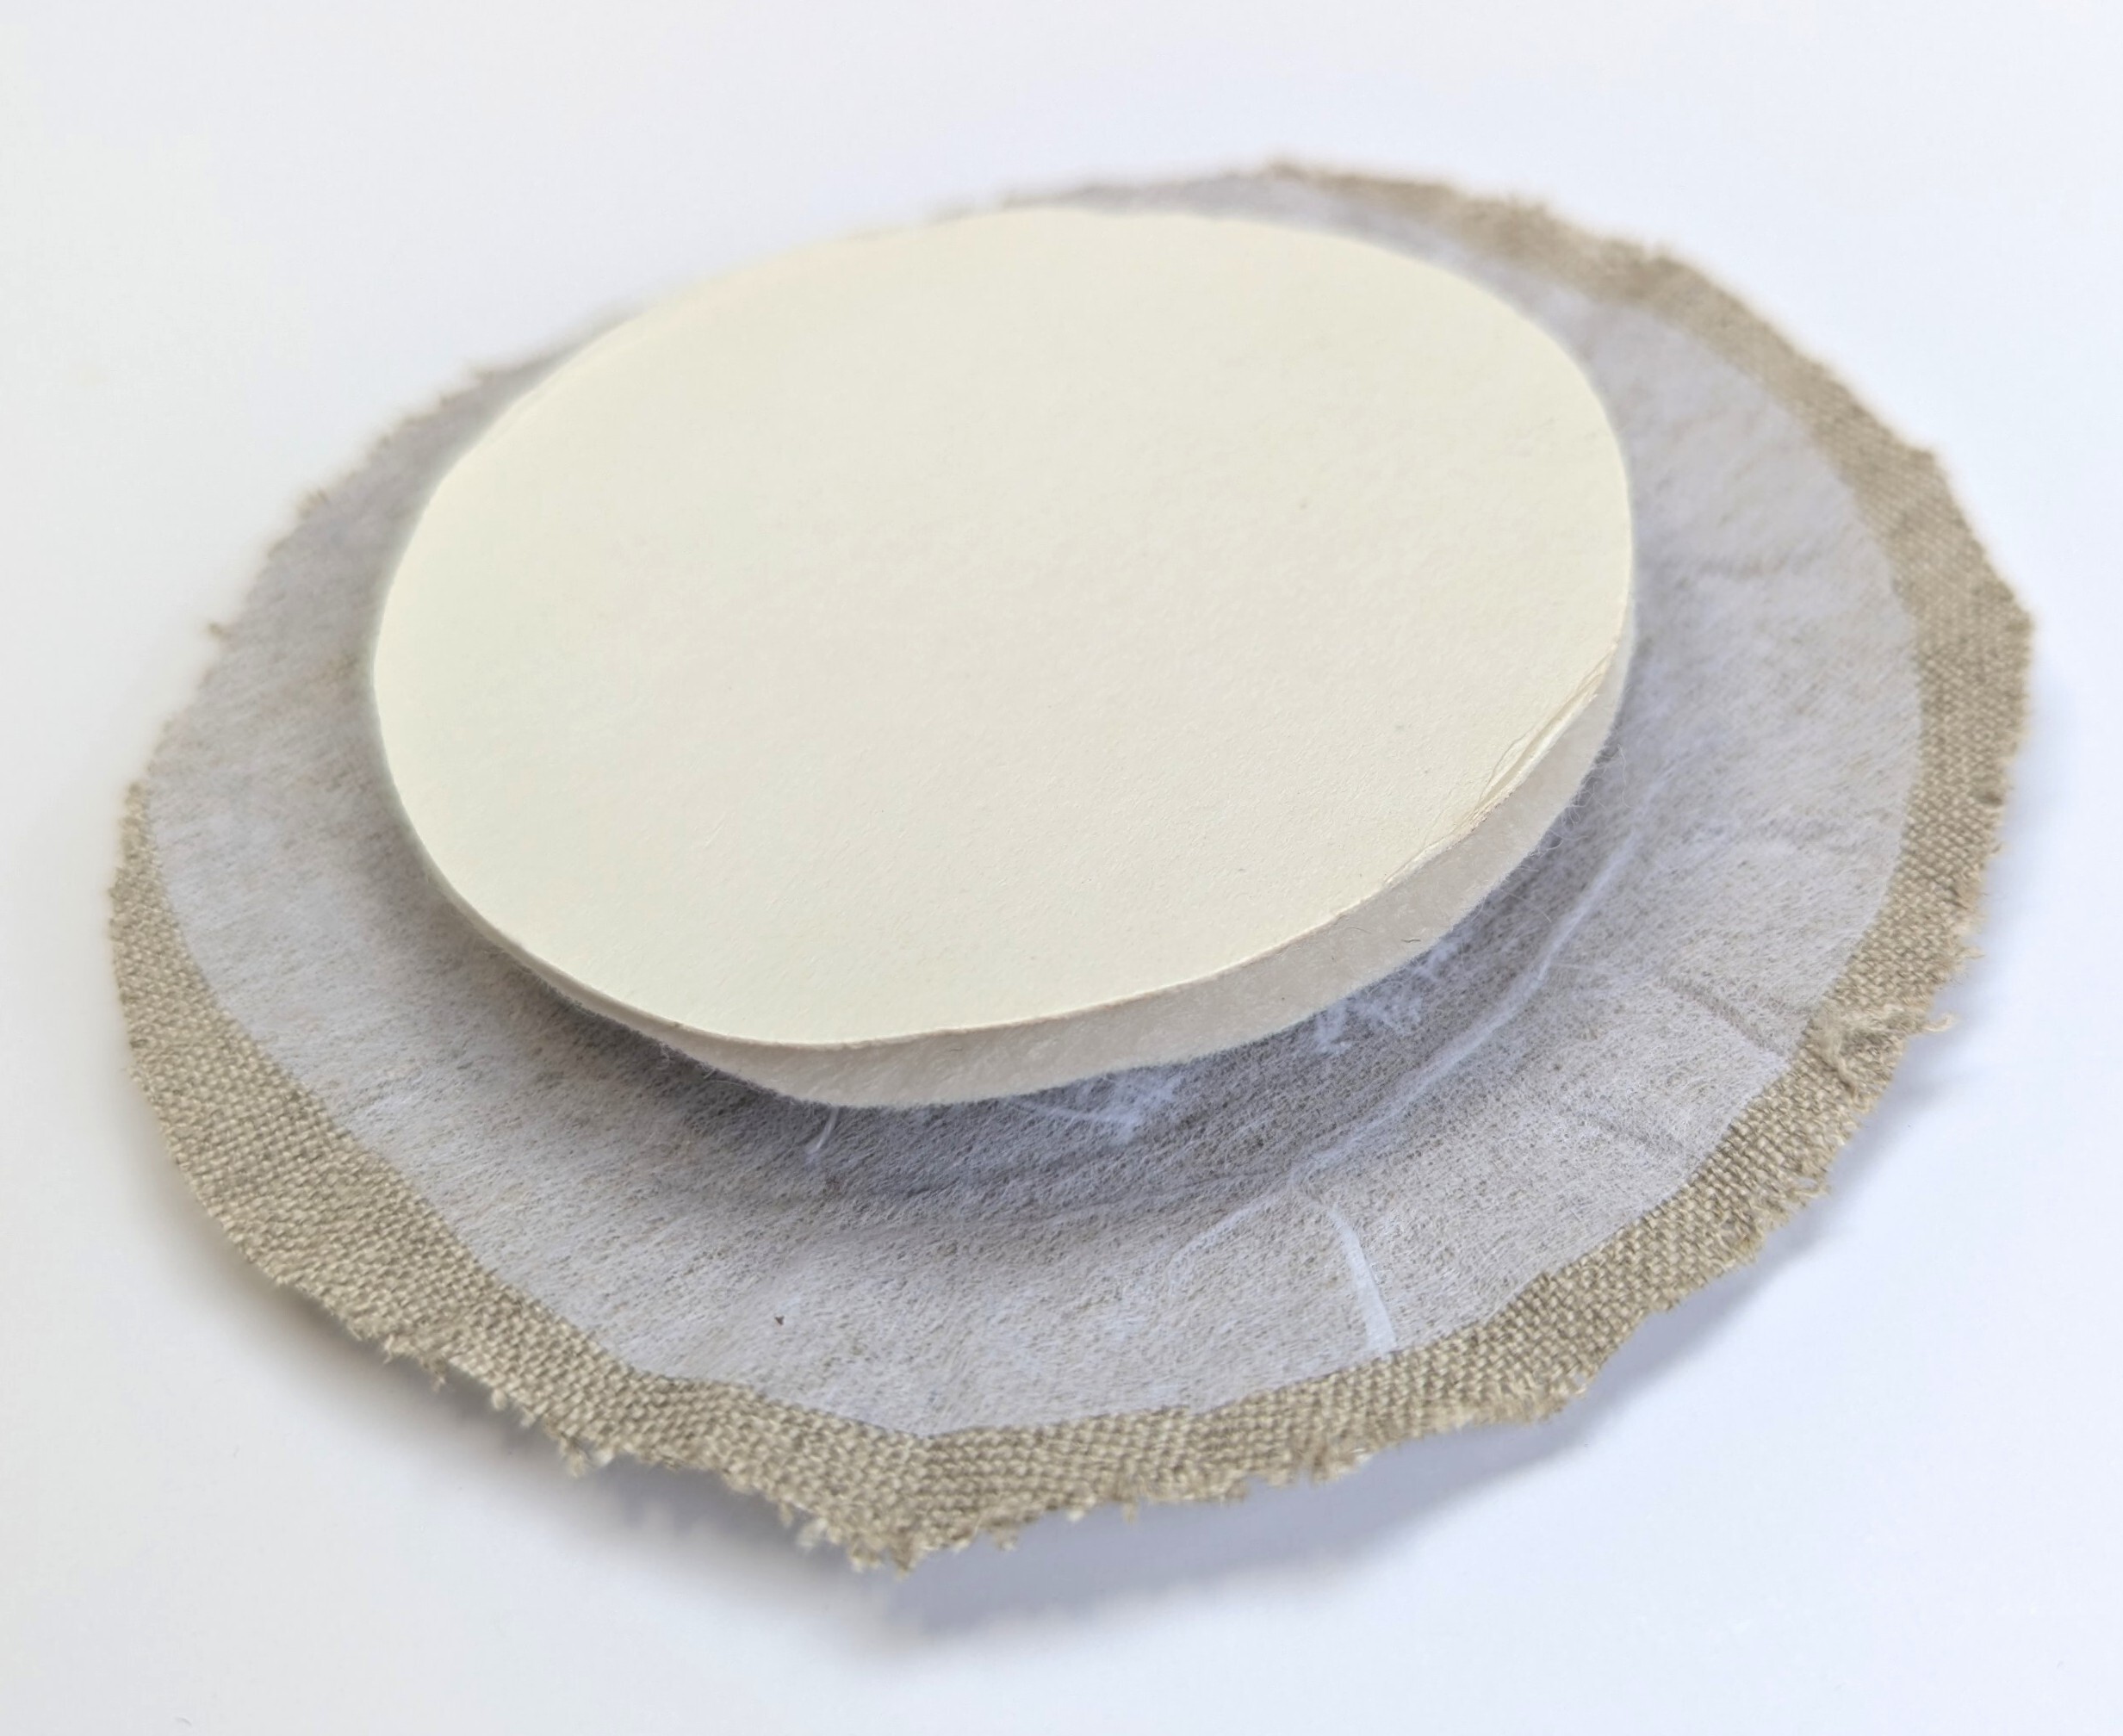
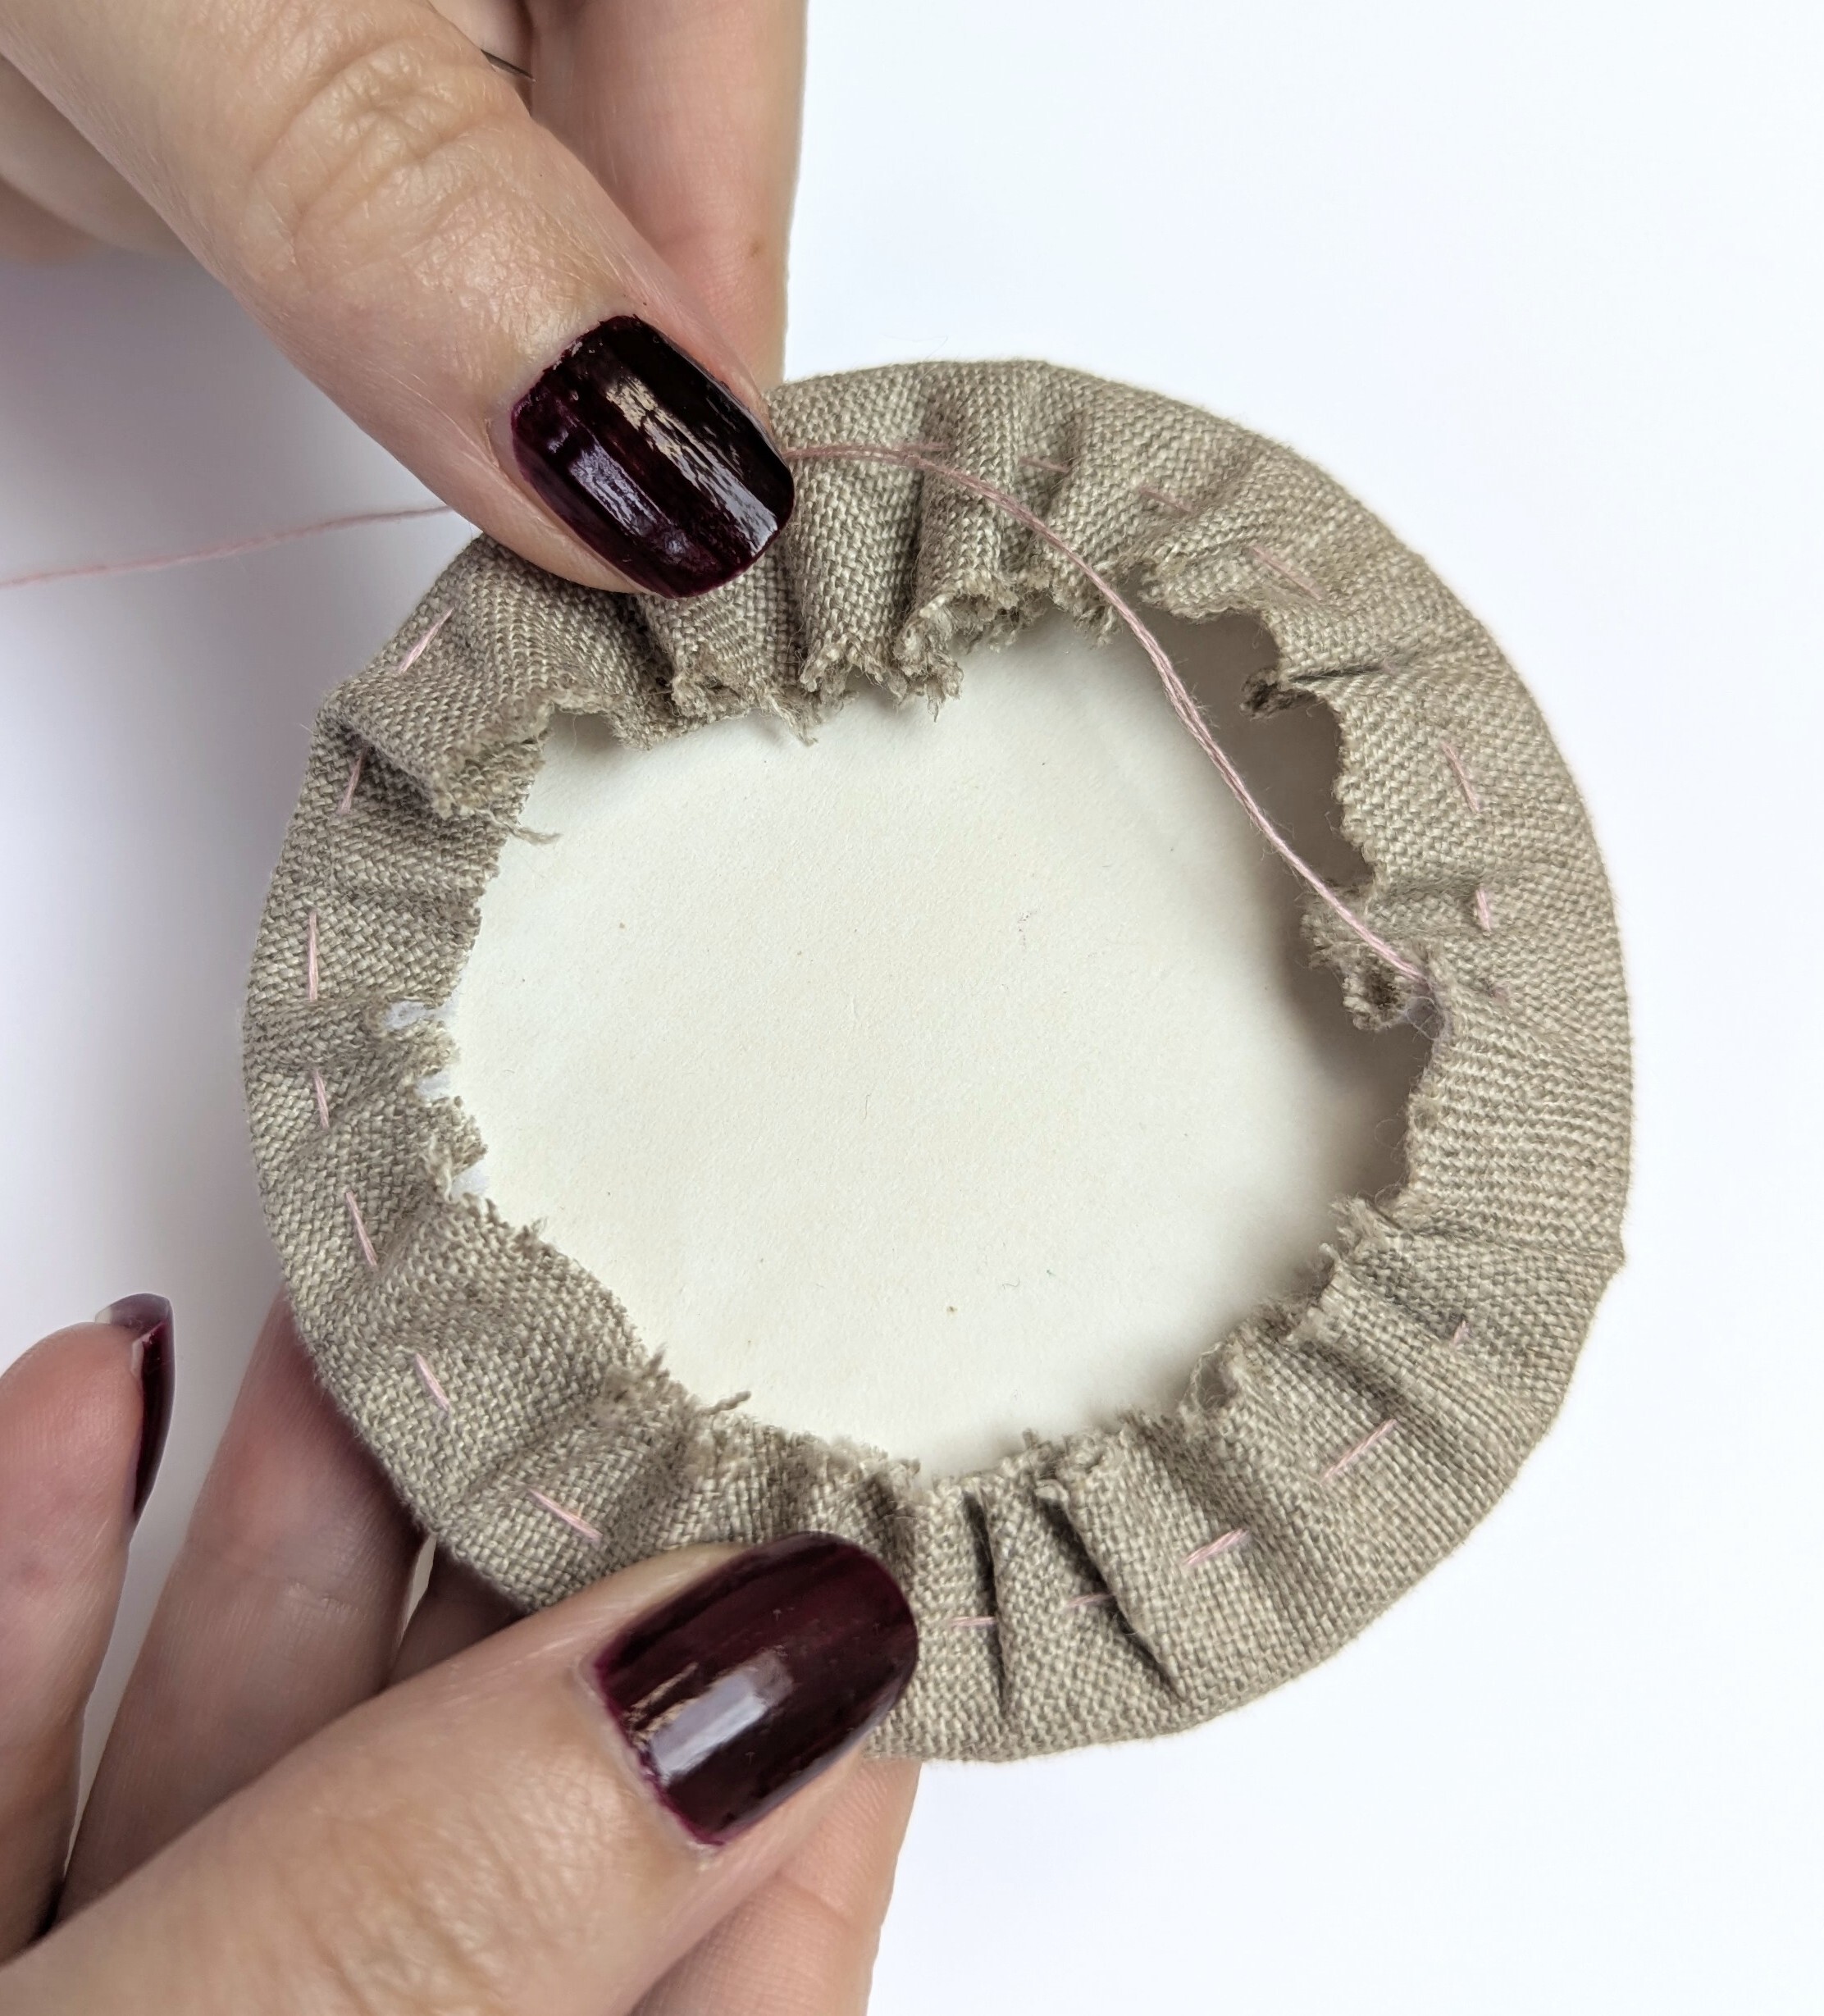
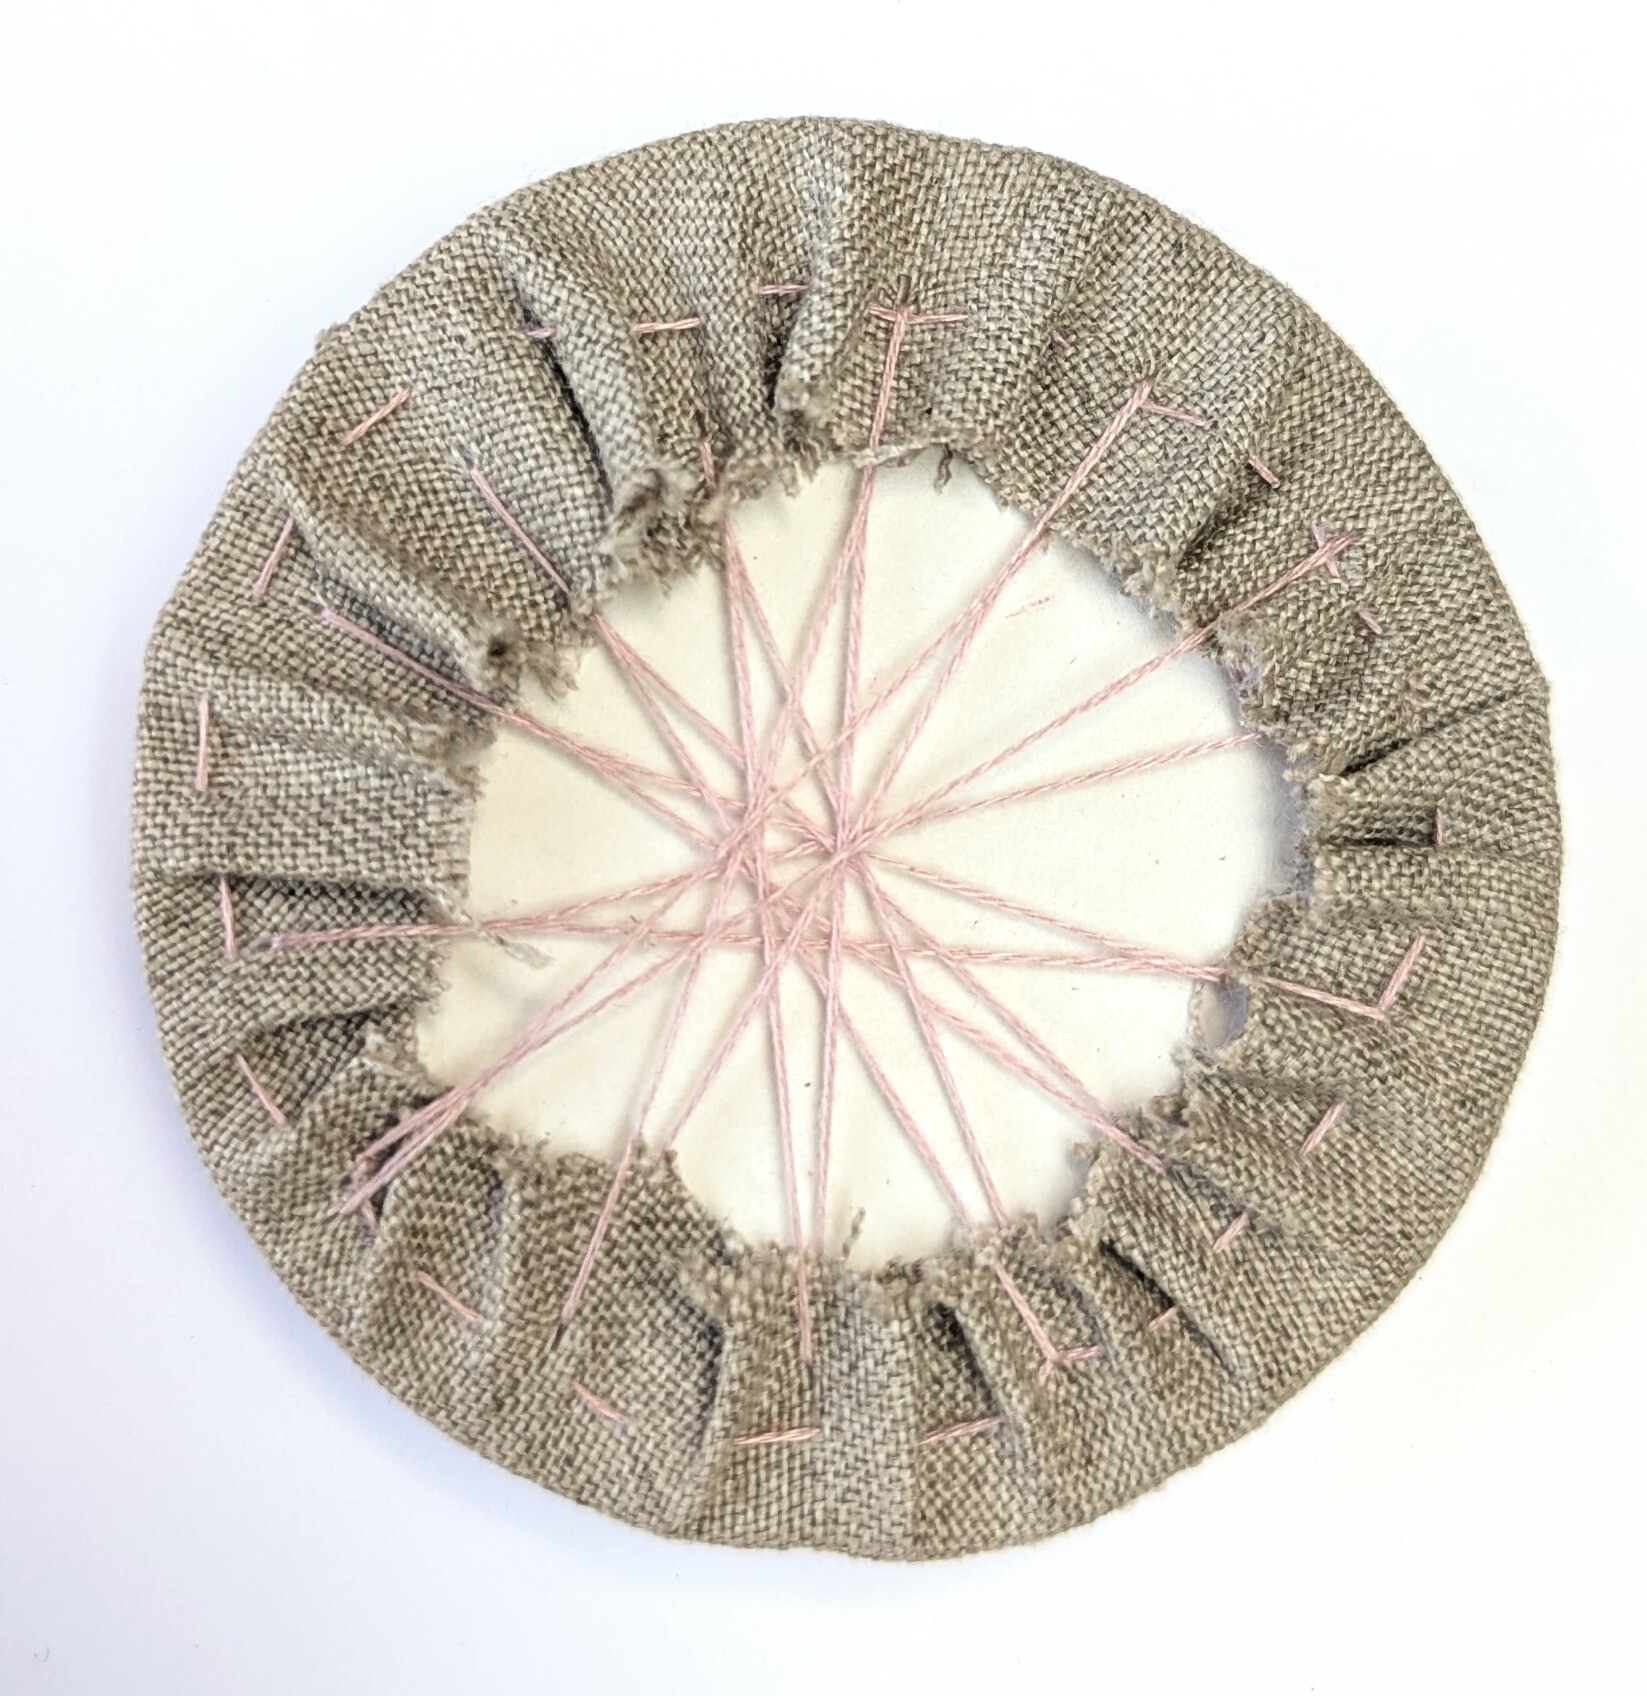
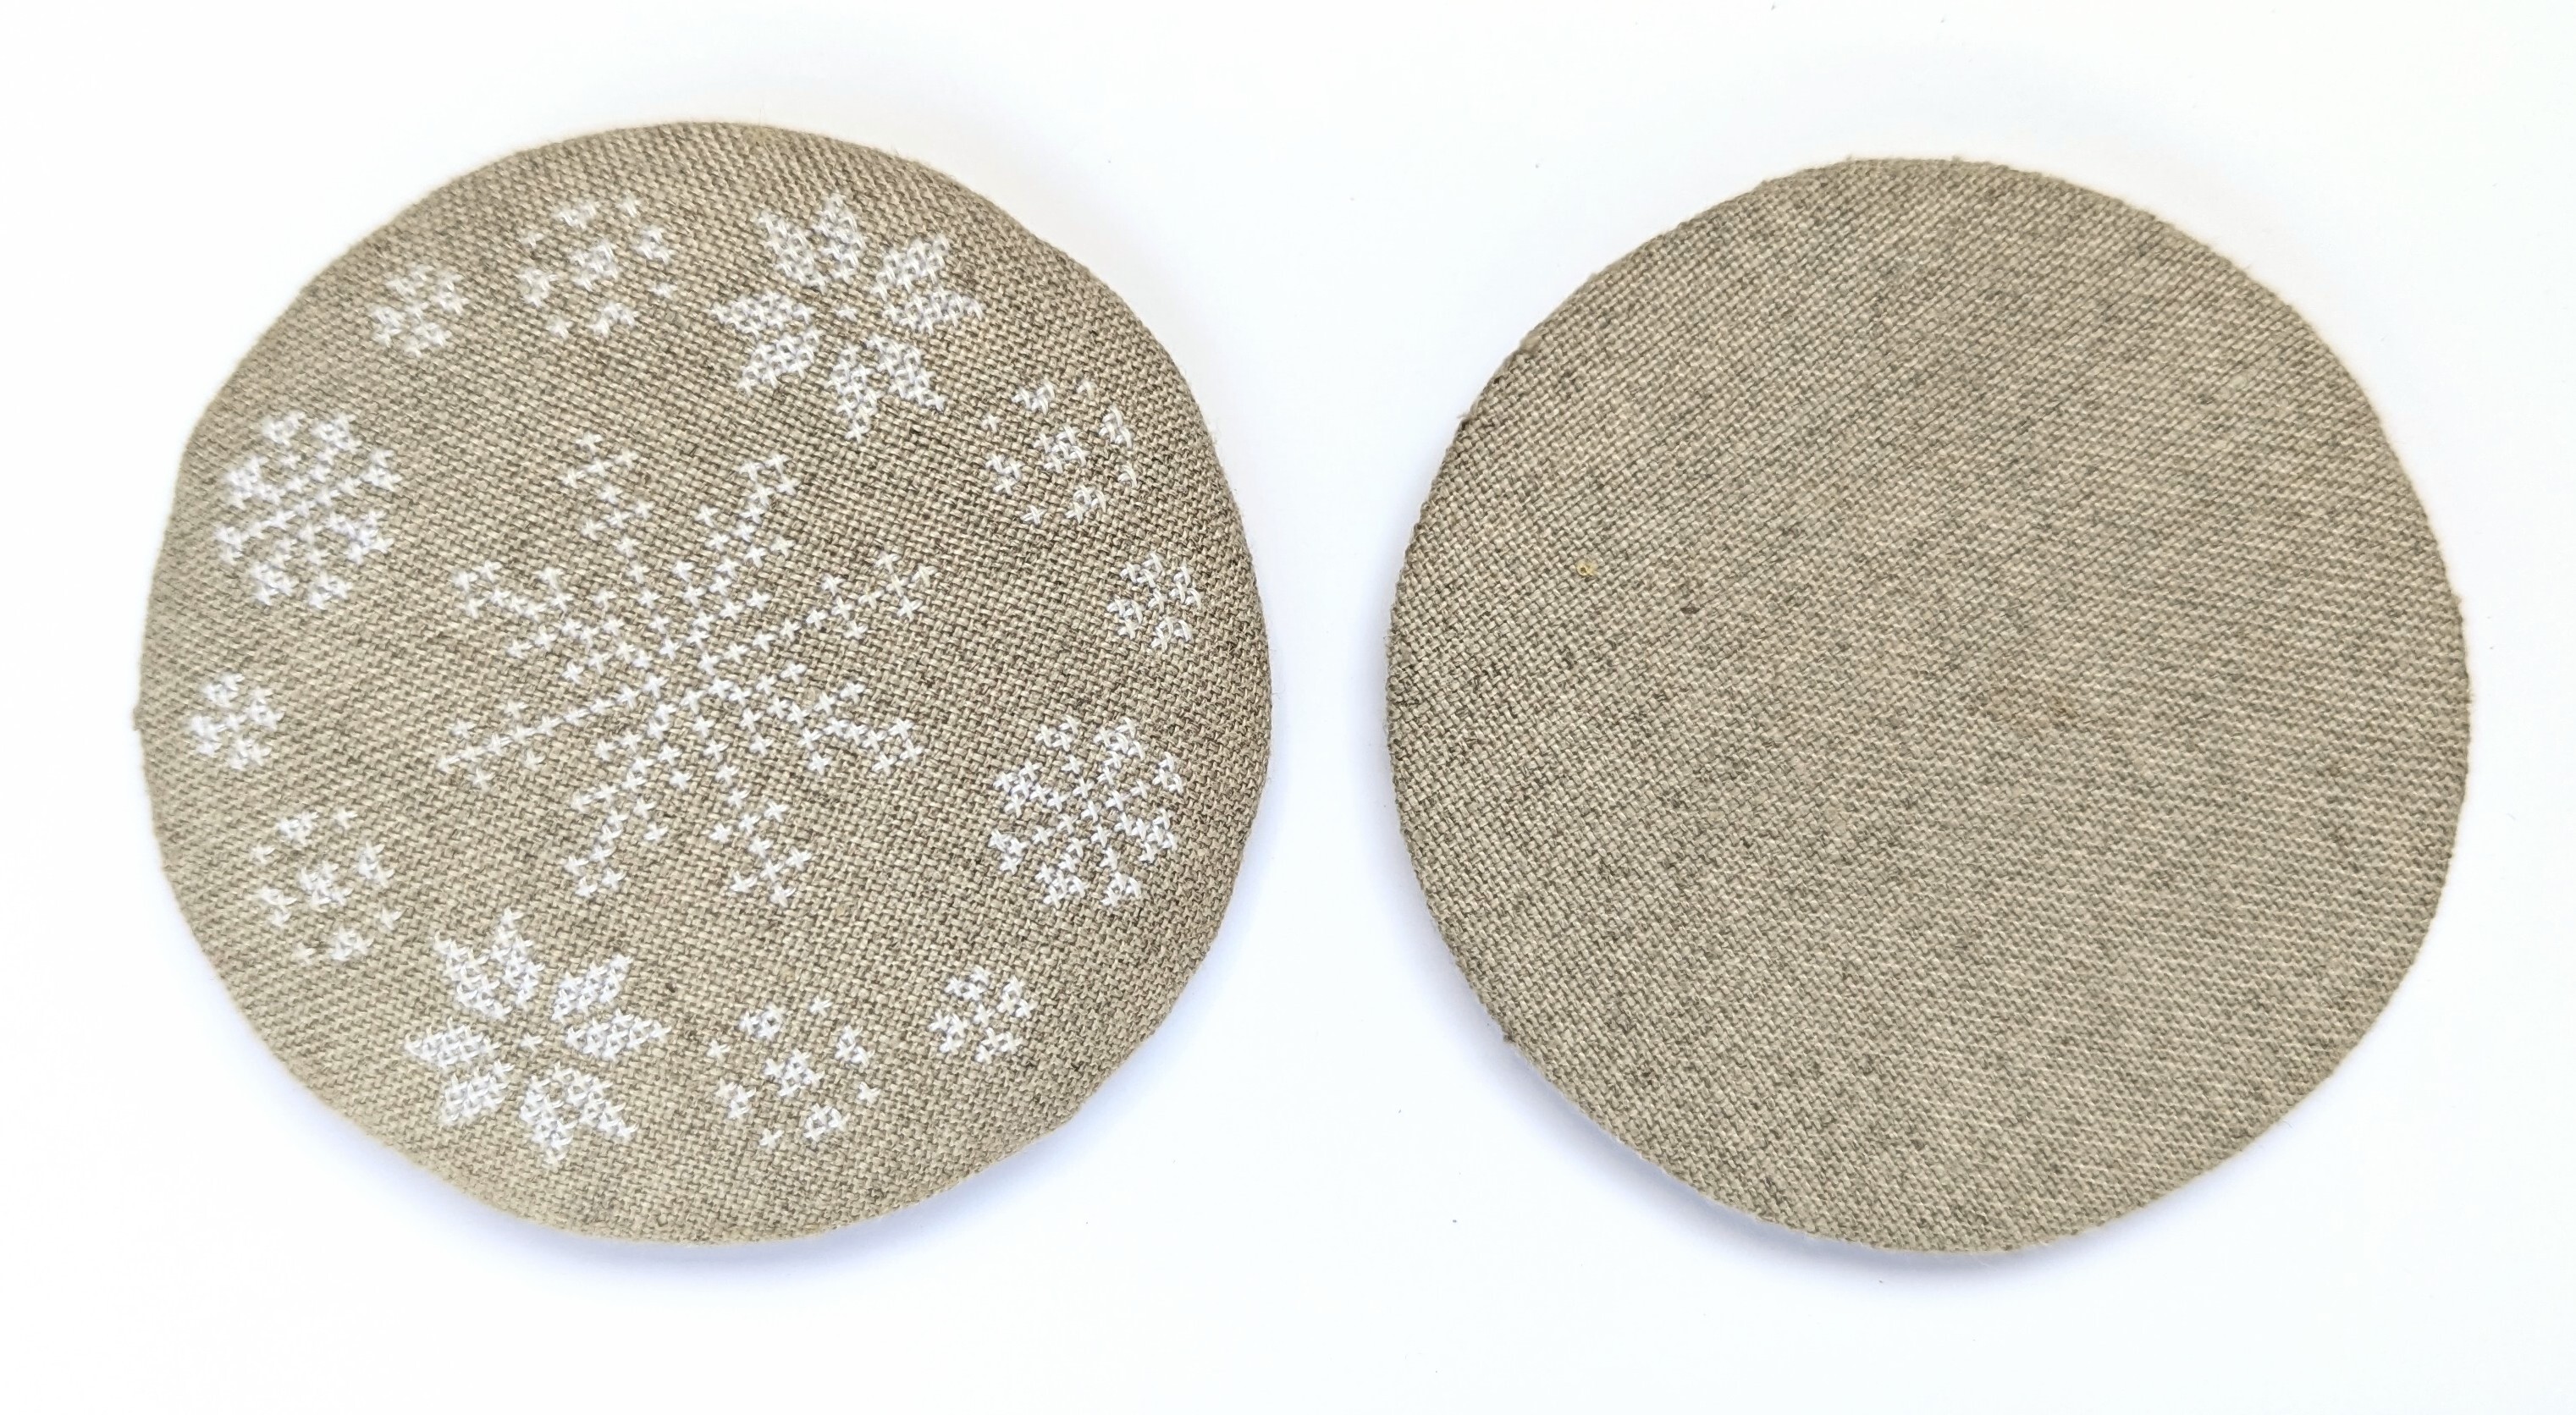
Step 6
The base is attached by stitching between the backstitched line at the bottom of the cylinder and the fabric edge of the circle.
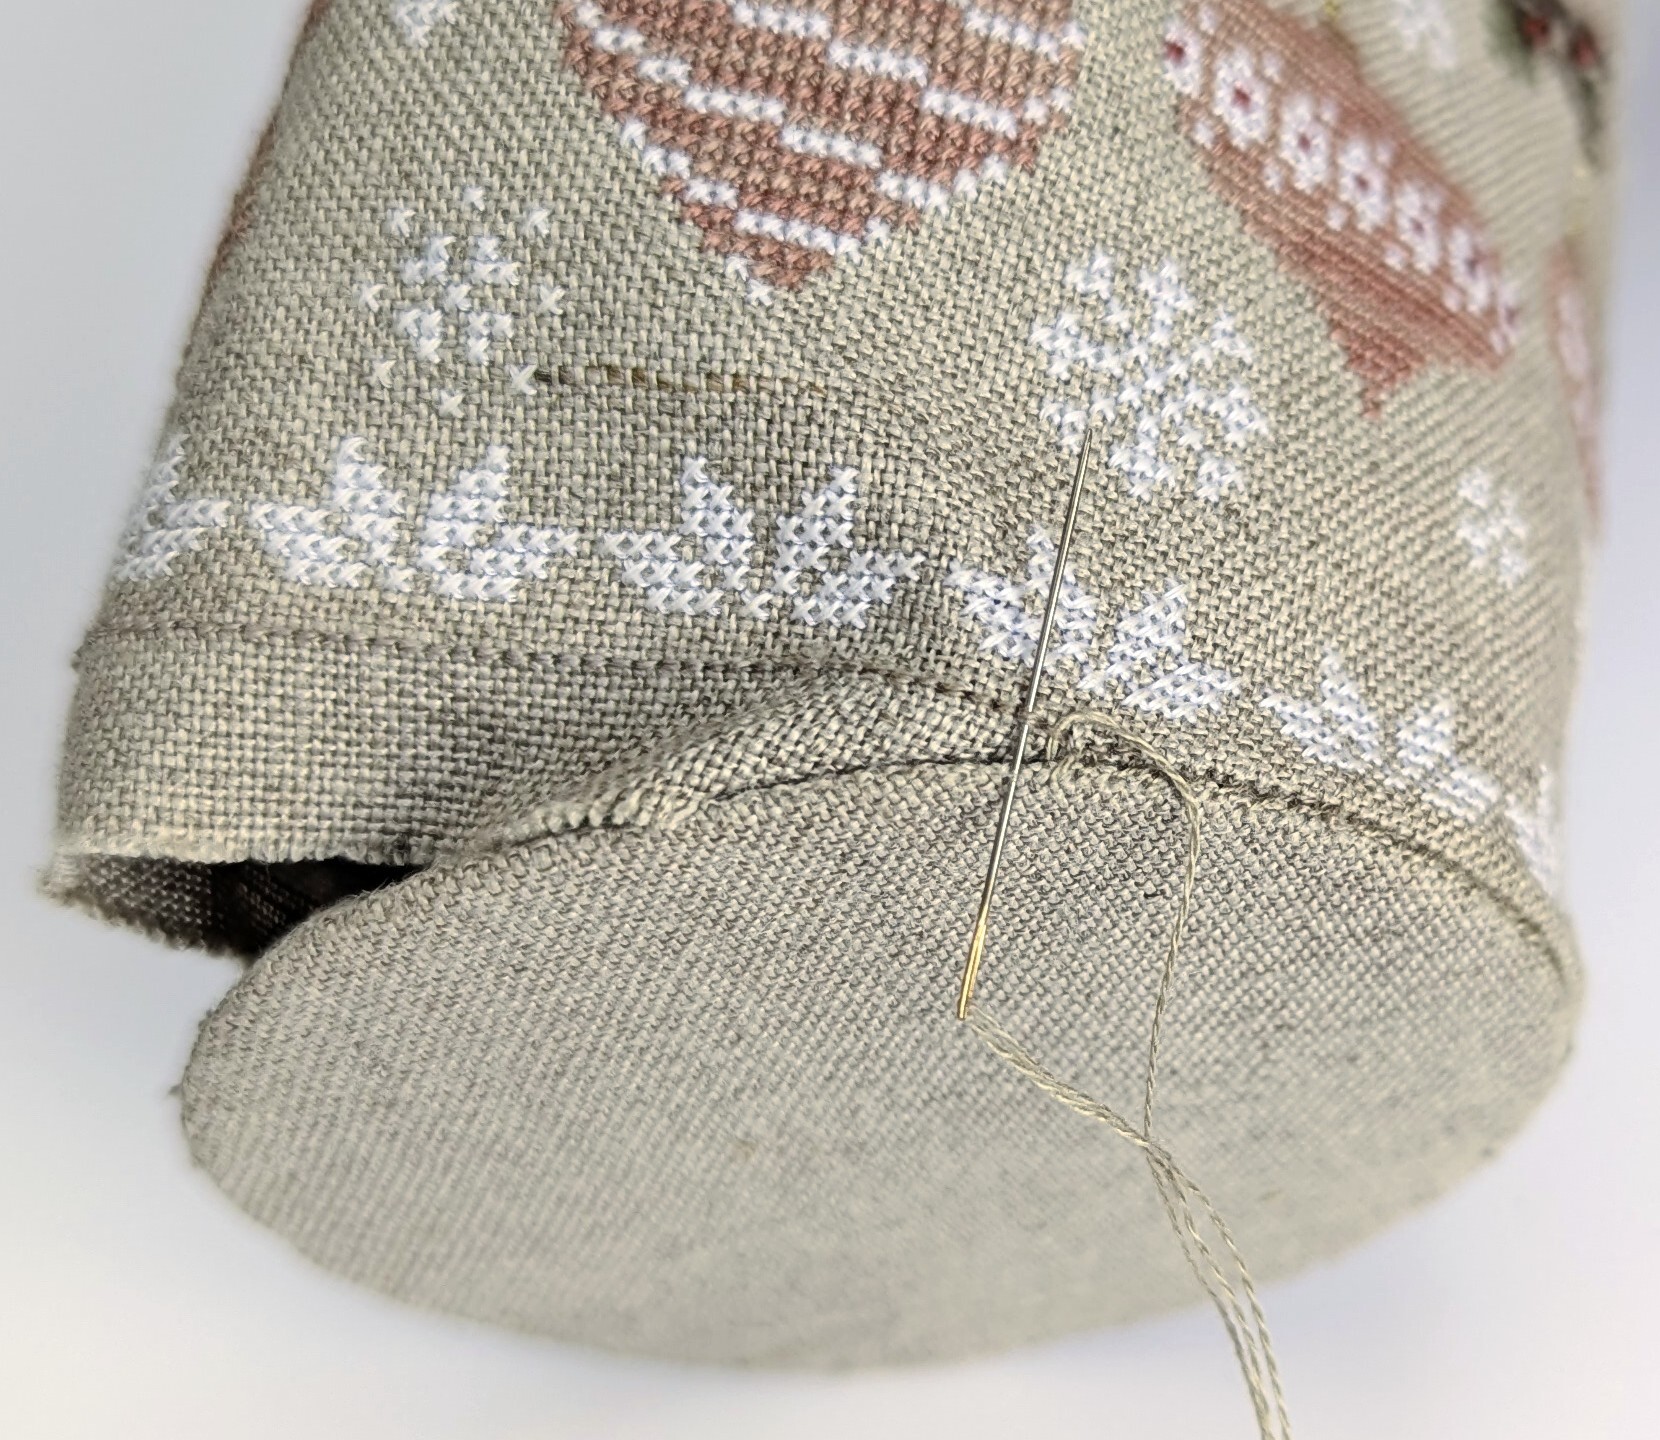
Step 7
Now do the same for the drum top, but stop two or three inches before the end to allow for your filling material to be packed in.
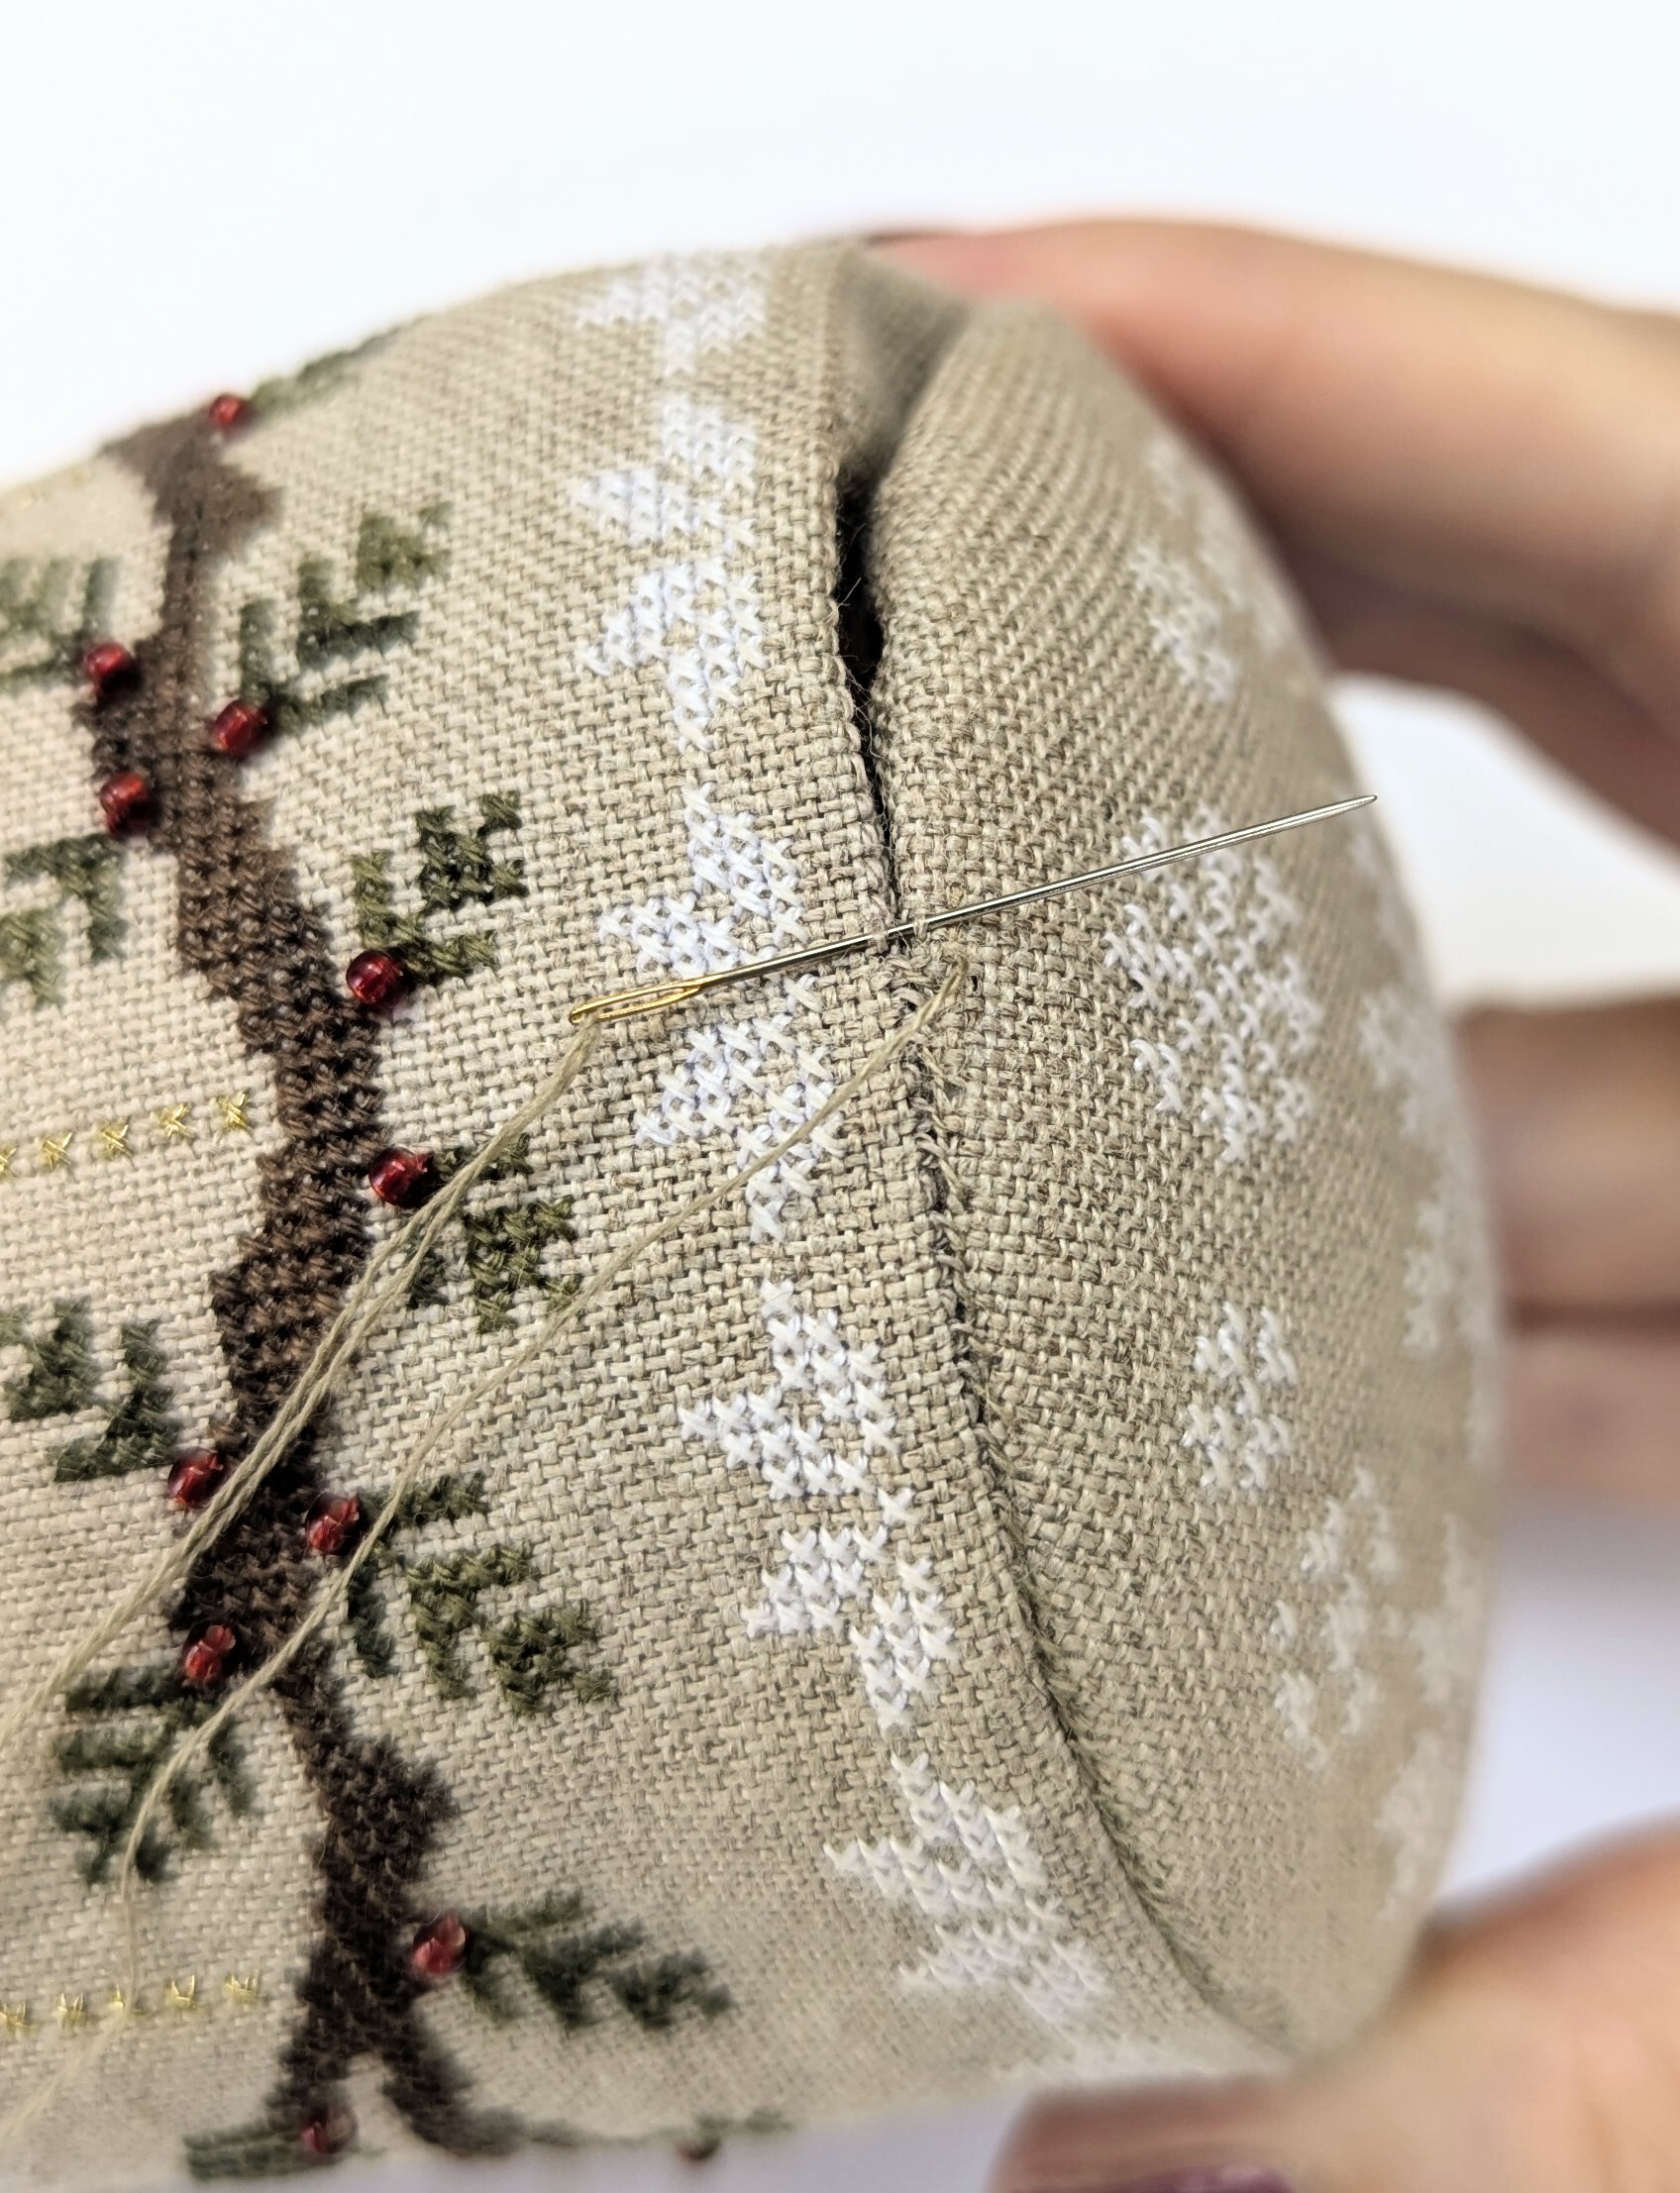
Step 8
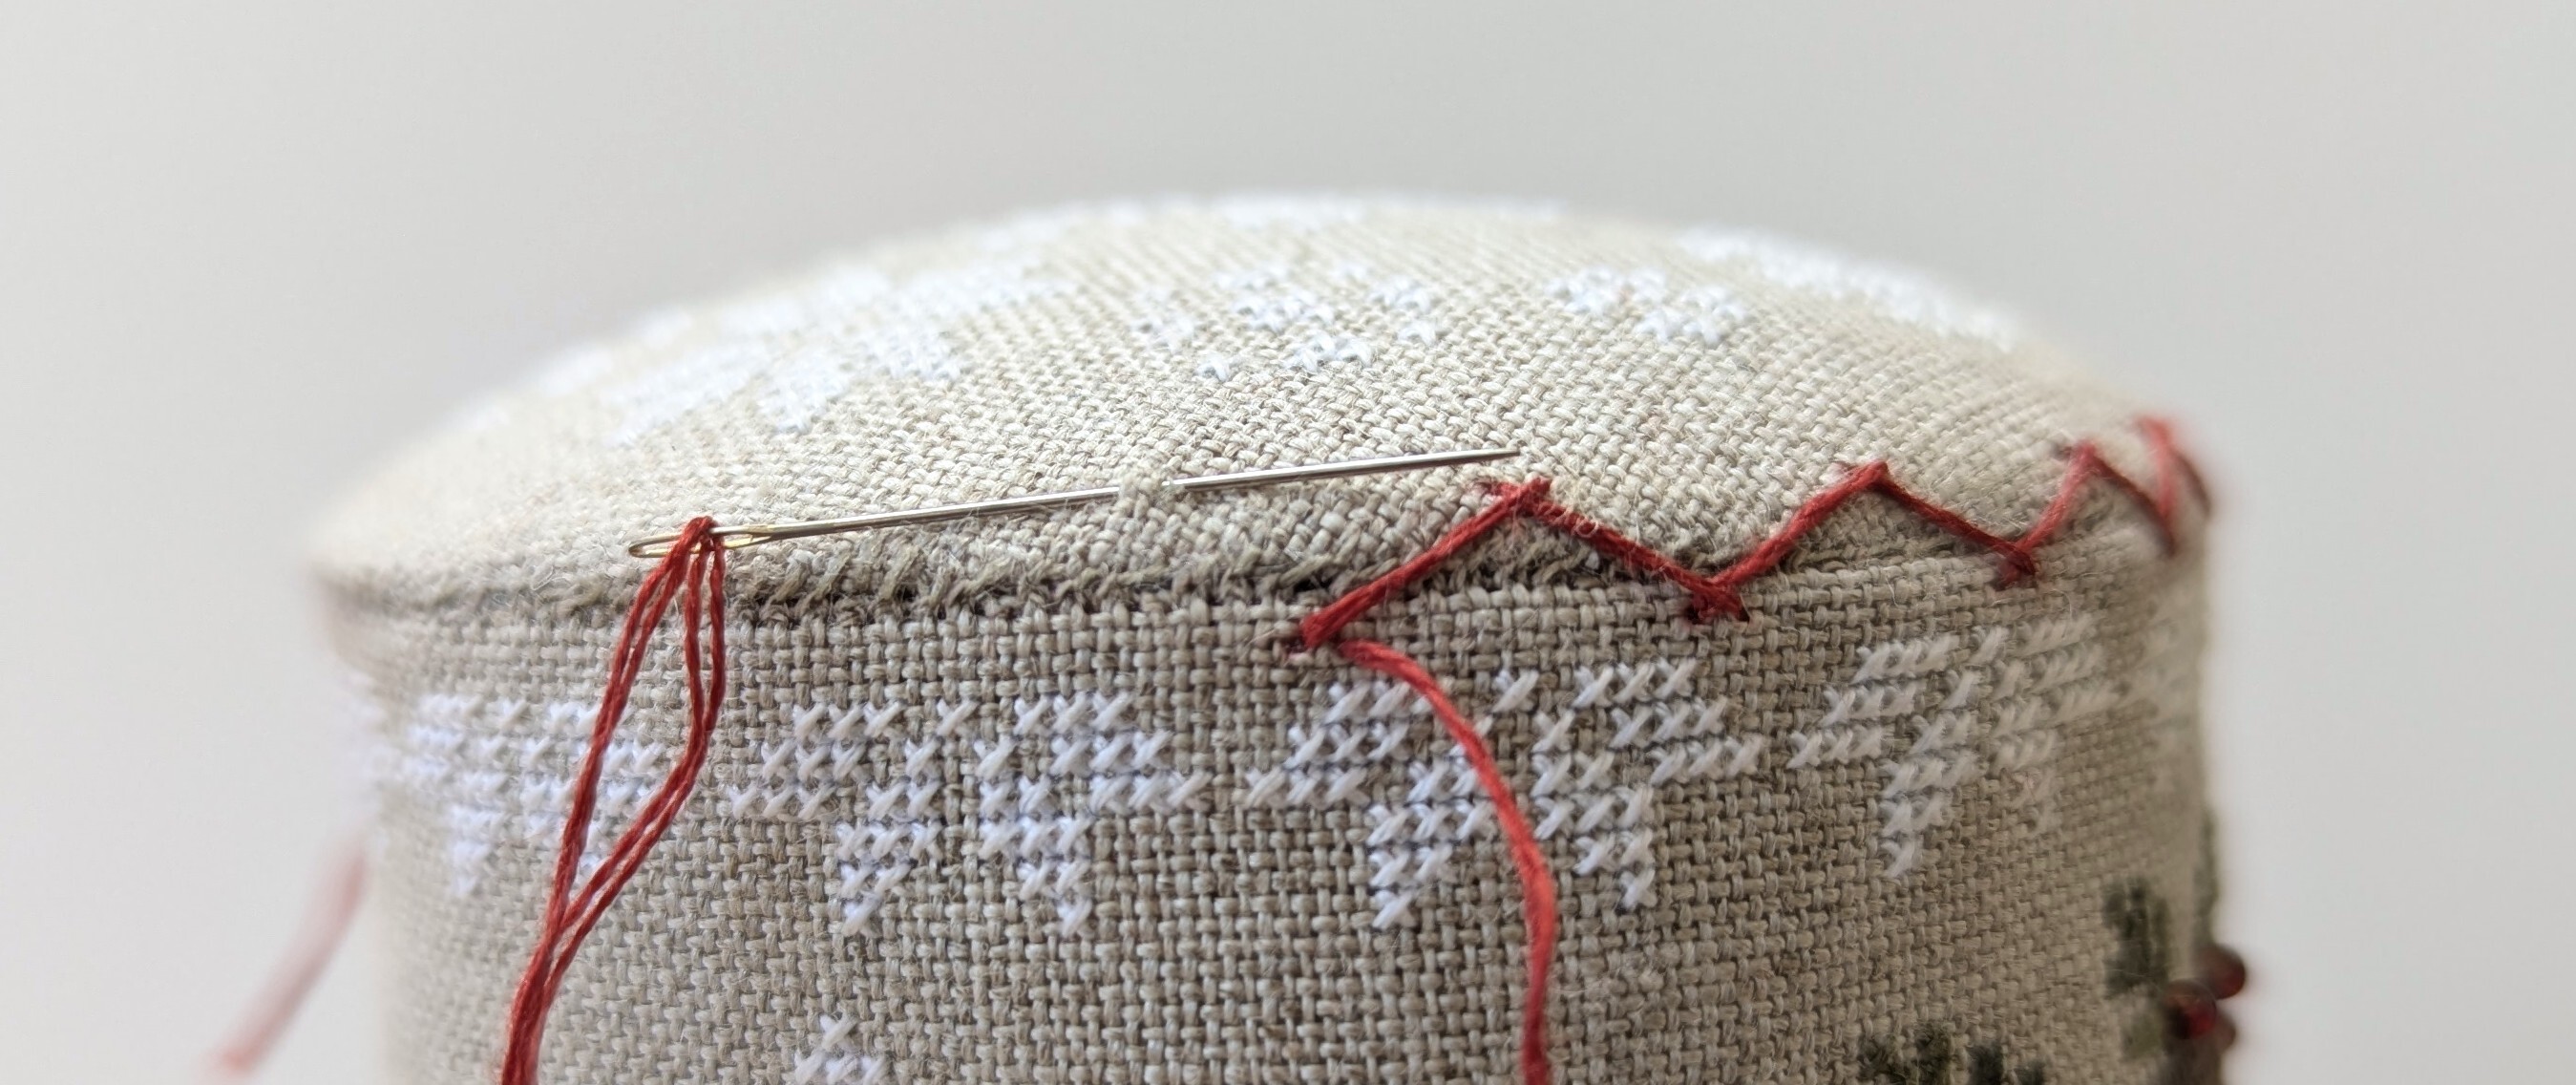
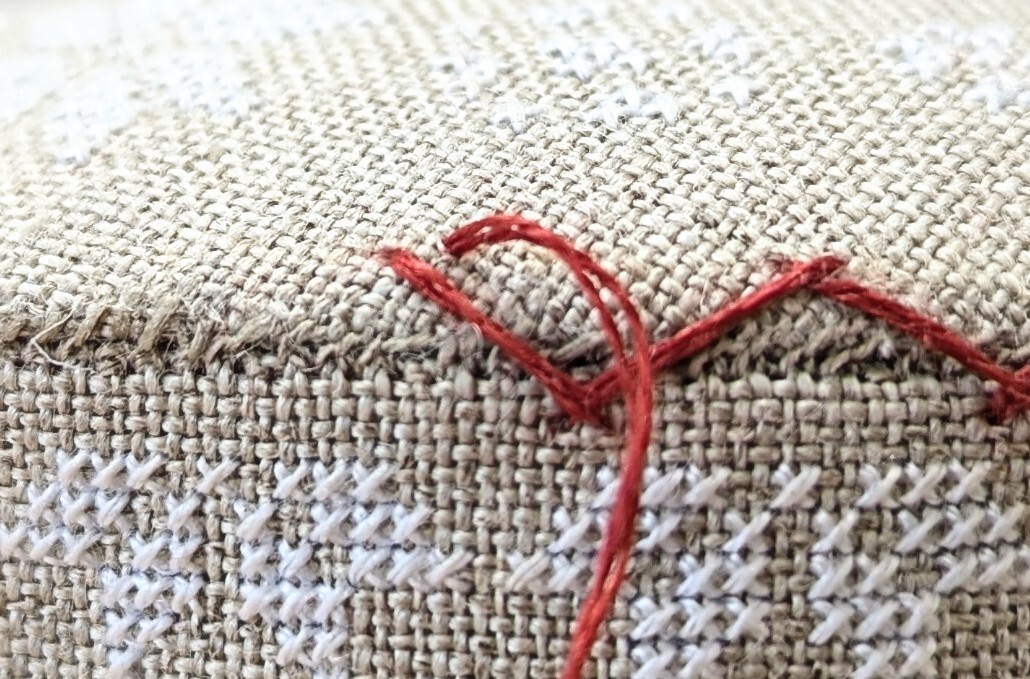
To add the zig zag decorative stitches around the edge of the drum, I used 2 strands of WDW Sun Dried. Starting at the seam, I pass the needle through the top of the drum, then diagonally to the body of the drum. Each of the stitches on the body of the drum are approximately 10 stitches (20 threads) apart. Hopefully, the images below show the process better than my explanation, although, bear in mind that I stitch from right to left as I'm left-handed!
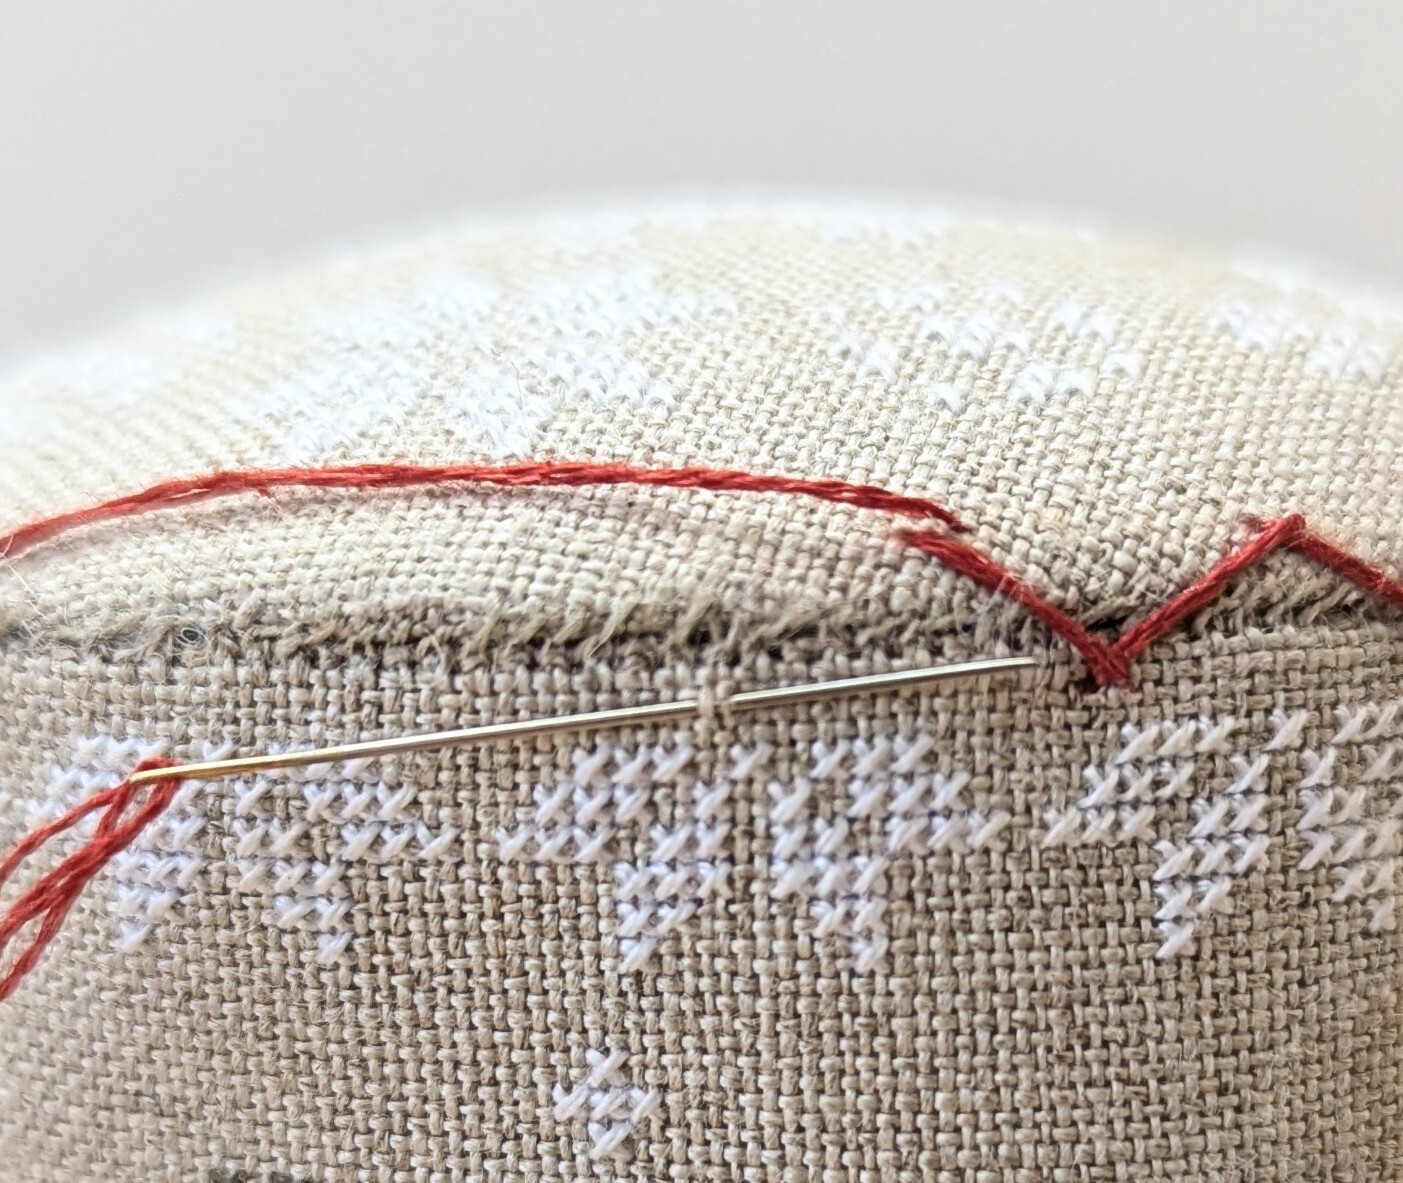
Please do get in touch if you have any questions, either via the contact form on this website or via Instagram.